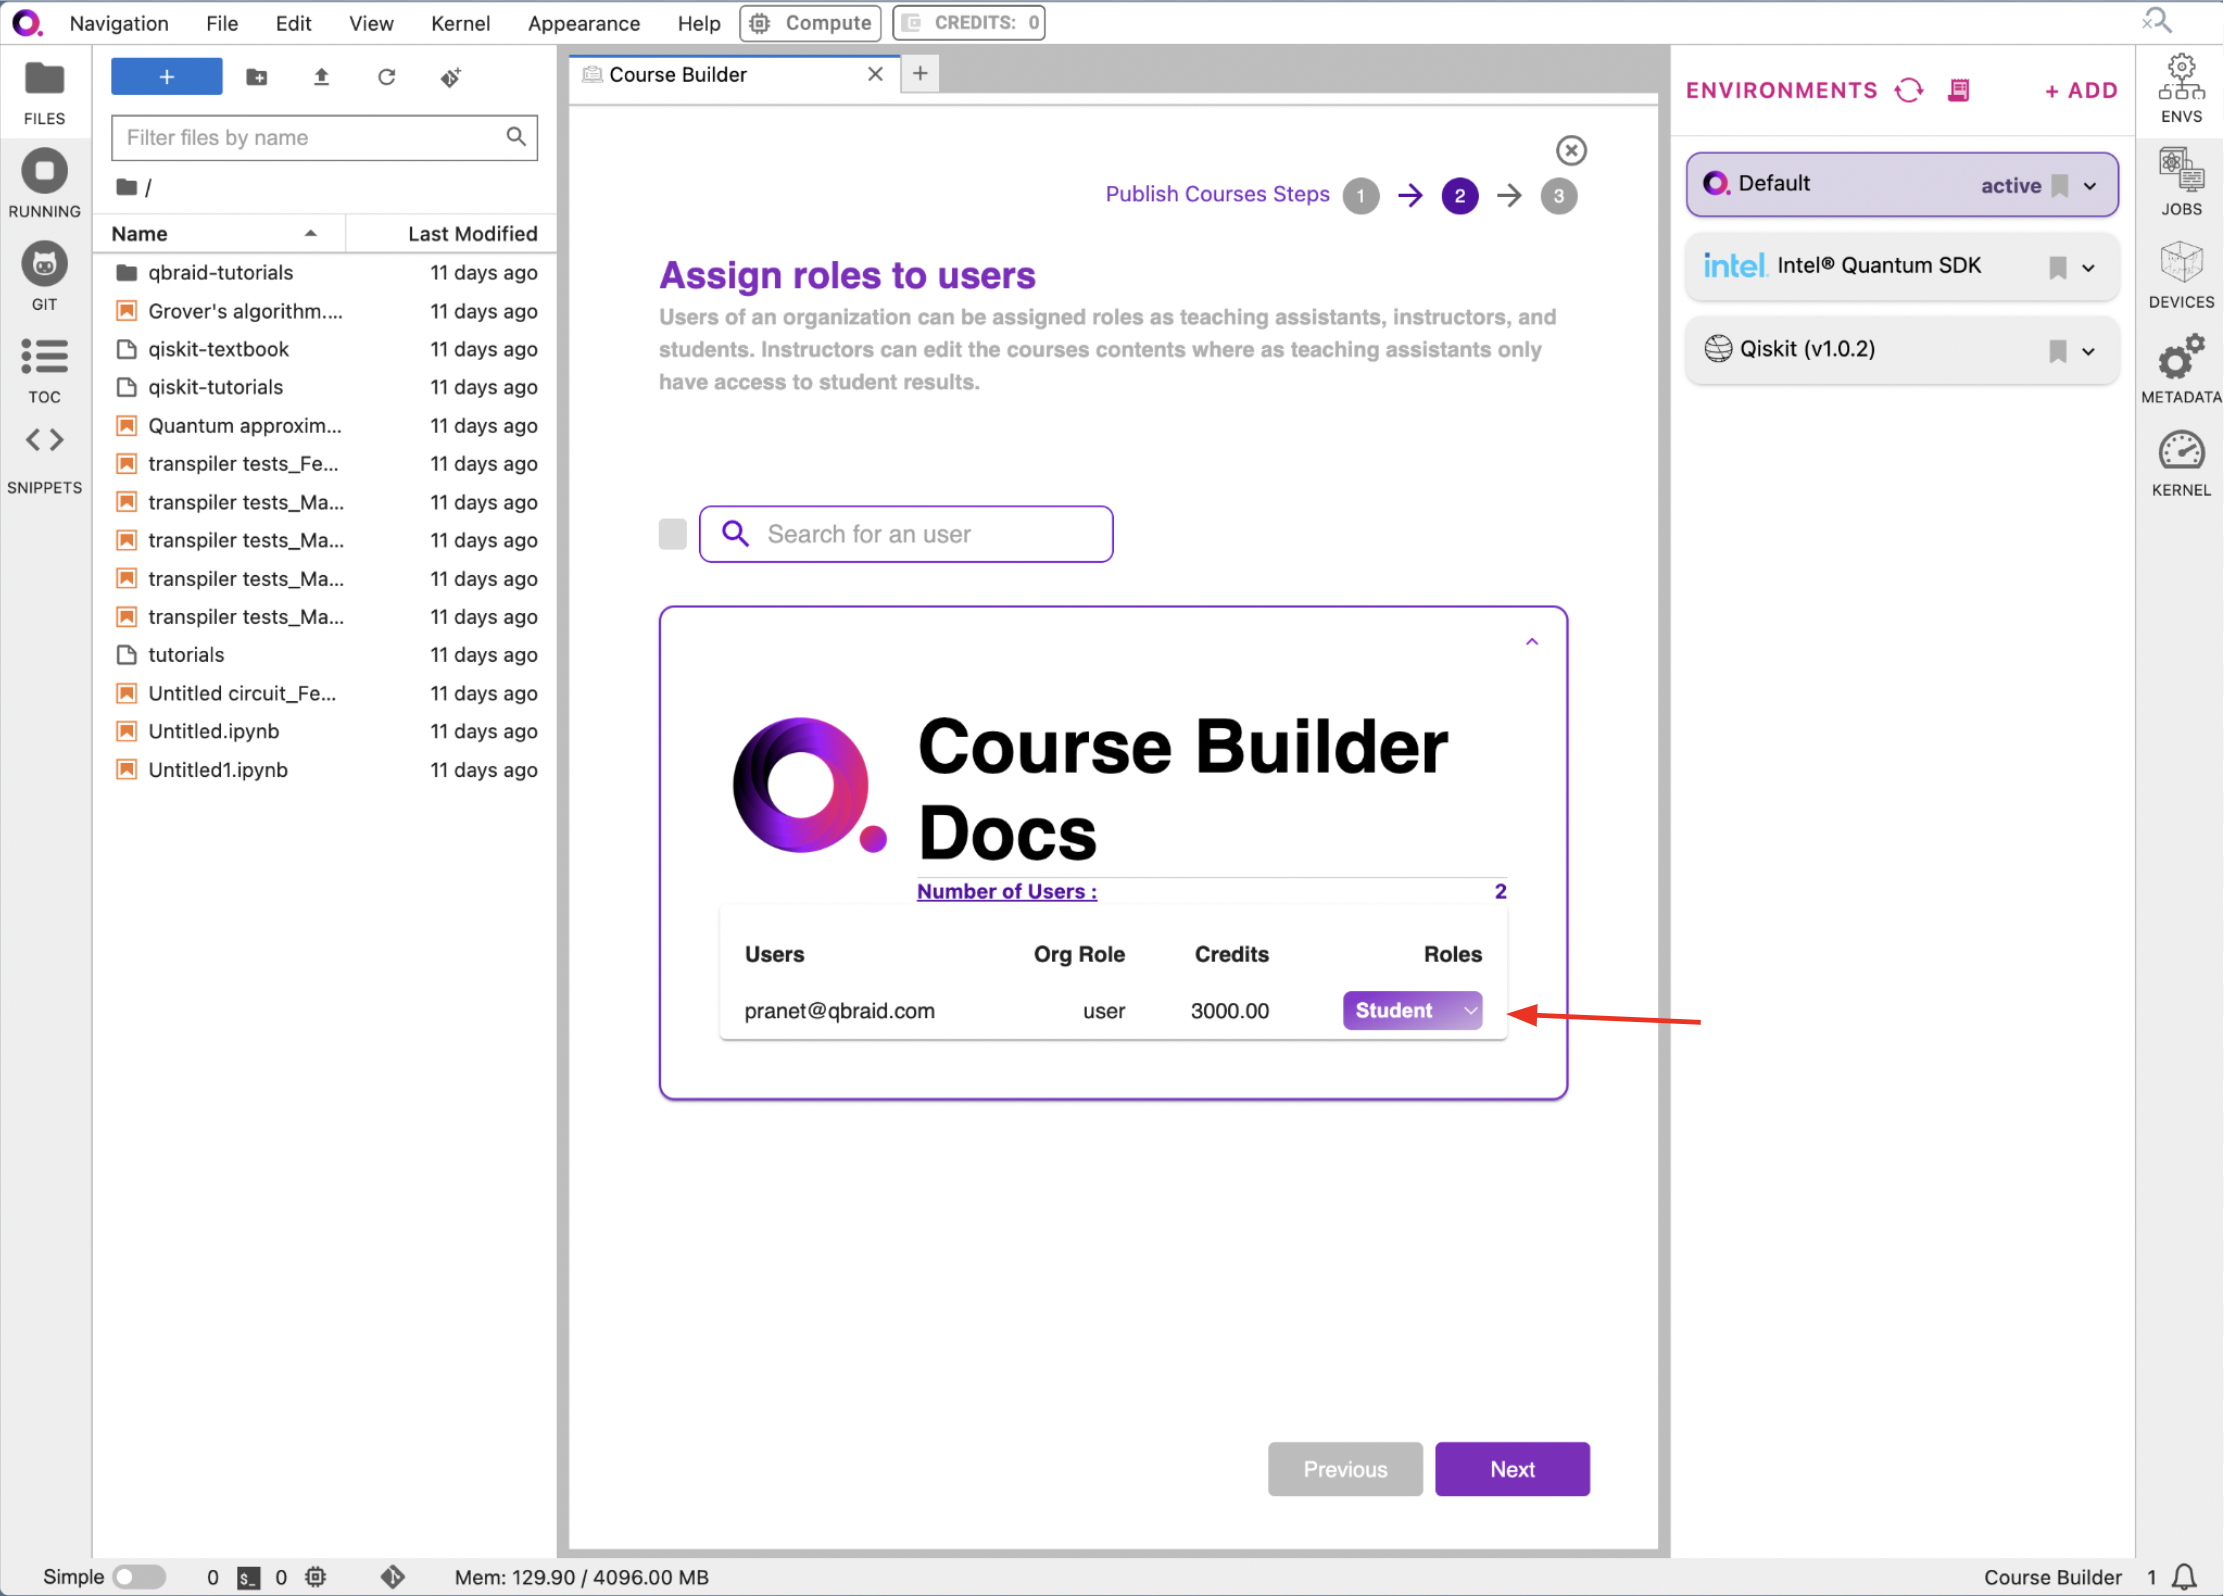
Documentation Index
Fetch the complete documentation index at: https://docs.qbraid.com/llms.txt
Use this file to discover all available pages before exploring further.
This guide applies for users who already have the relevant permissions for
adding courses to their qBraid plan. If you are interested in these
permissions, please reach out to us at
contact@qbraid.com, and we’ll get you set up!
Overview
qBraid boasts a comprehensive qBook Builder system that allows for the creation of quantum computing courses. This system is designed to be user-friendly and intuitive, allowing educators to create and publish courses with ease. This guide will walk you through the process of creating a course on qBraid.Step 1: Create an Organization
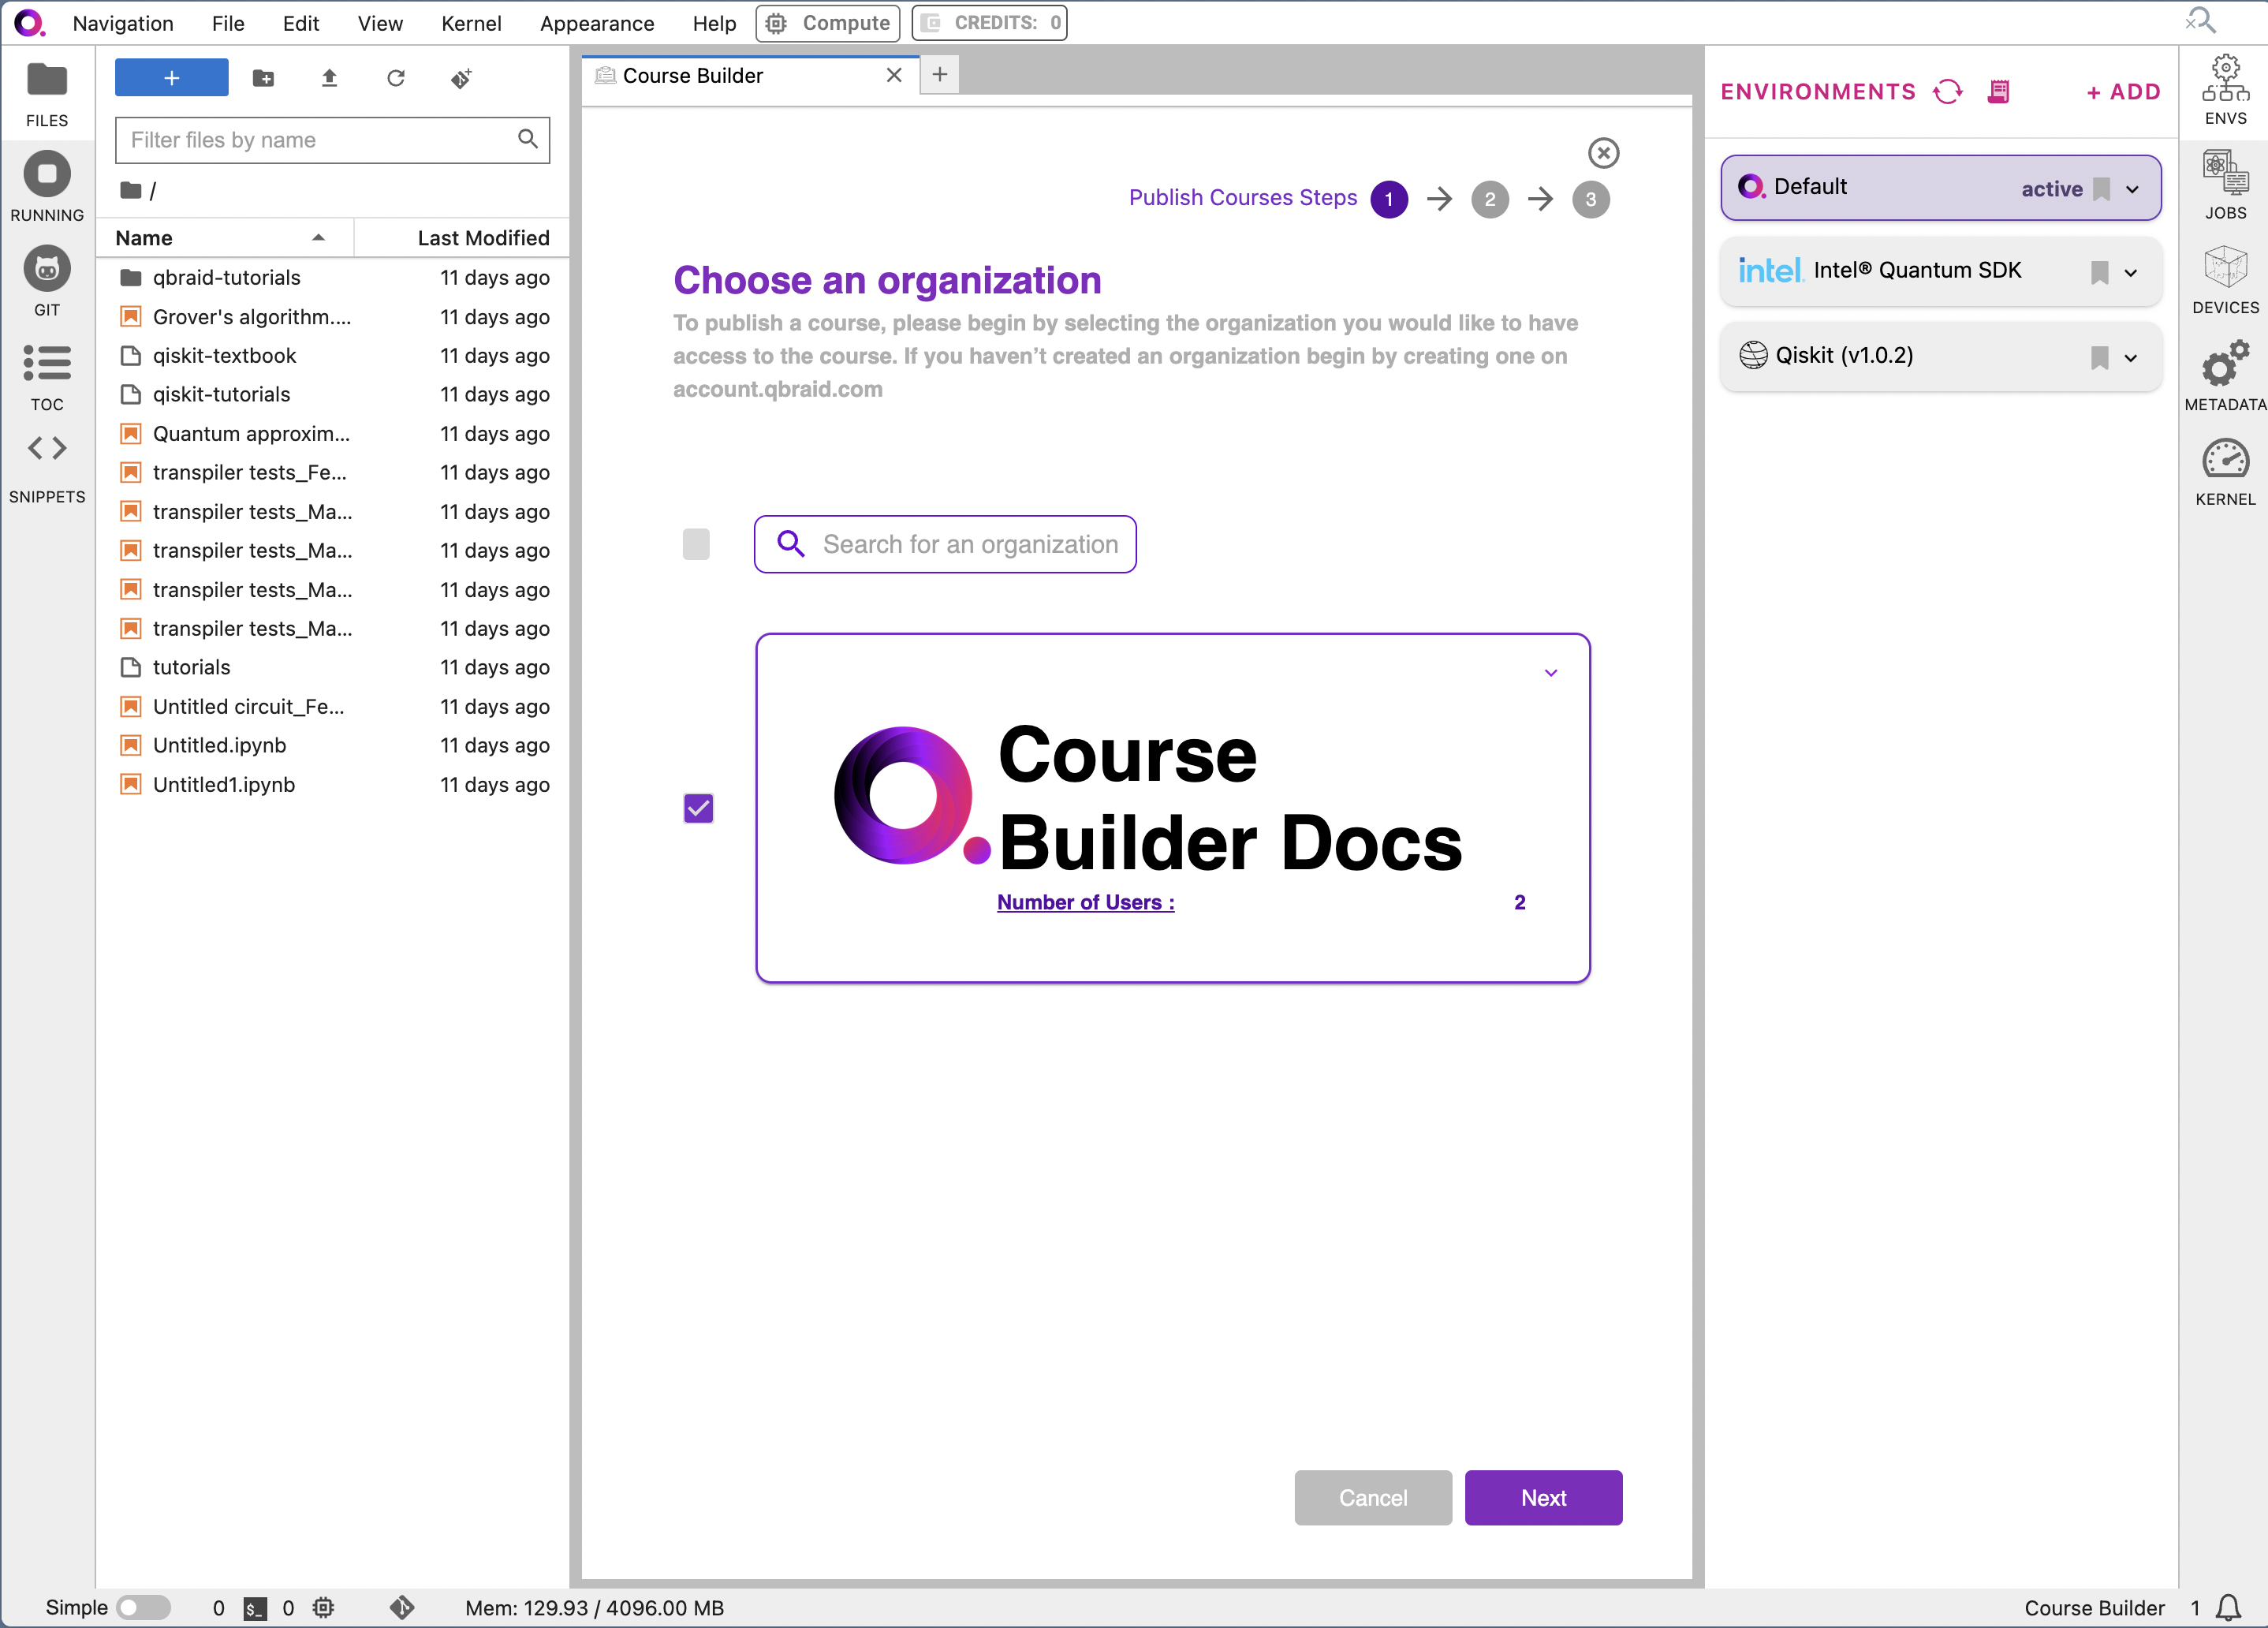
The first step in creating a course on qBraid is to create an organization. An organization is a group that can contain multiple courses and people. To create an organization, follow these steps:1a. Visit the Organizations page on qBraid Accounts
You can find the qBraid Accounts Dashboard at accounts.qbraid.com Once you’re there, you can click on the “Organization” tab to view the organizations you are a part of or to create a new organization.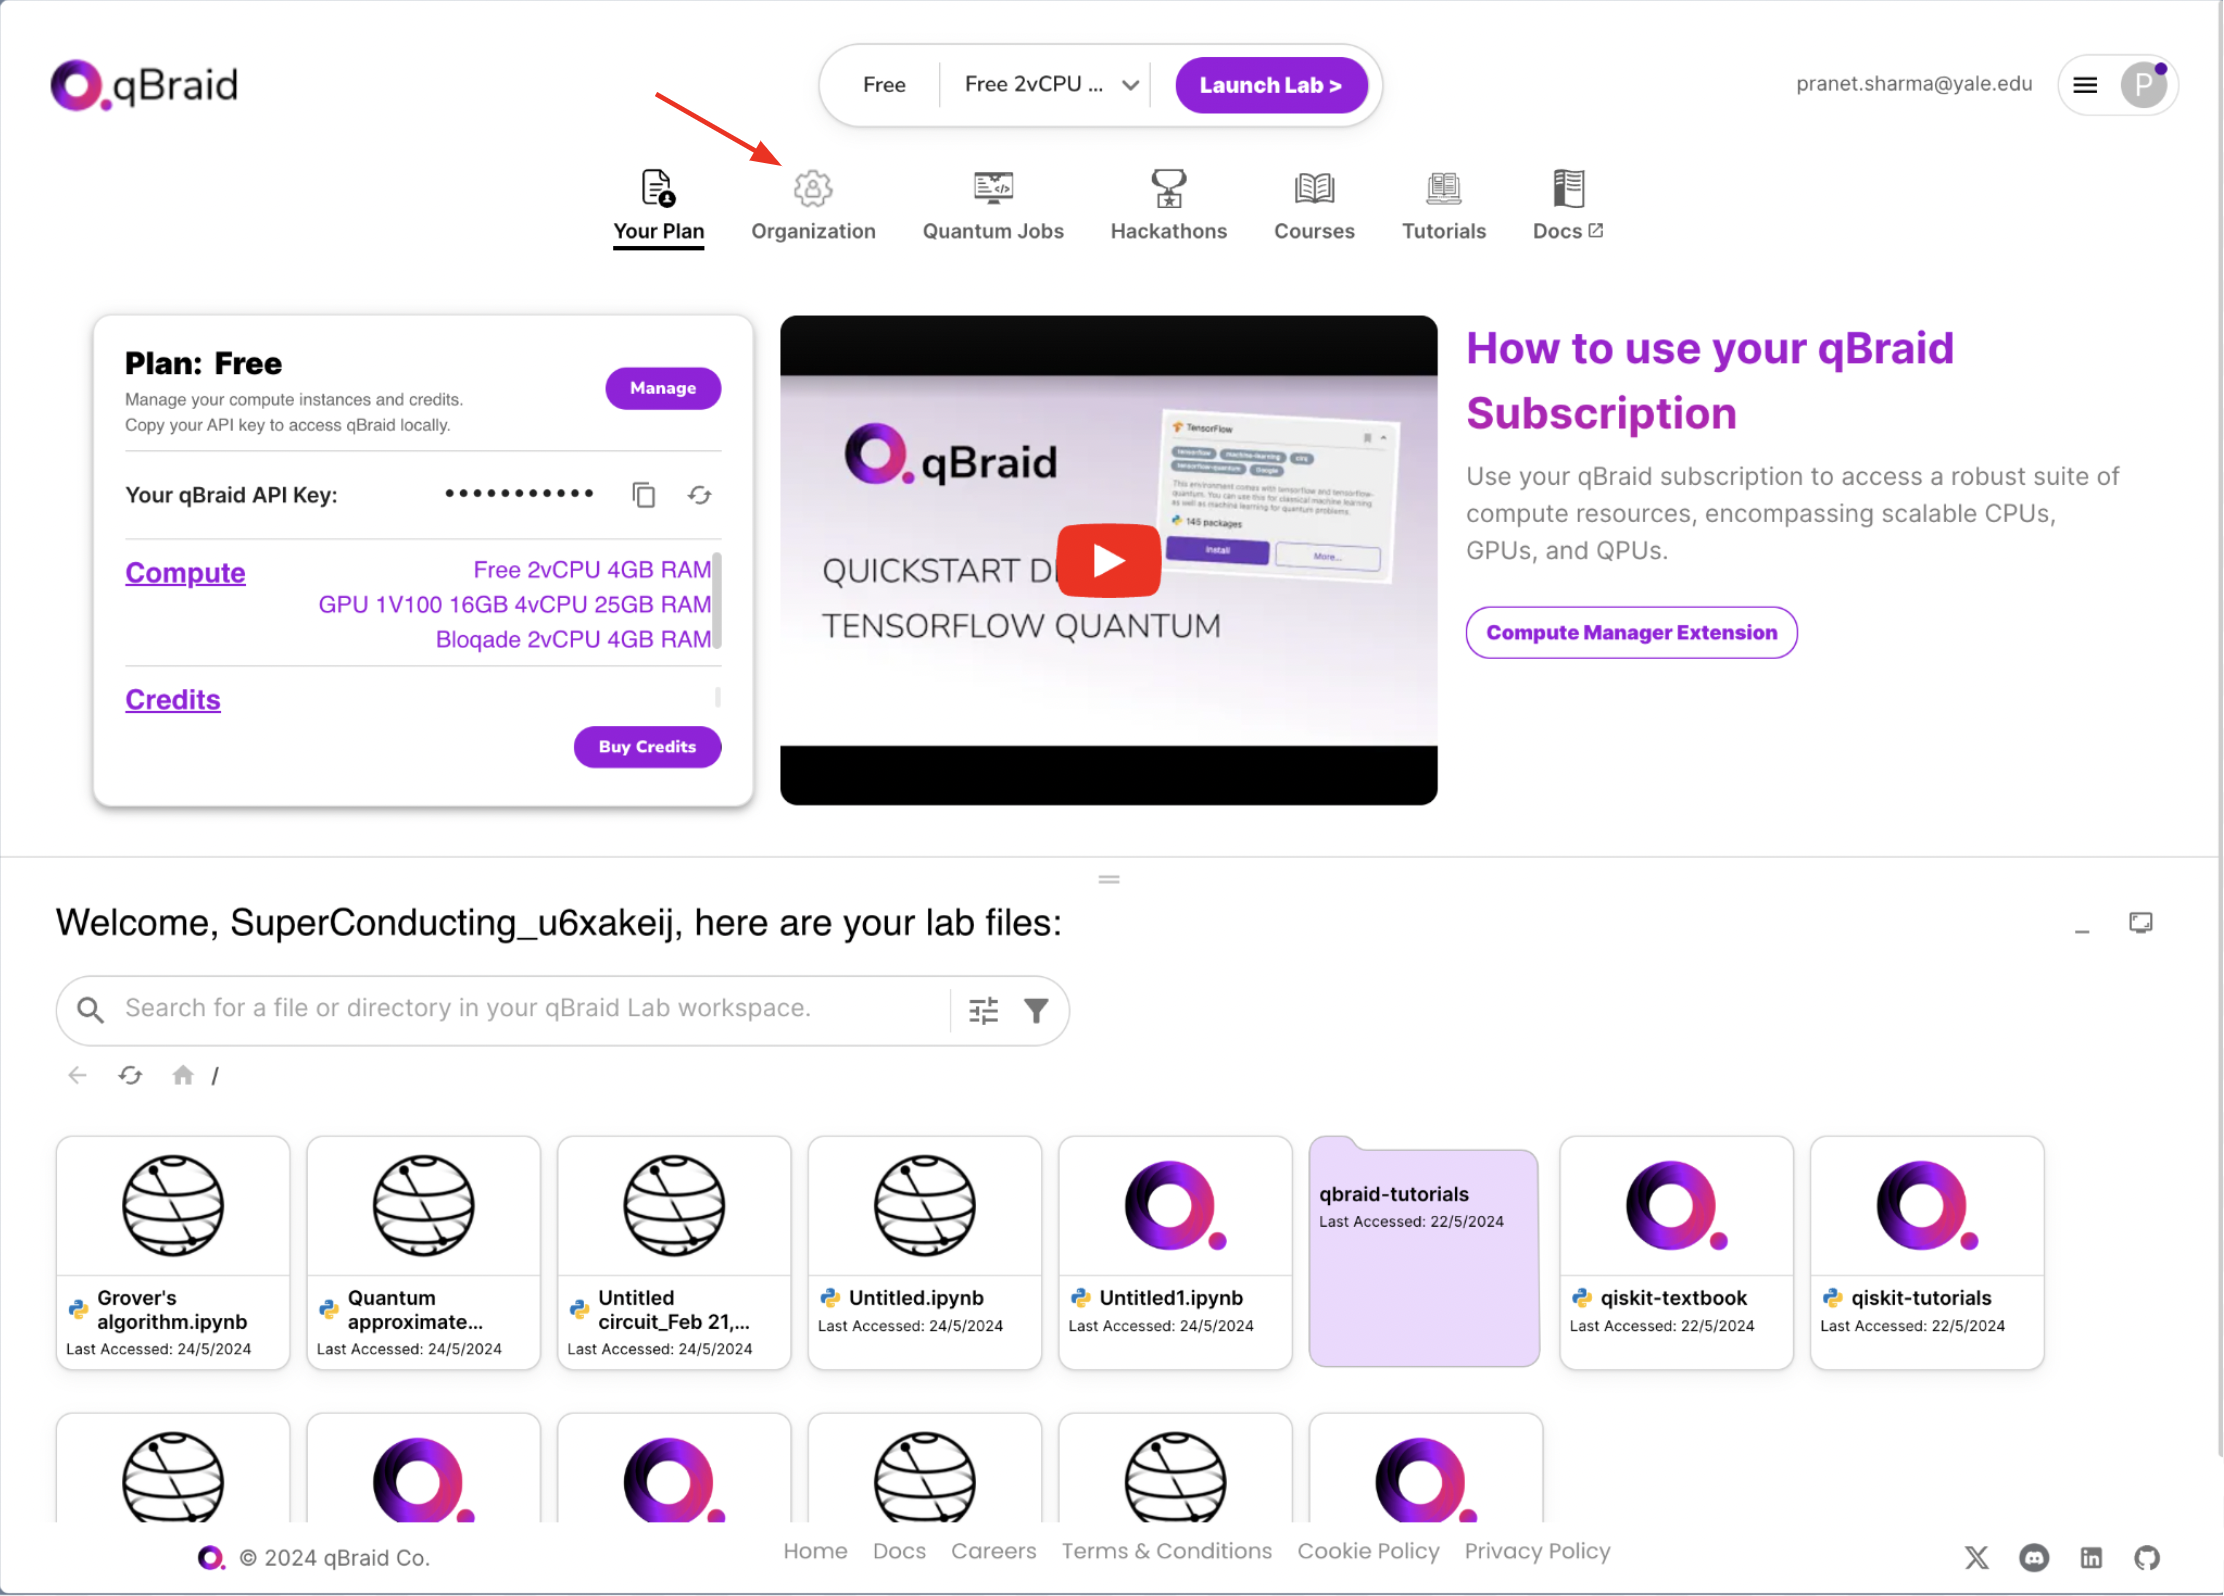
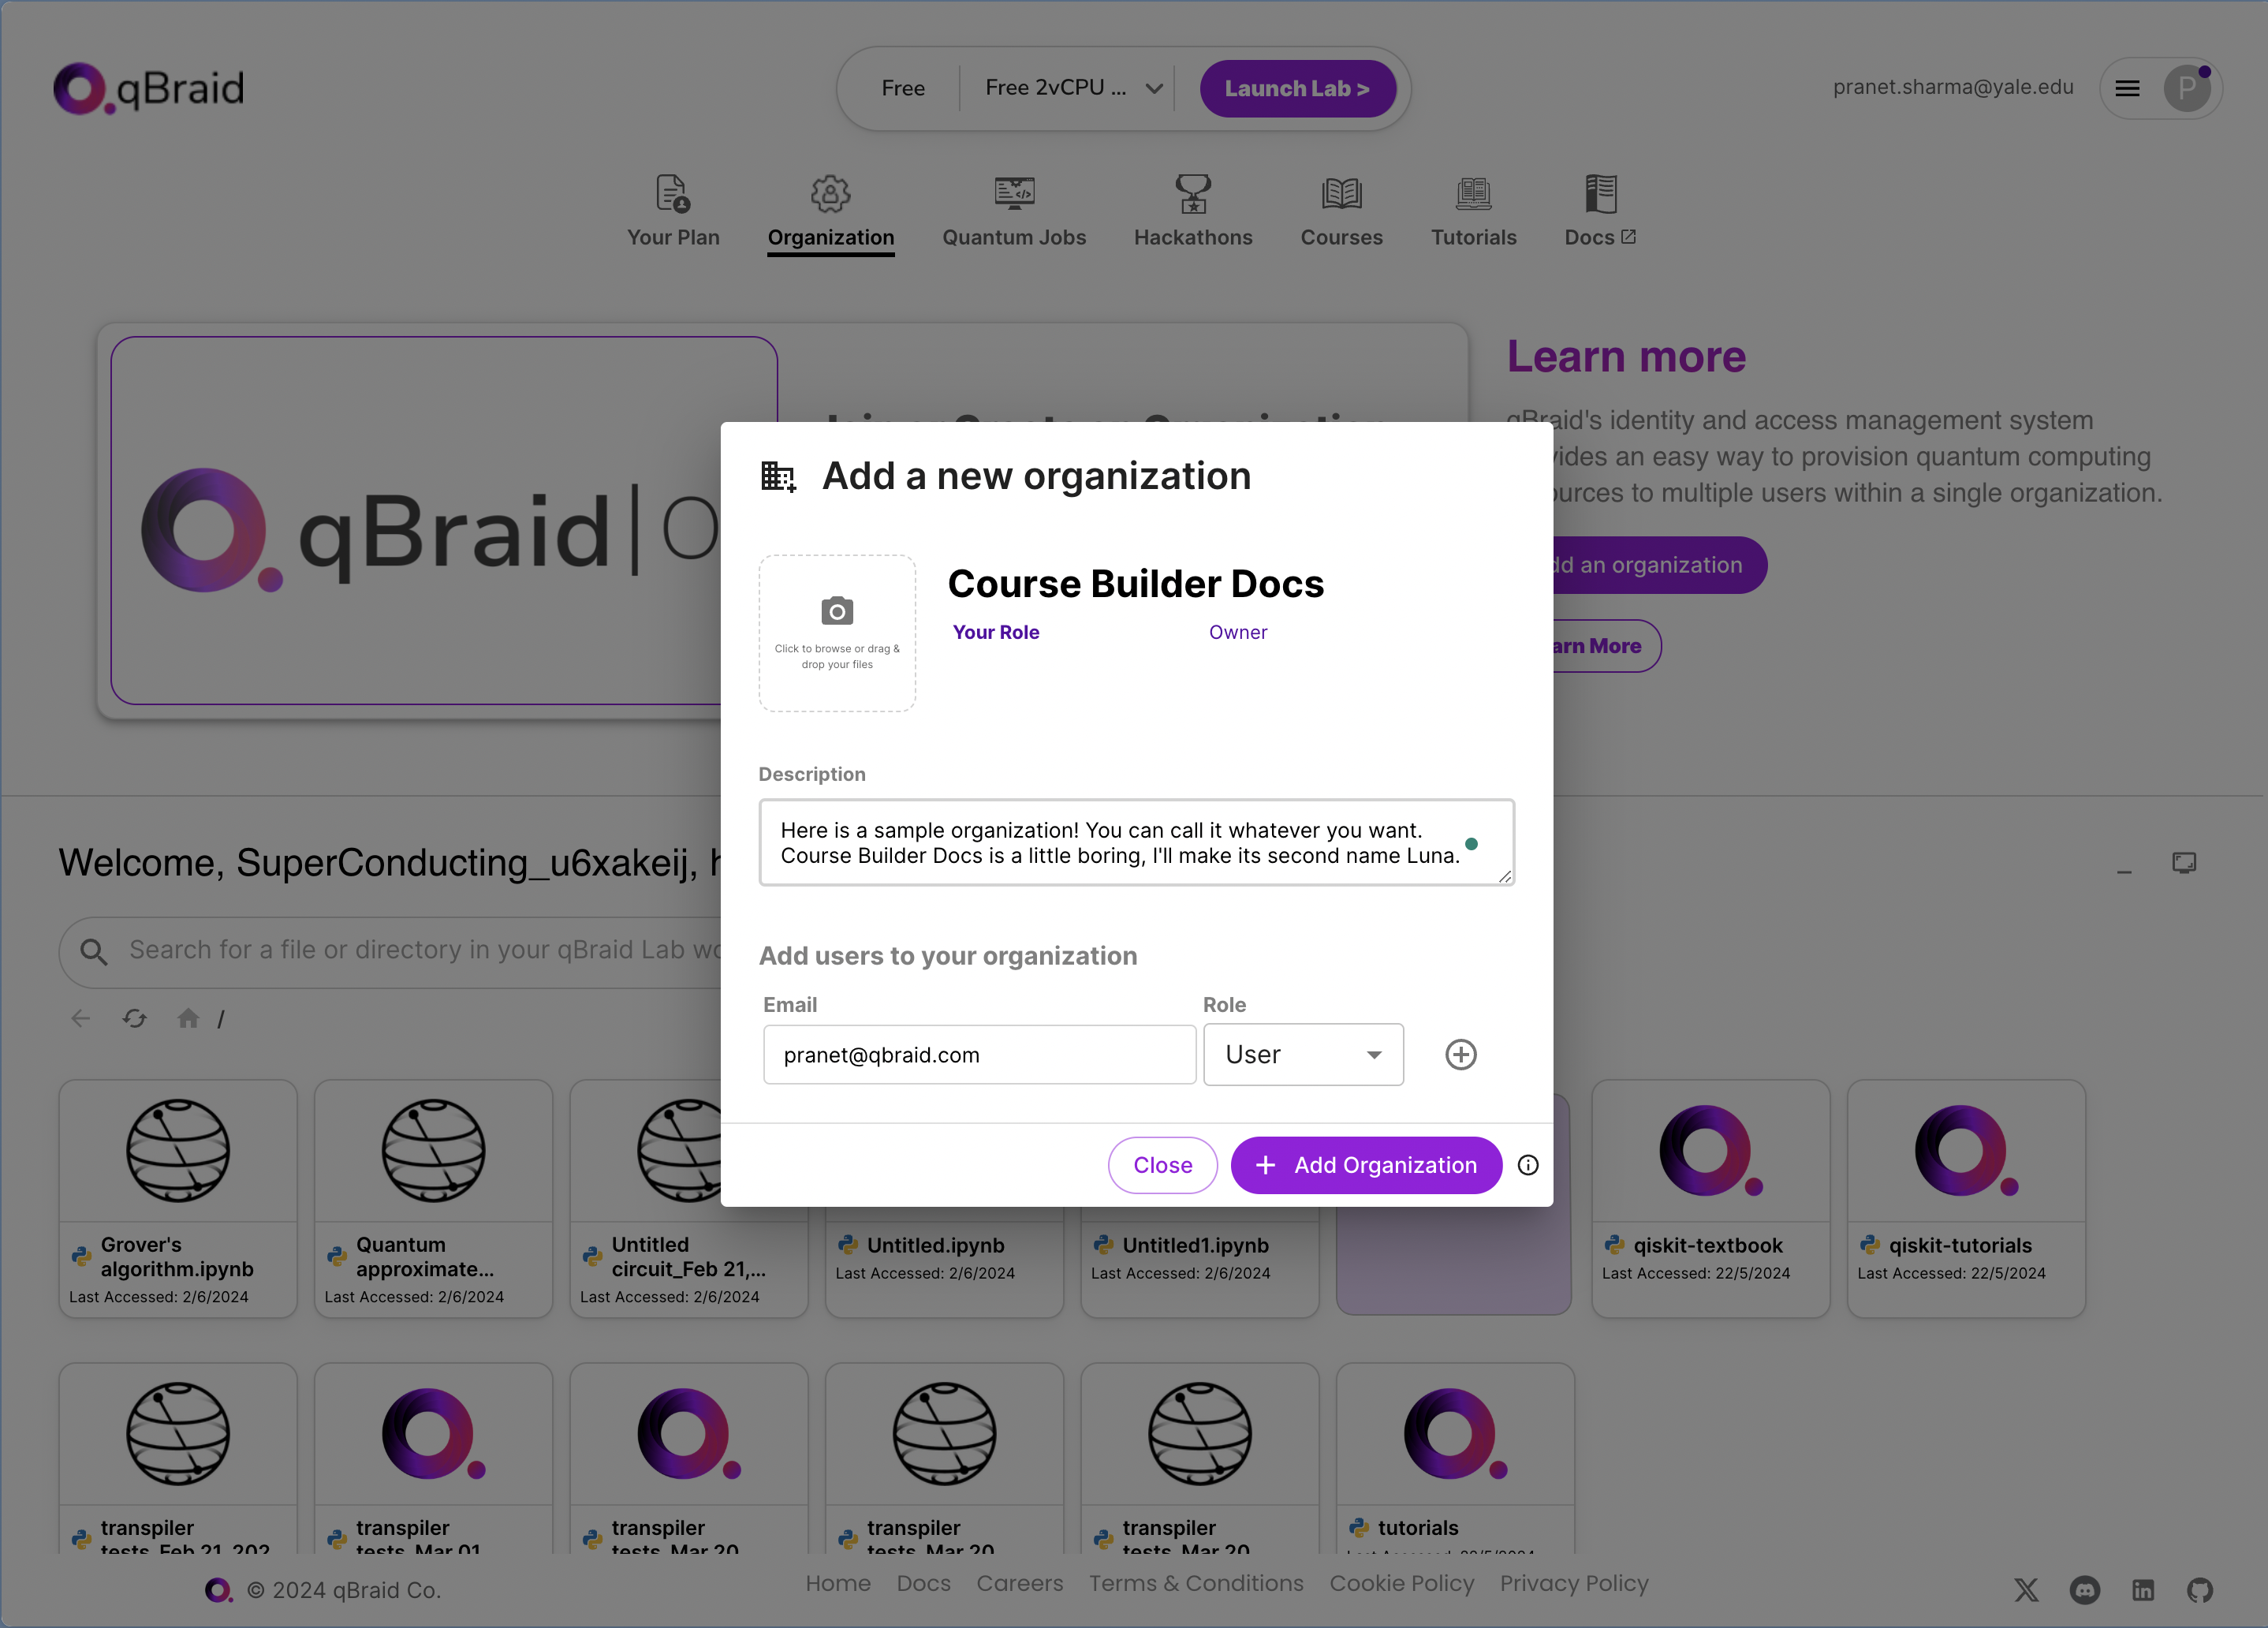
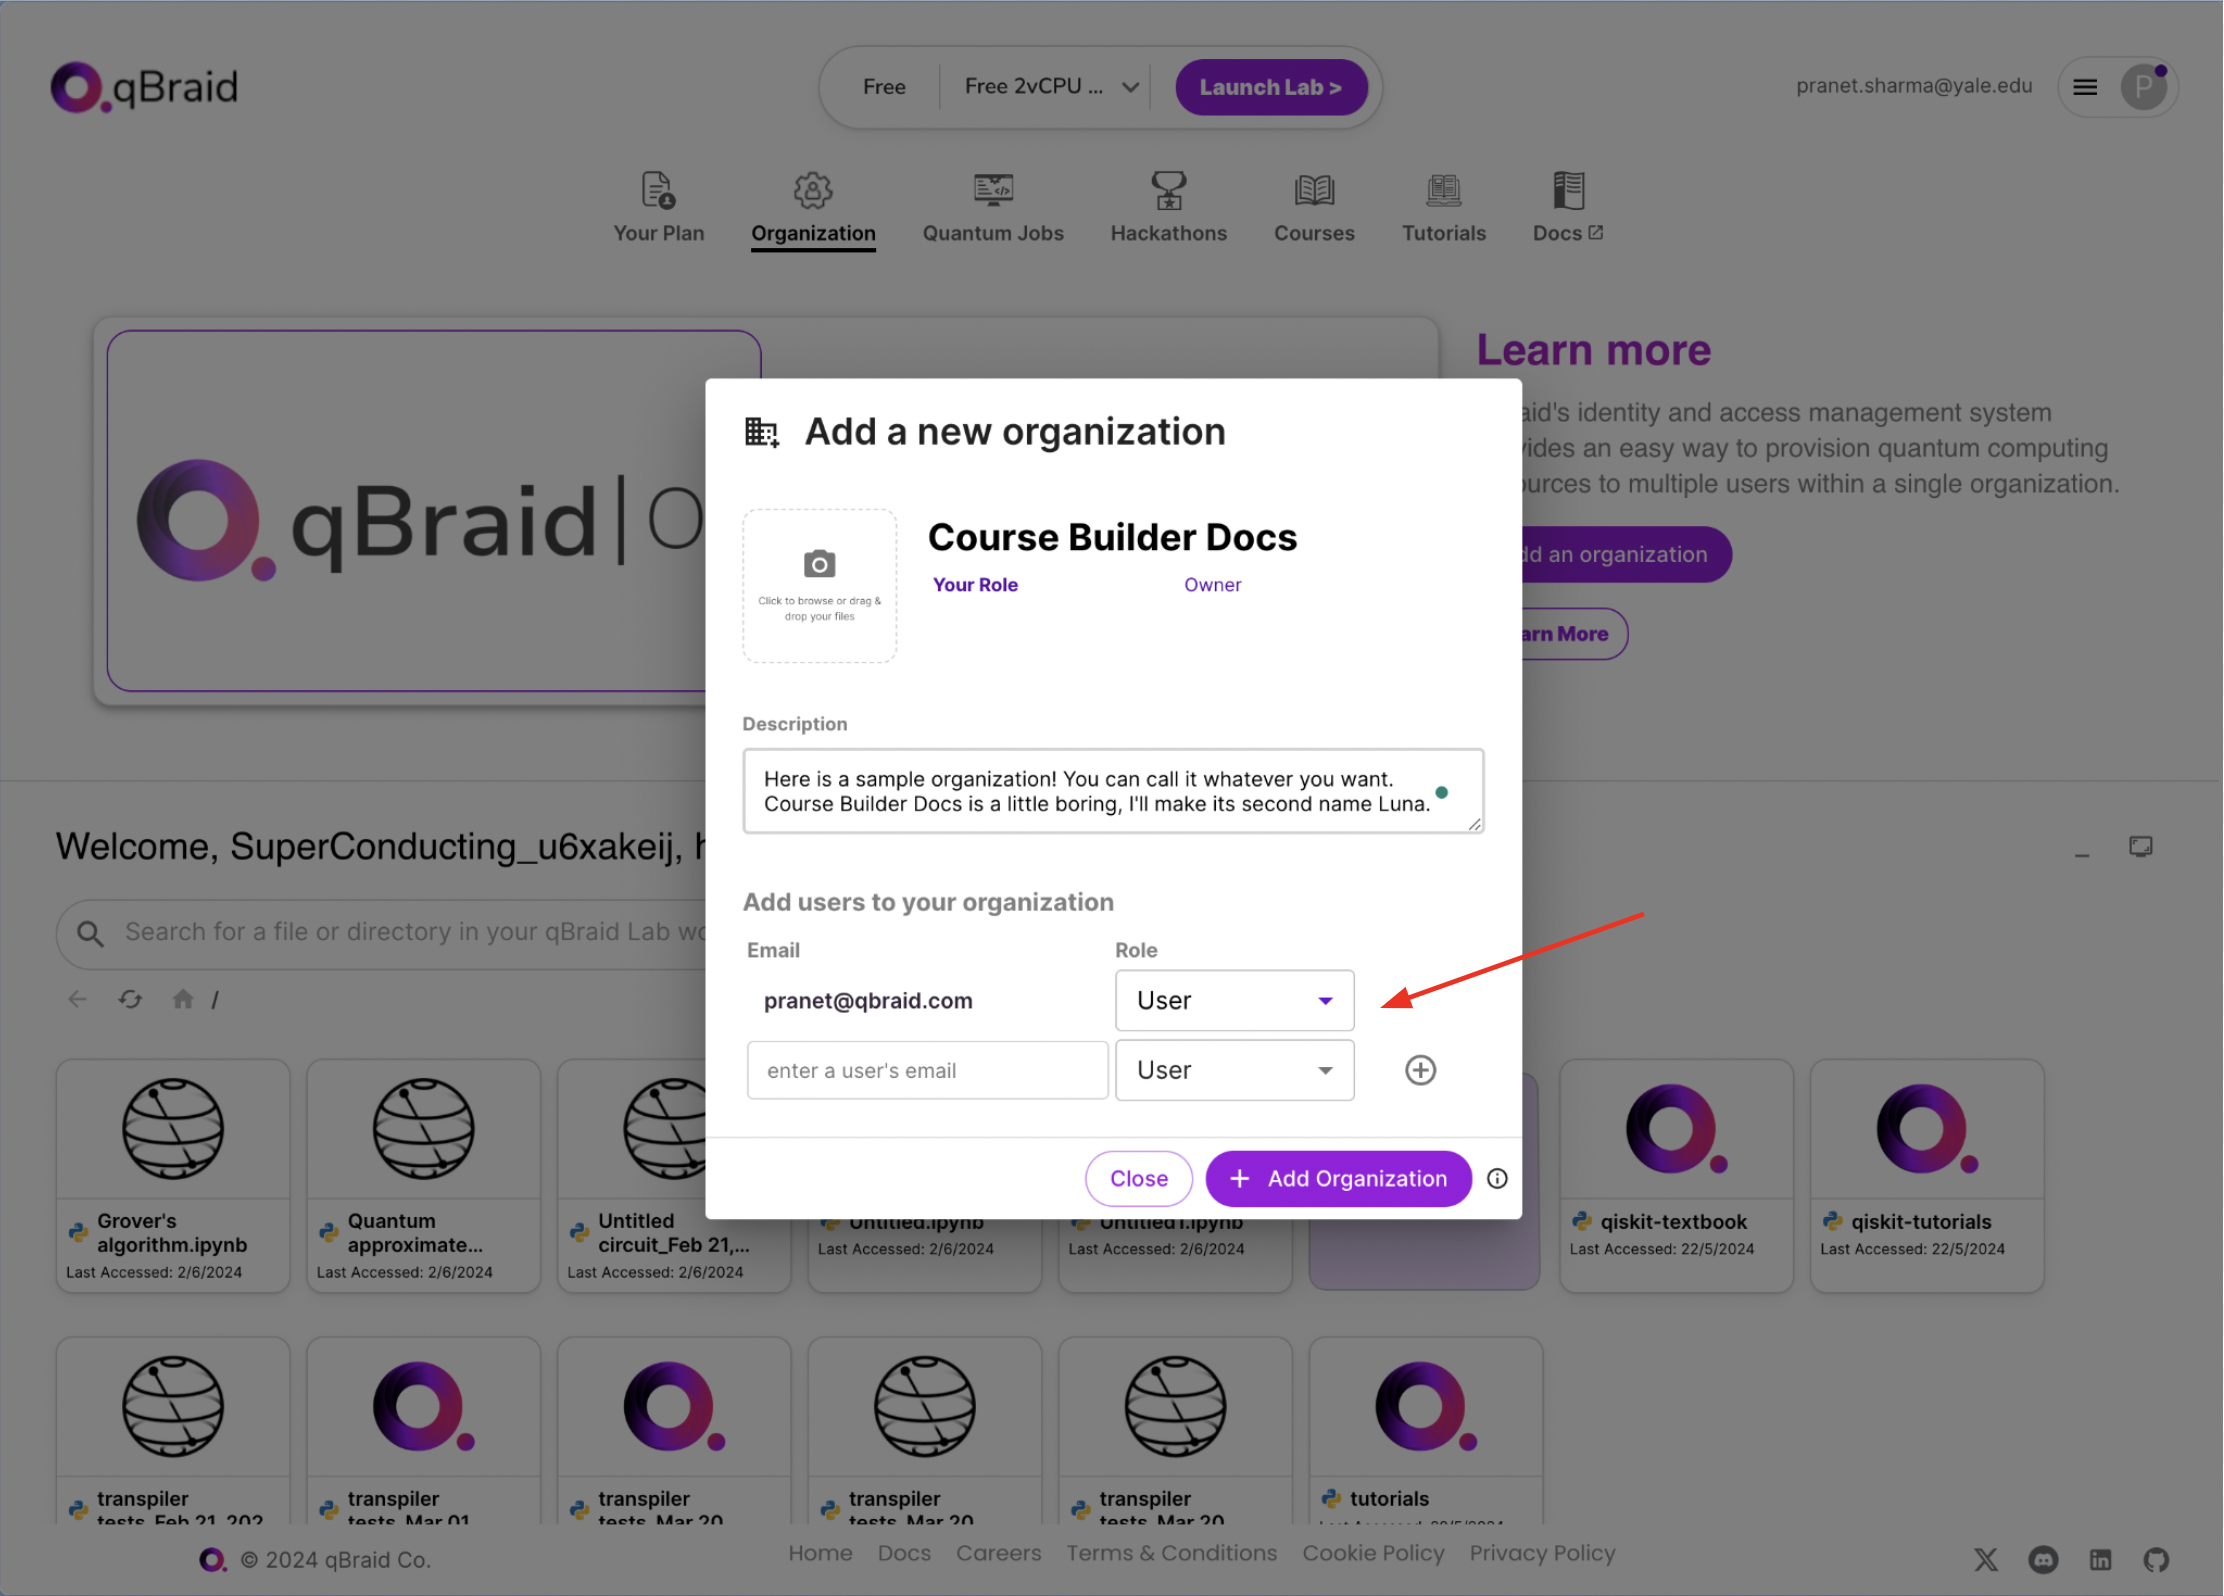
1b. Create a New Organization
To create a new organization, either click the “Add an organization” button or the “Create an organization” button.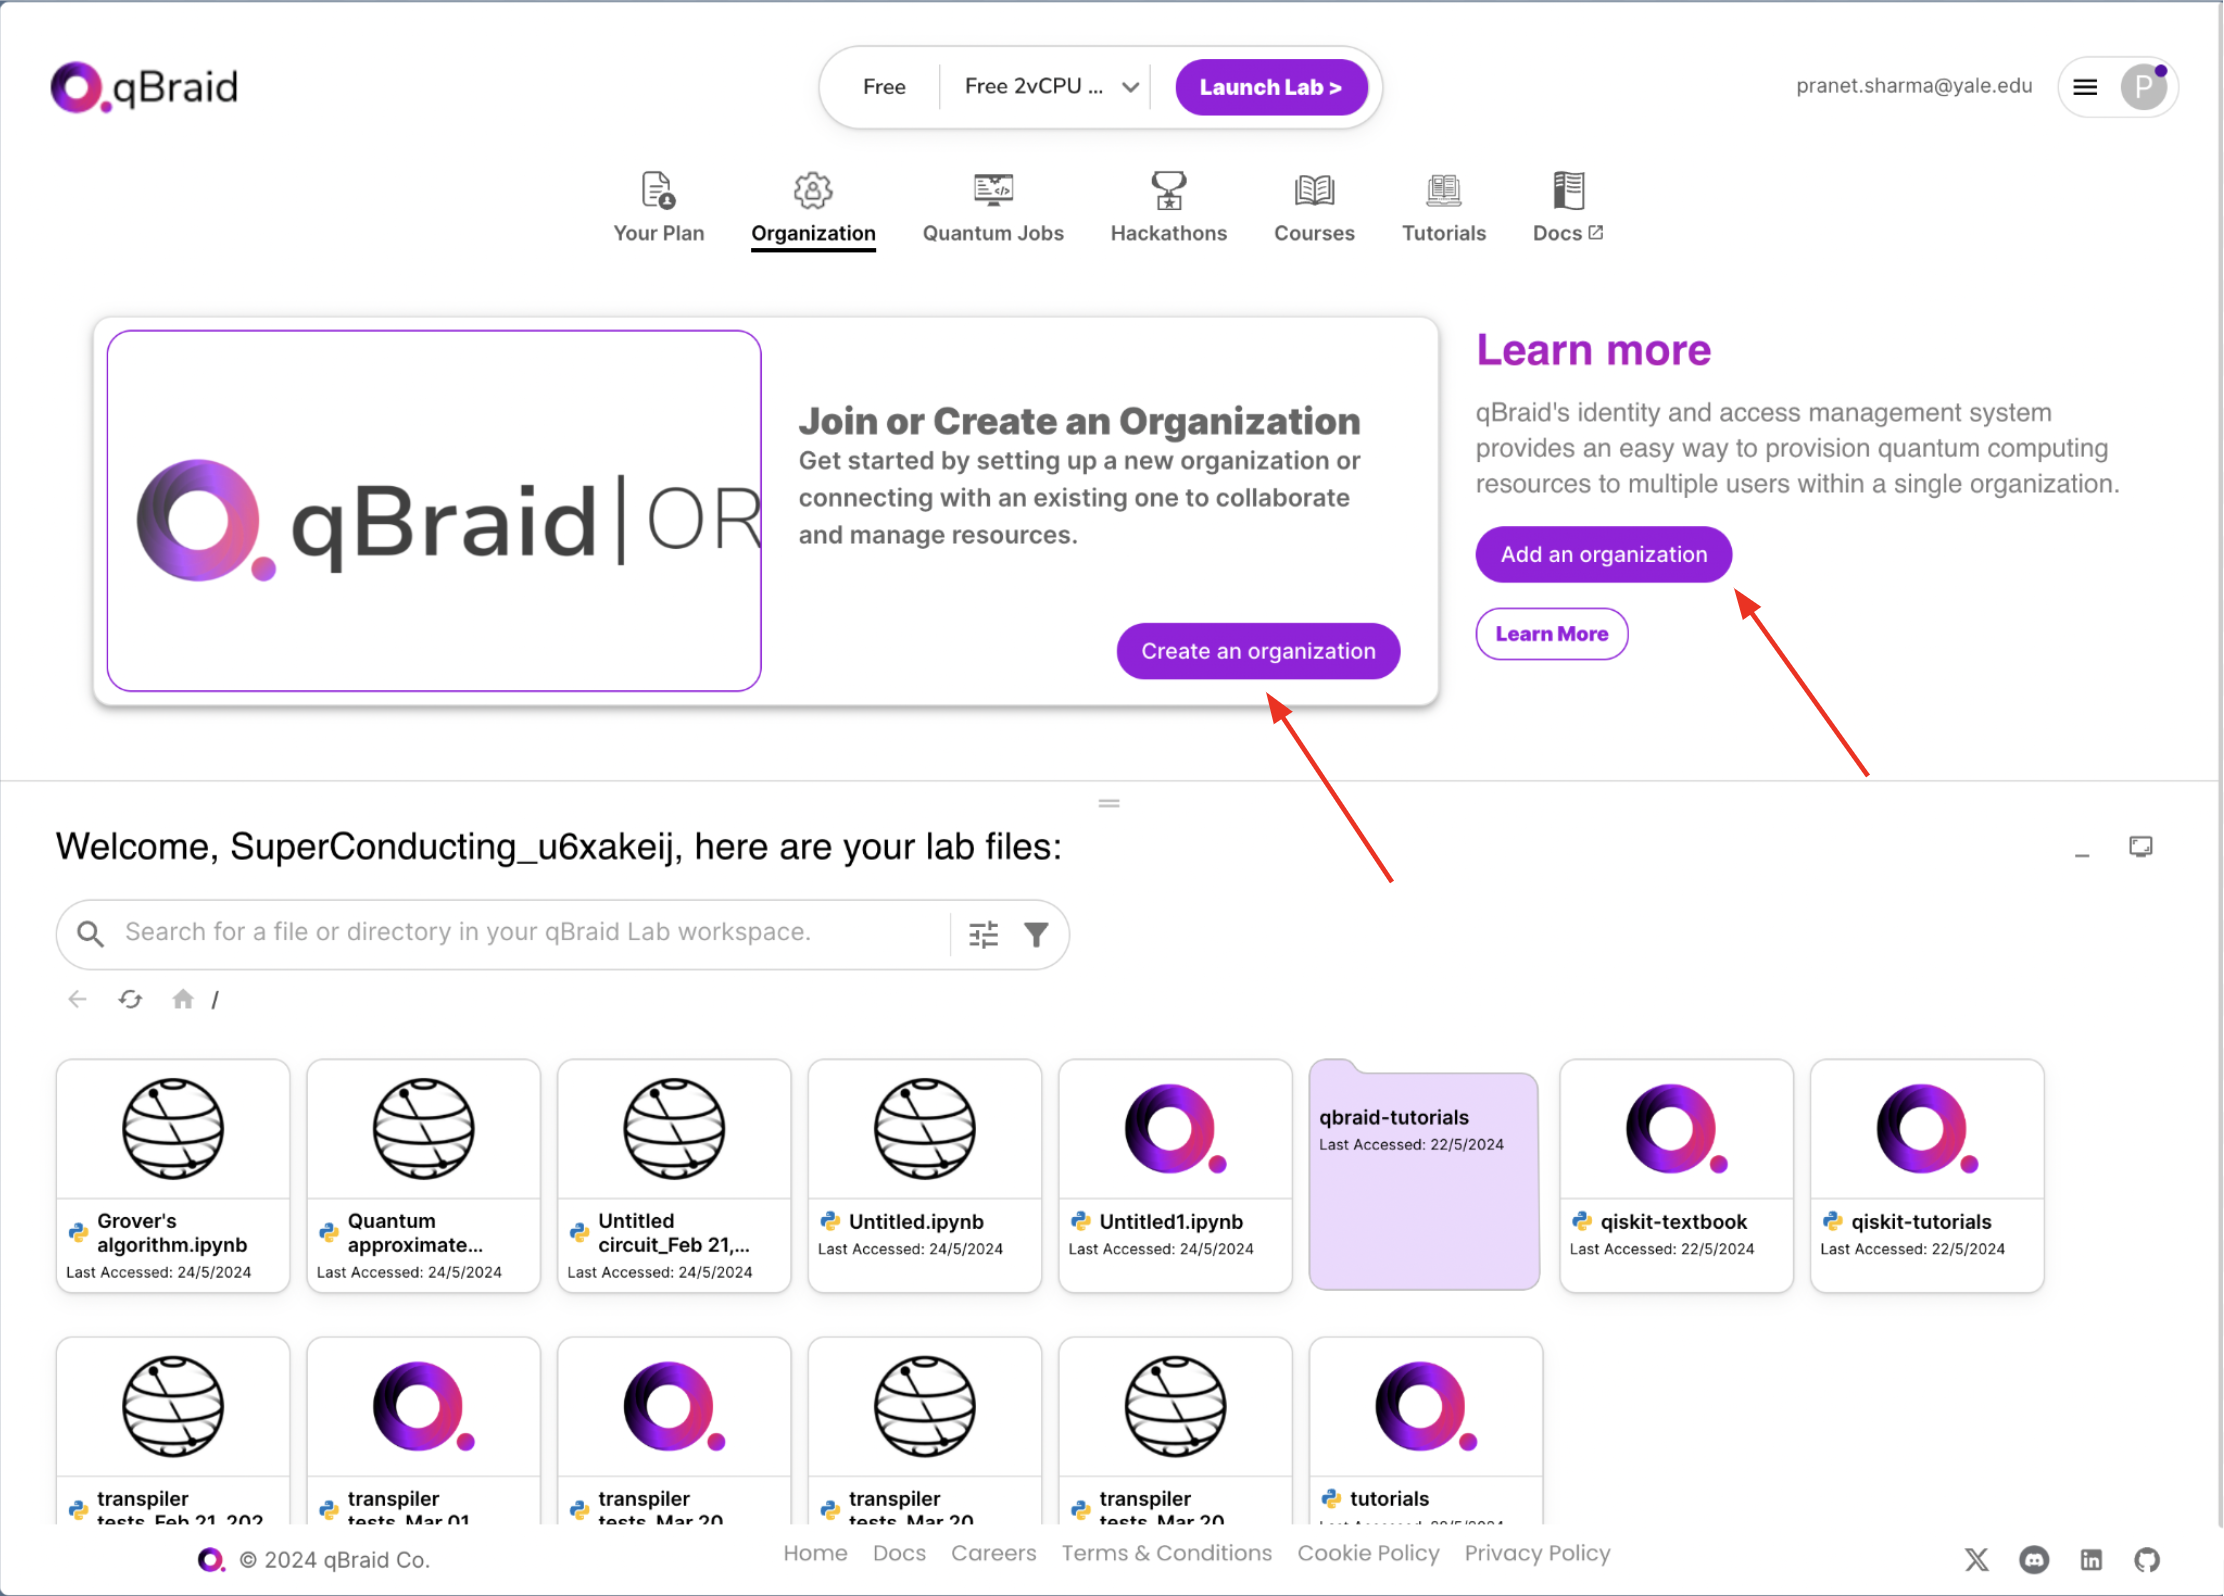
Step 2: Create an Organization on GitHub
qBraid uses GitHub to validate and link course content. To create an organization on GitHub, follow these steps.Step 3: Create a Course
Once you have created an organization on qBraid and GitHub, you can create a course. To create a course, follow these steps:3a. Open qBraid Lab
Visit lab.qbraid.com and log in with your qBraid account. Start the lab environment of your choice from the landing page.3b. Open the qBook Builder
From the Launcher tab, click on the “qBook Builder” icon.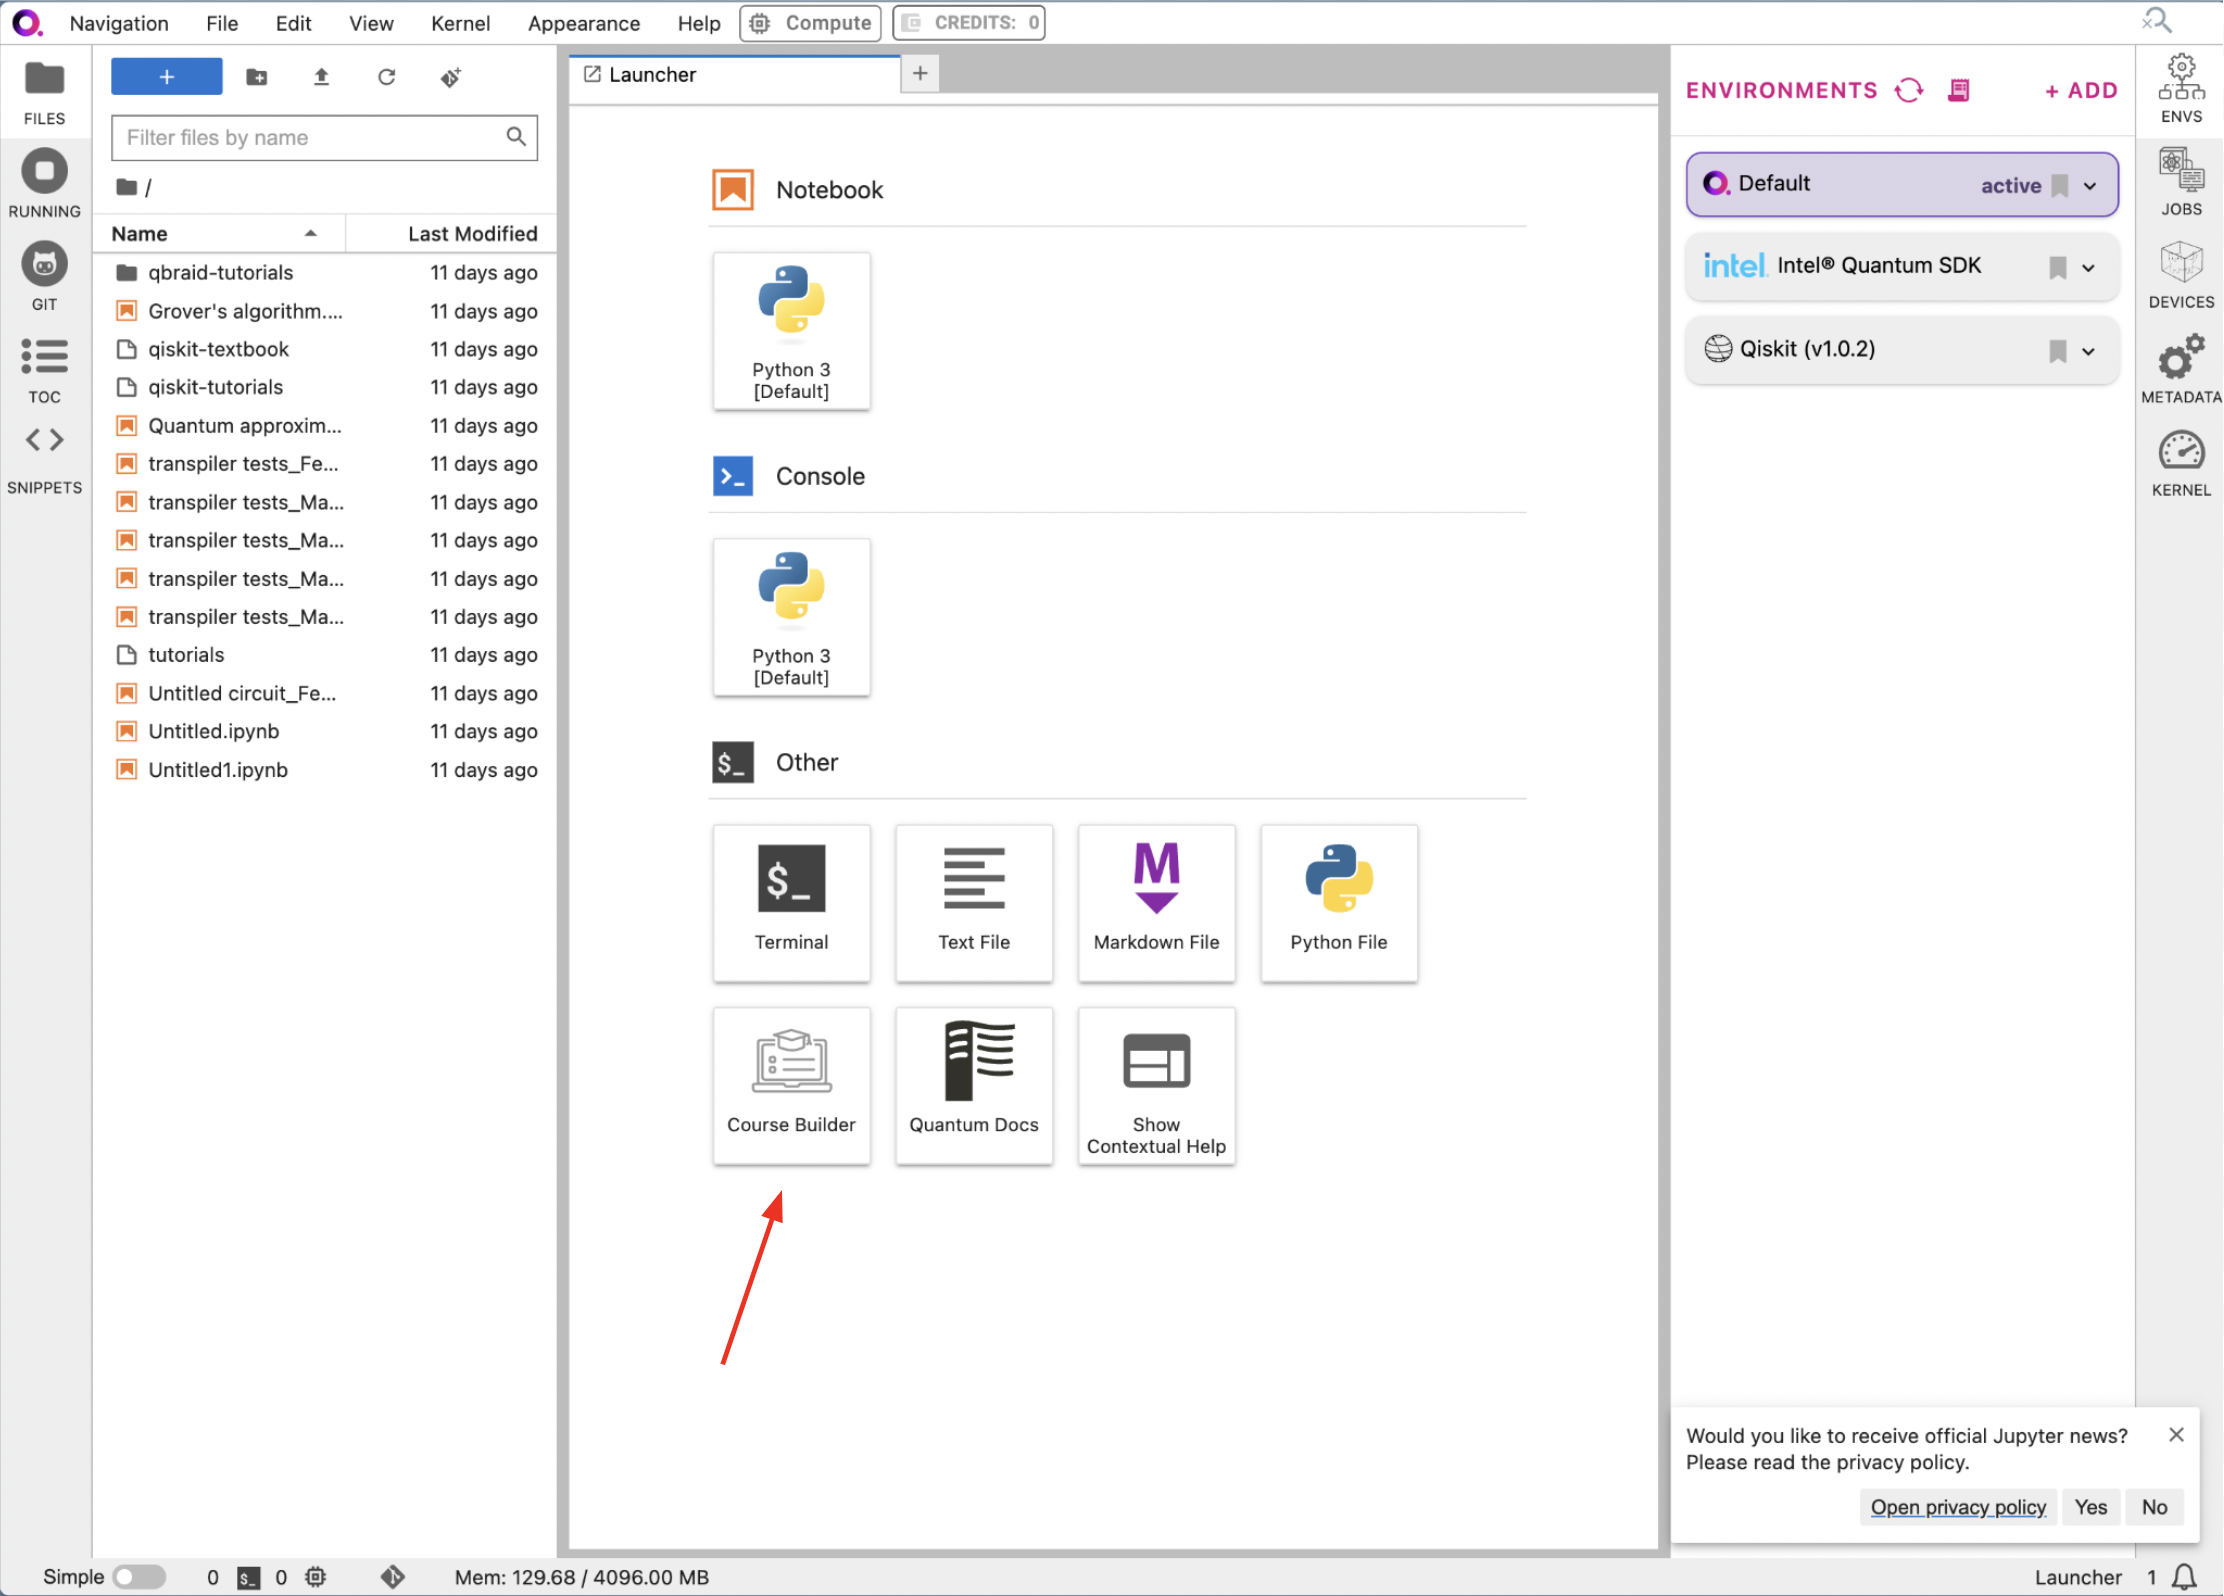
You can use the link on the page to find your Personal Access Token if you’re
having any difficulty.
3c. Create a New Course
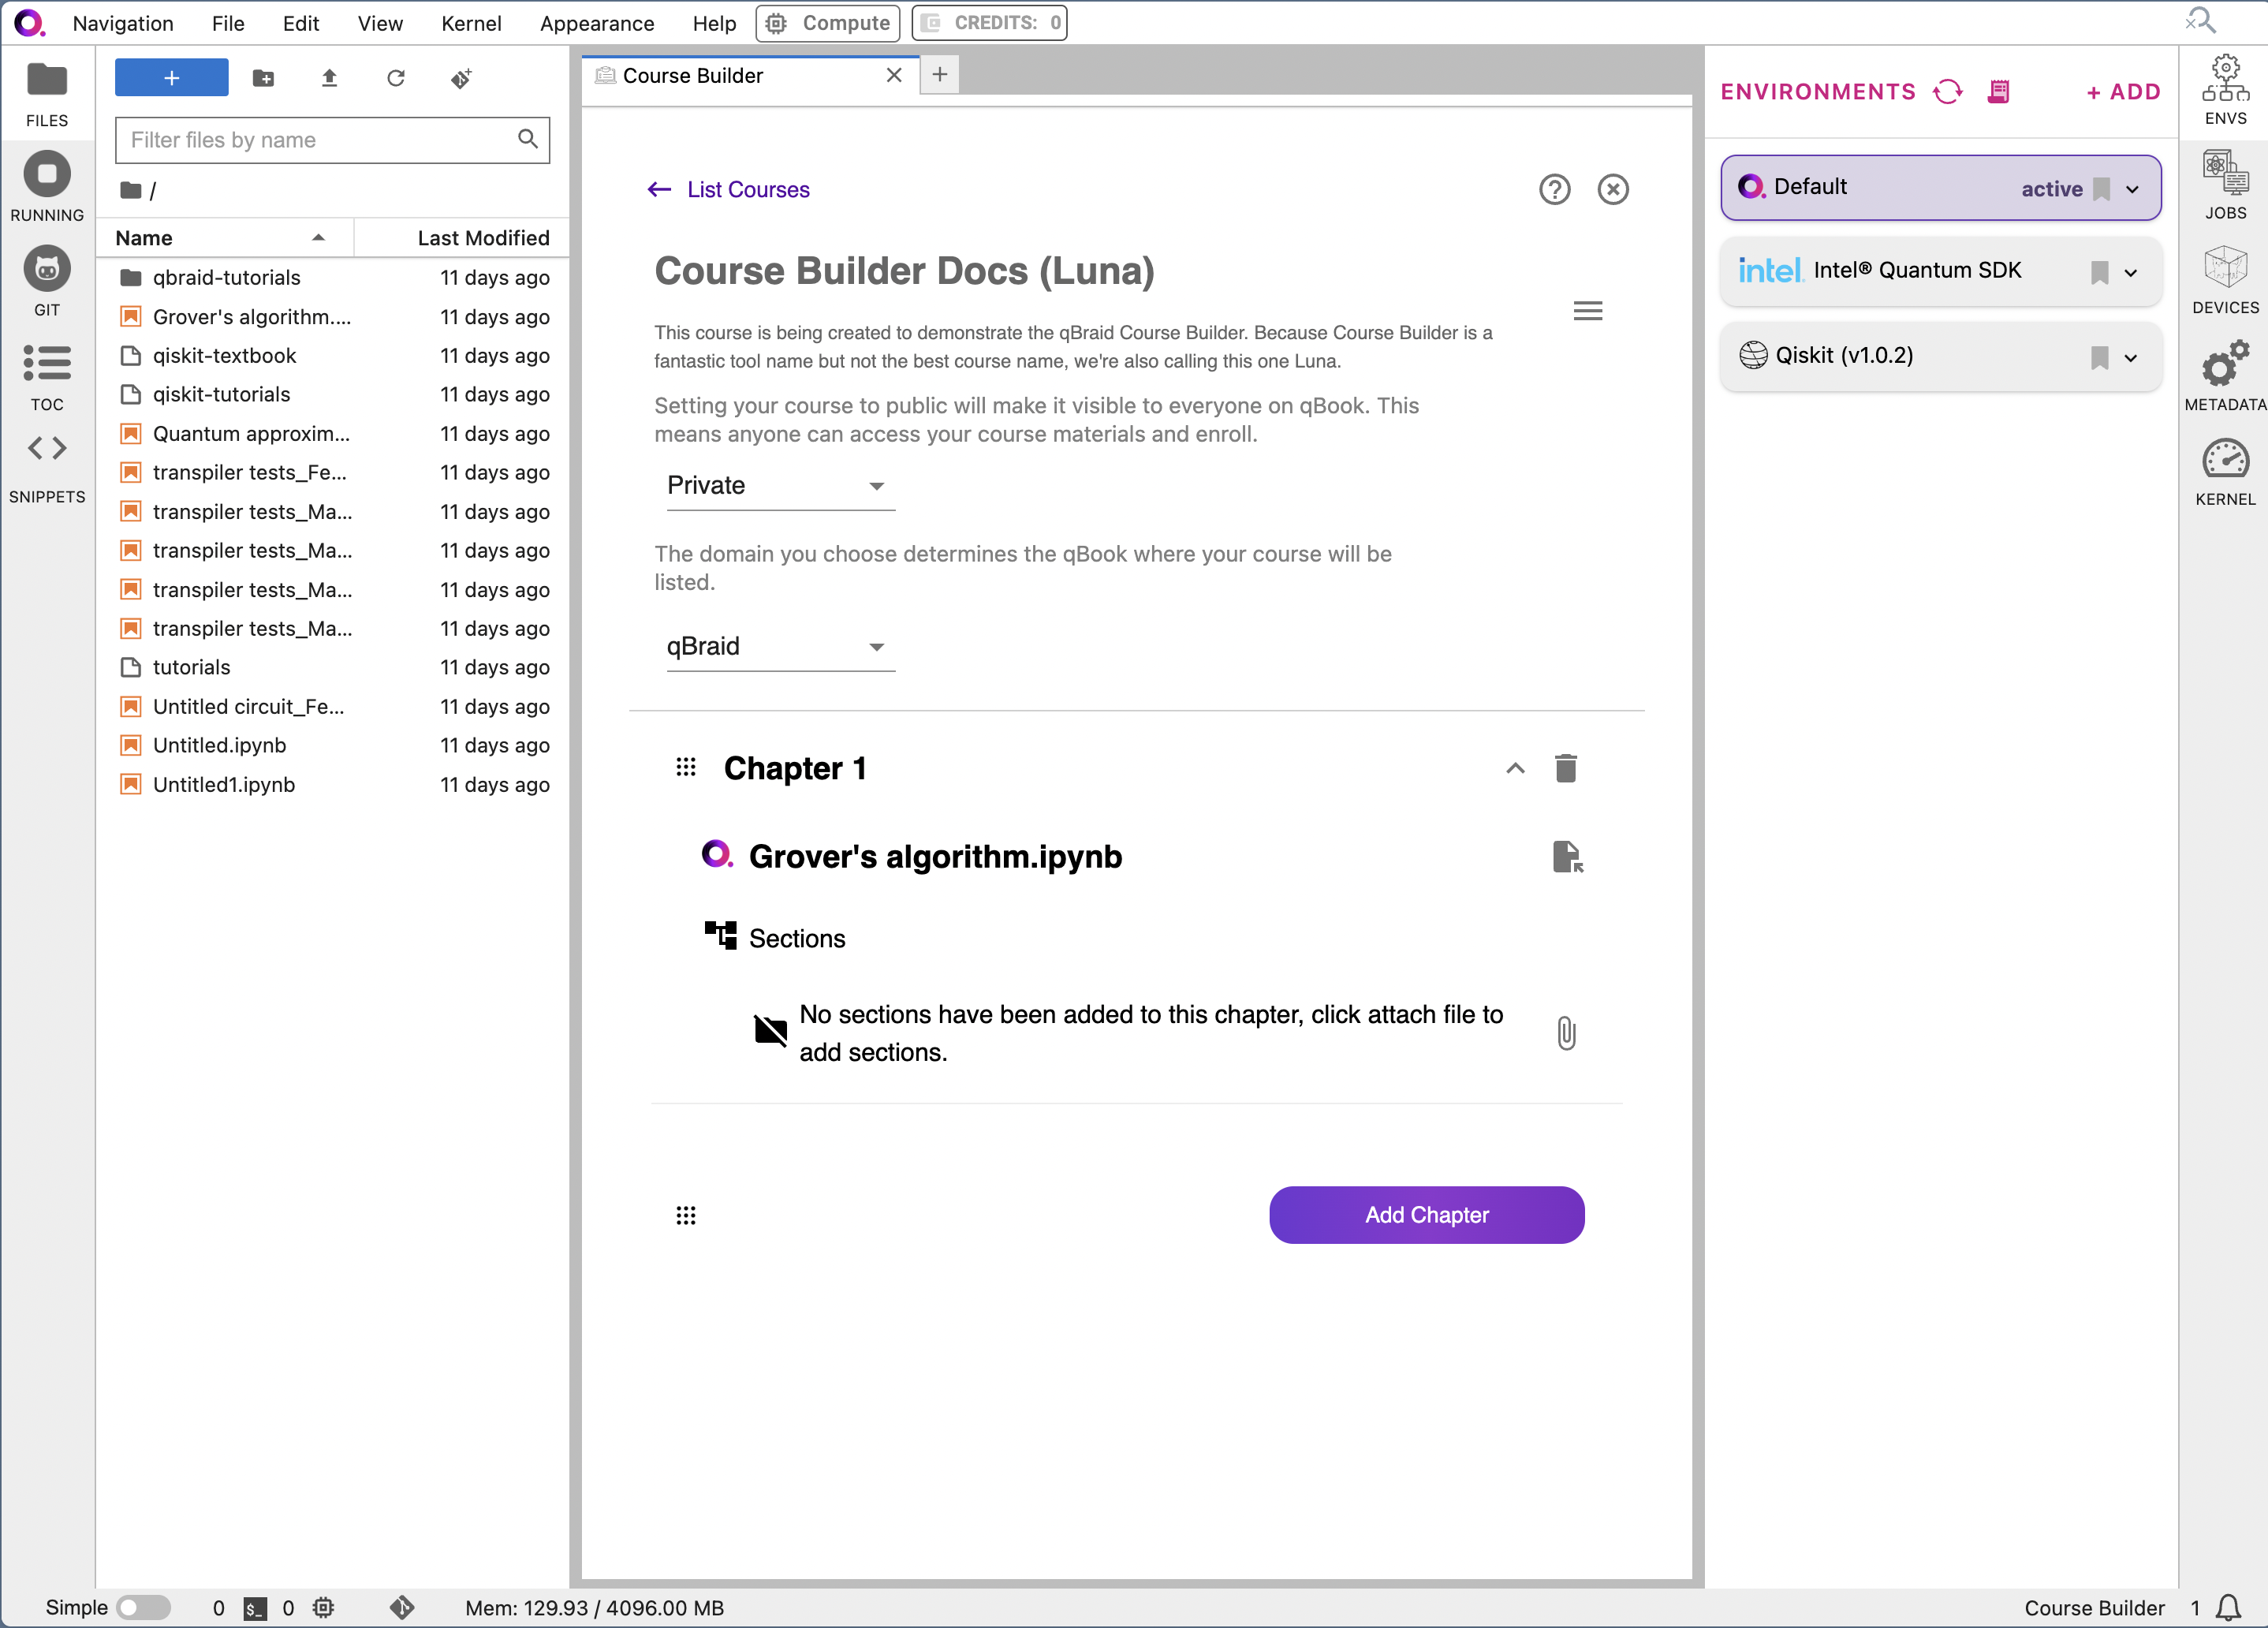
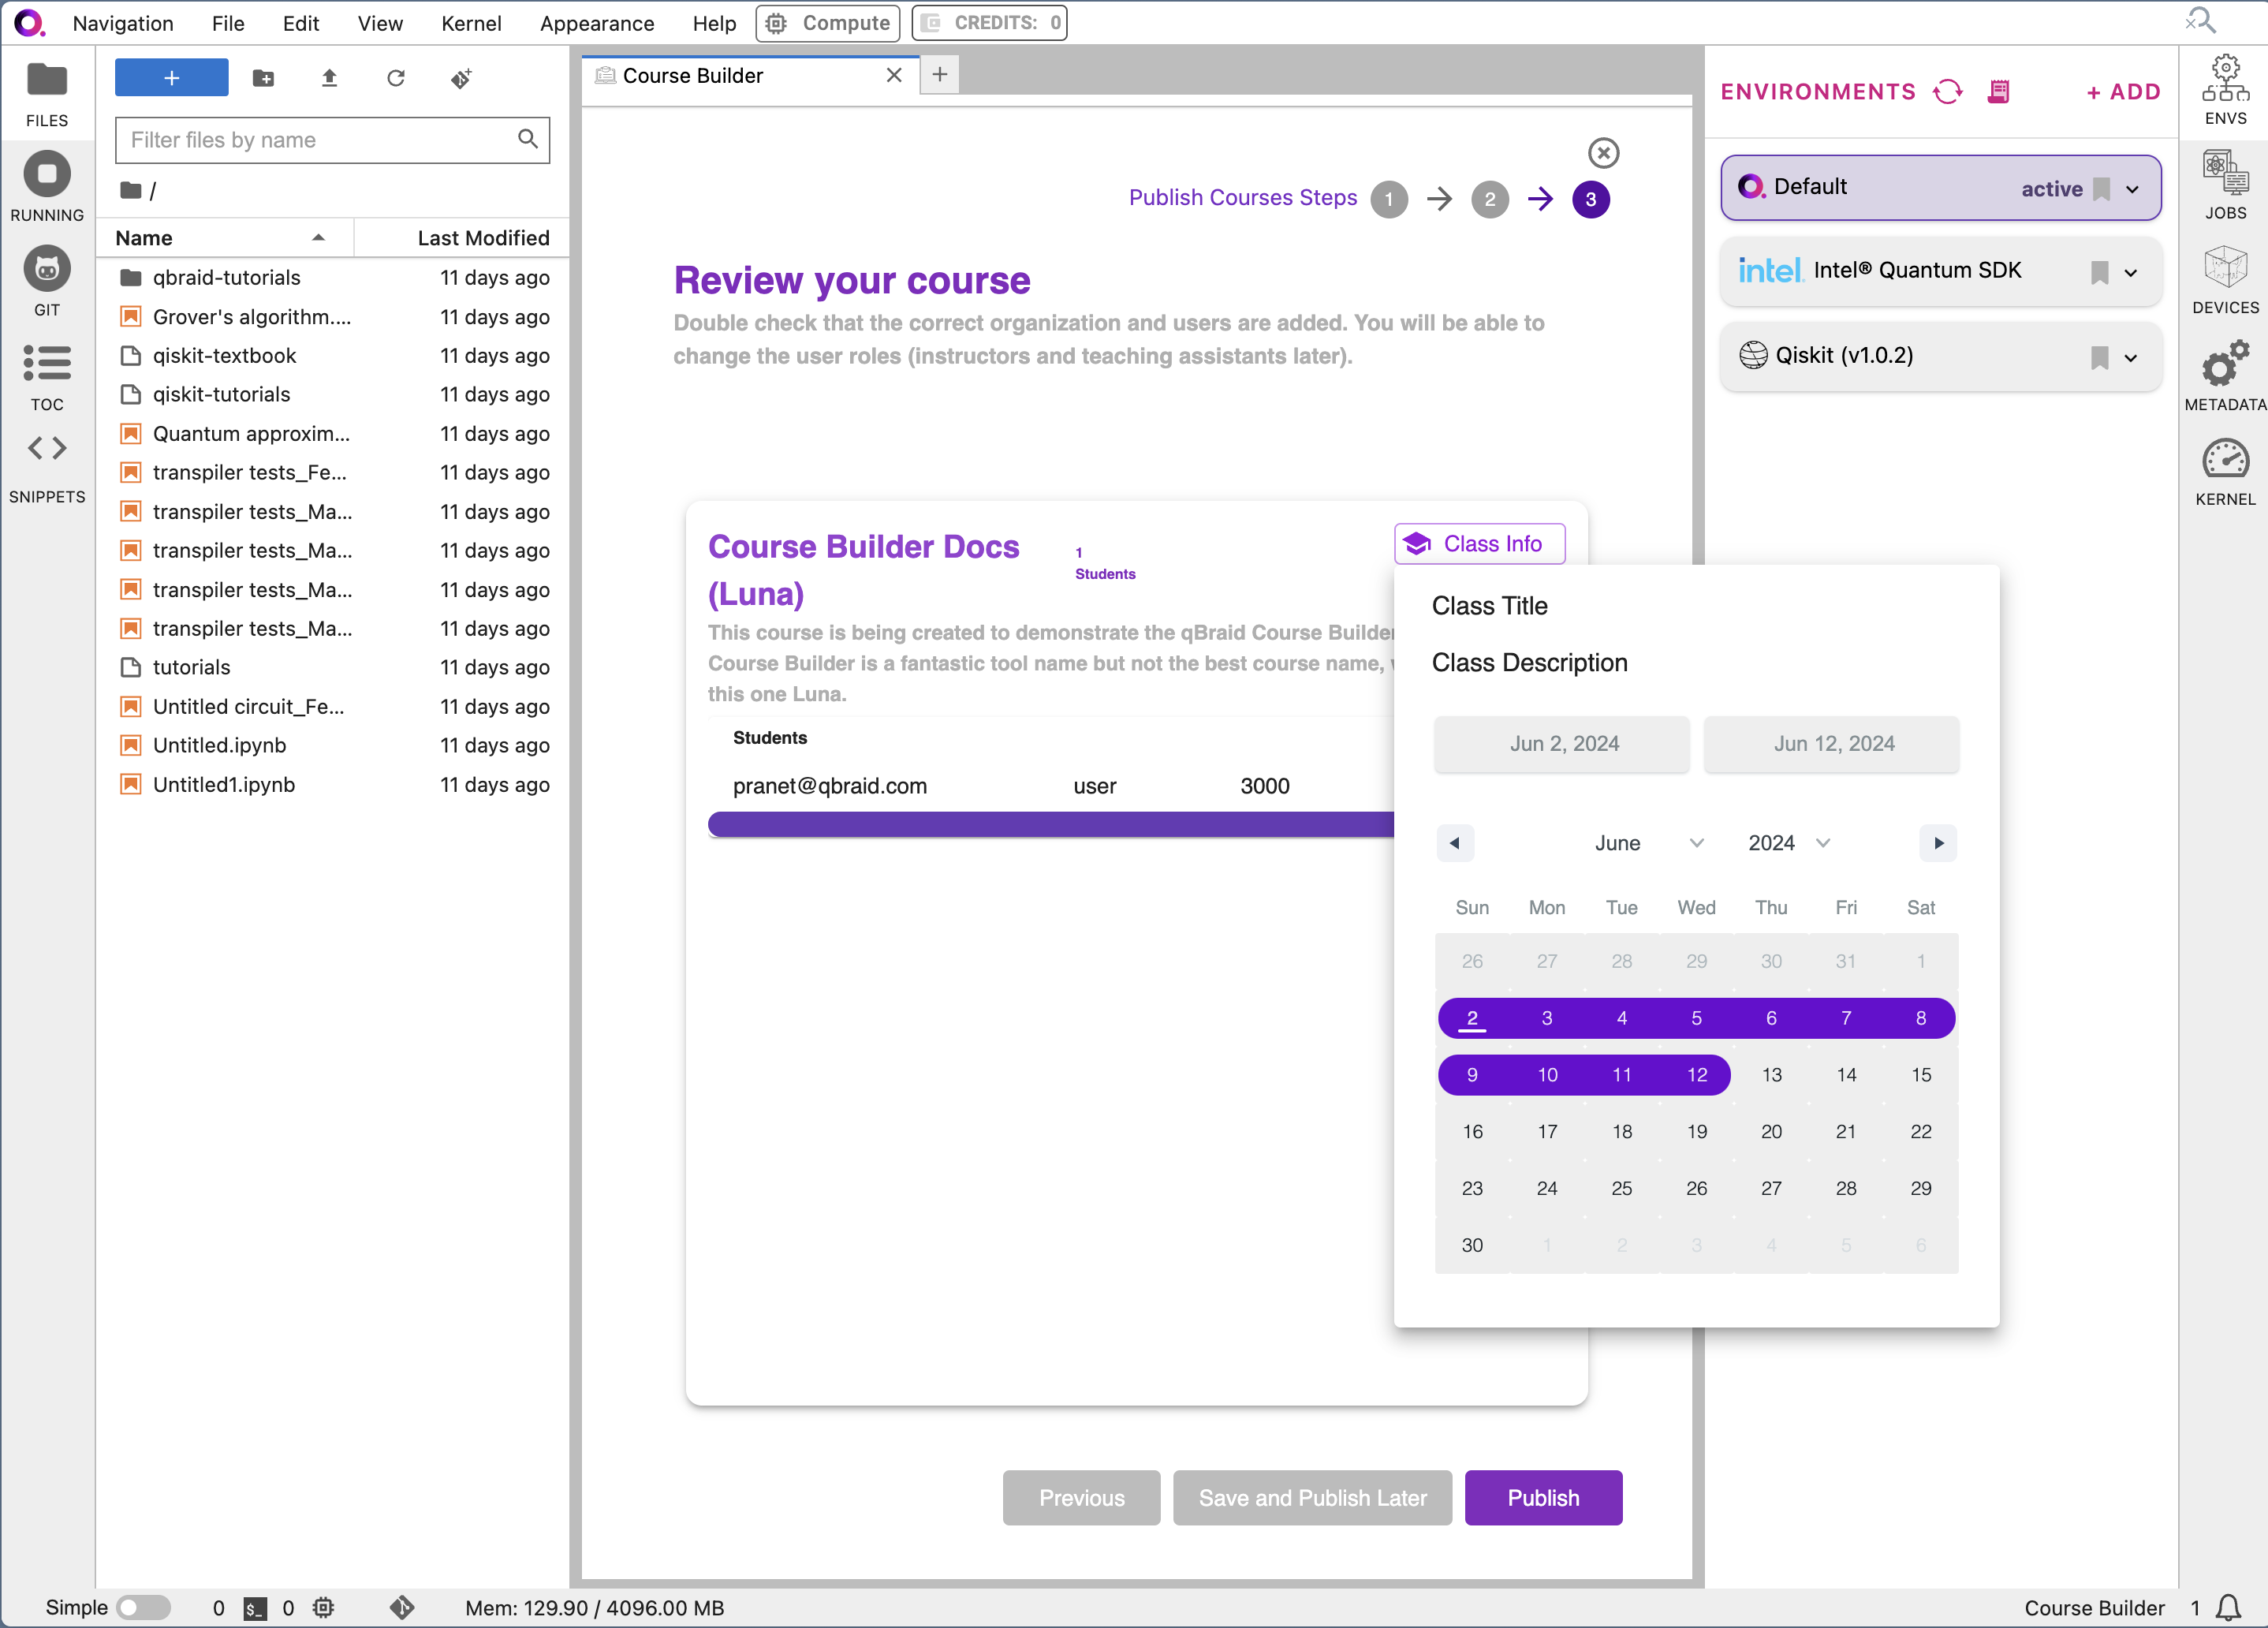
Now you can start by creating a new course. On the page that appears, click on the “Build New Course” button. Here, you can add your course title and description. You can select your desired visibility from the first drop-down. From the second drop-down, you can select the domain you want to host your course on. In the example, we are creating a private course on the qBraid domain.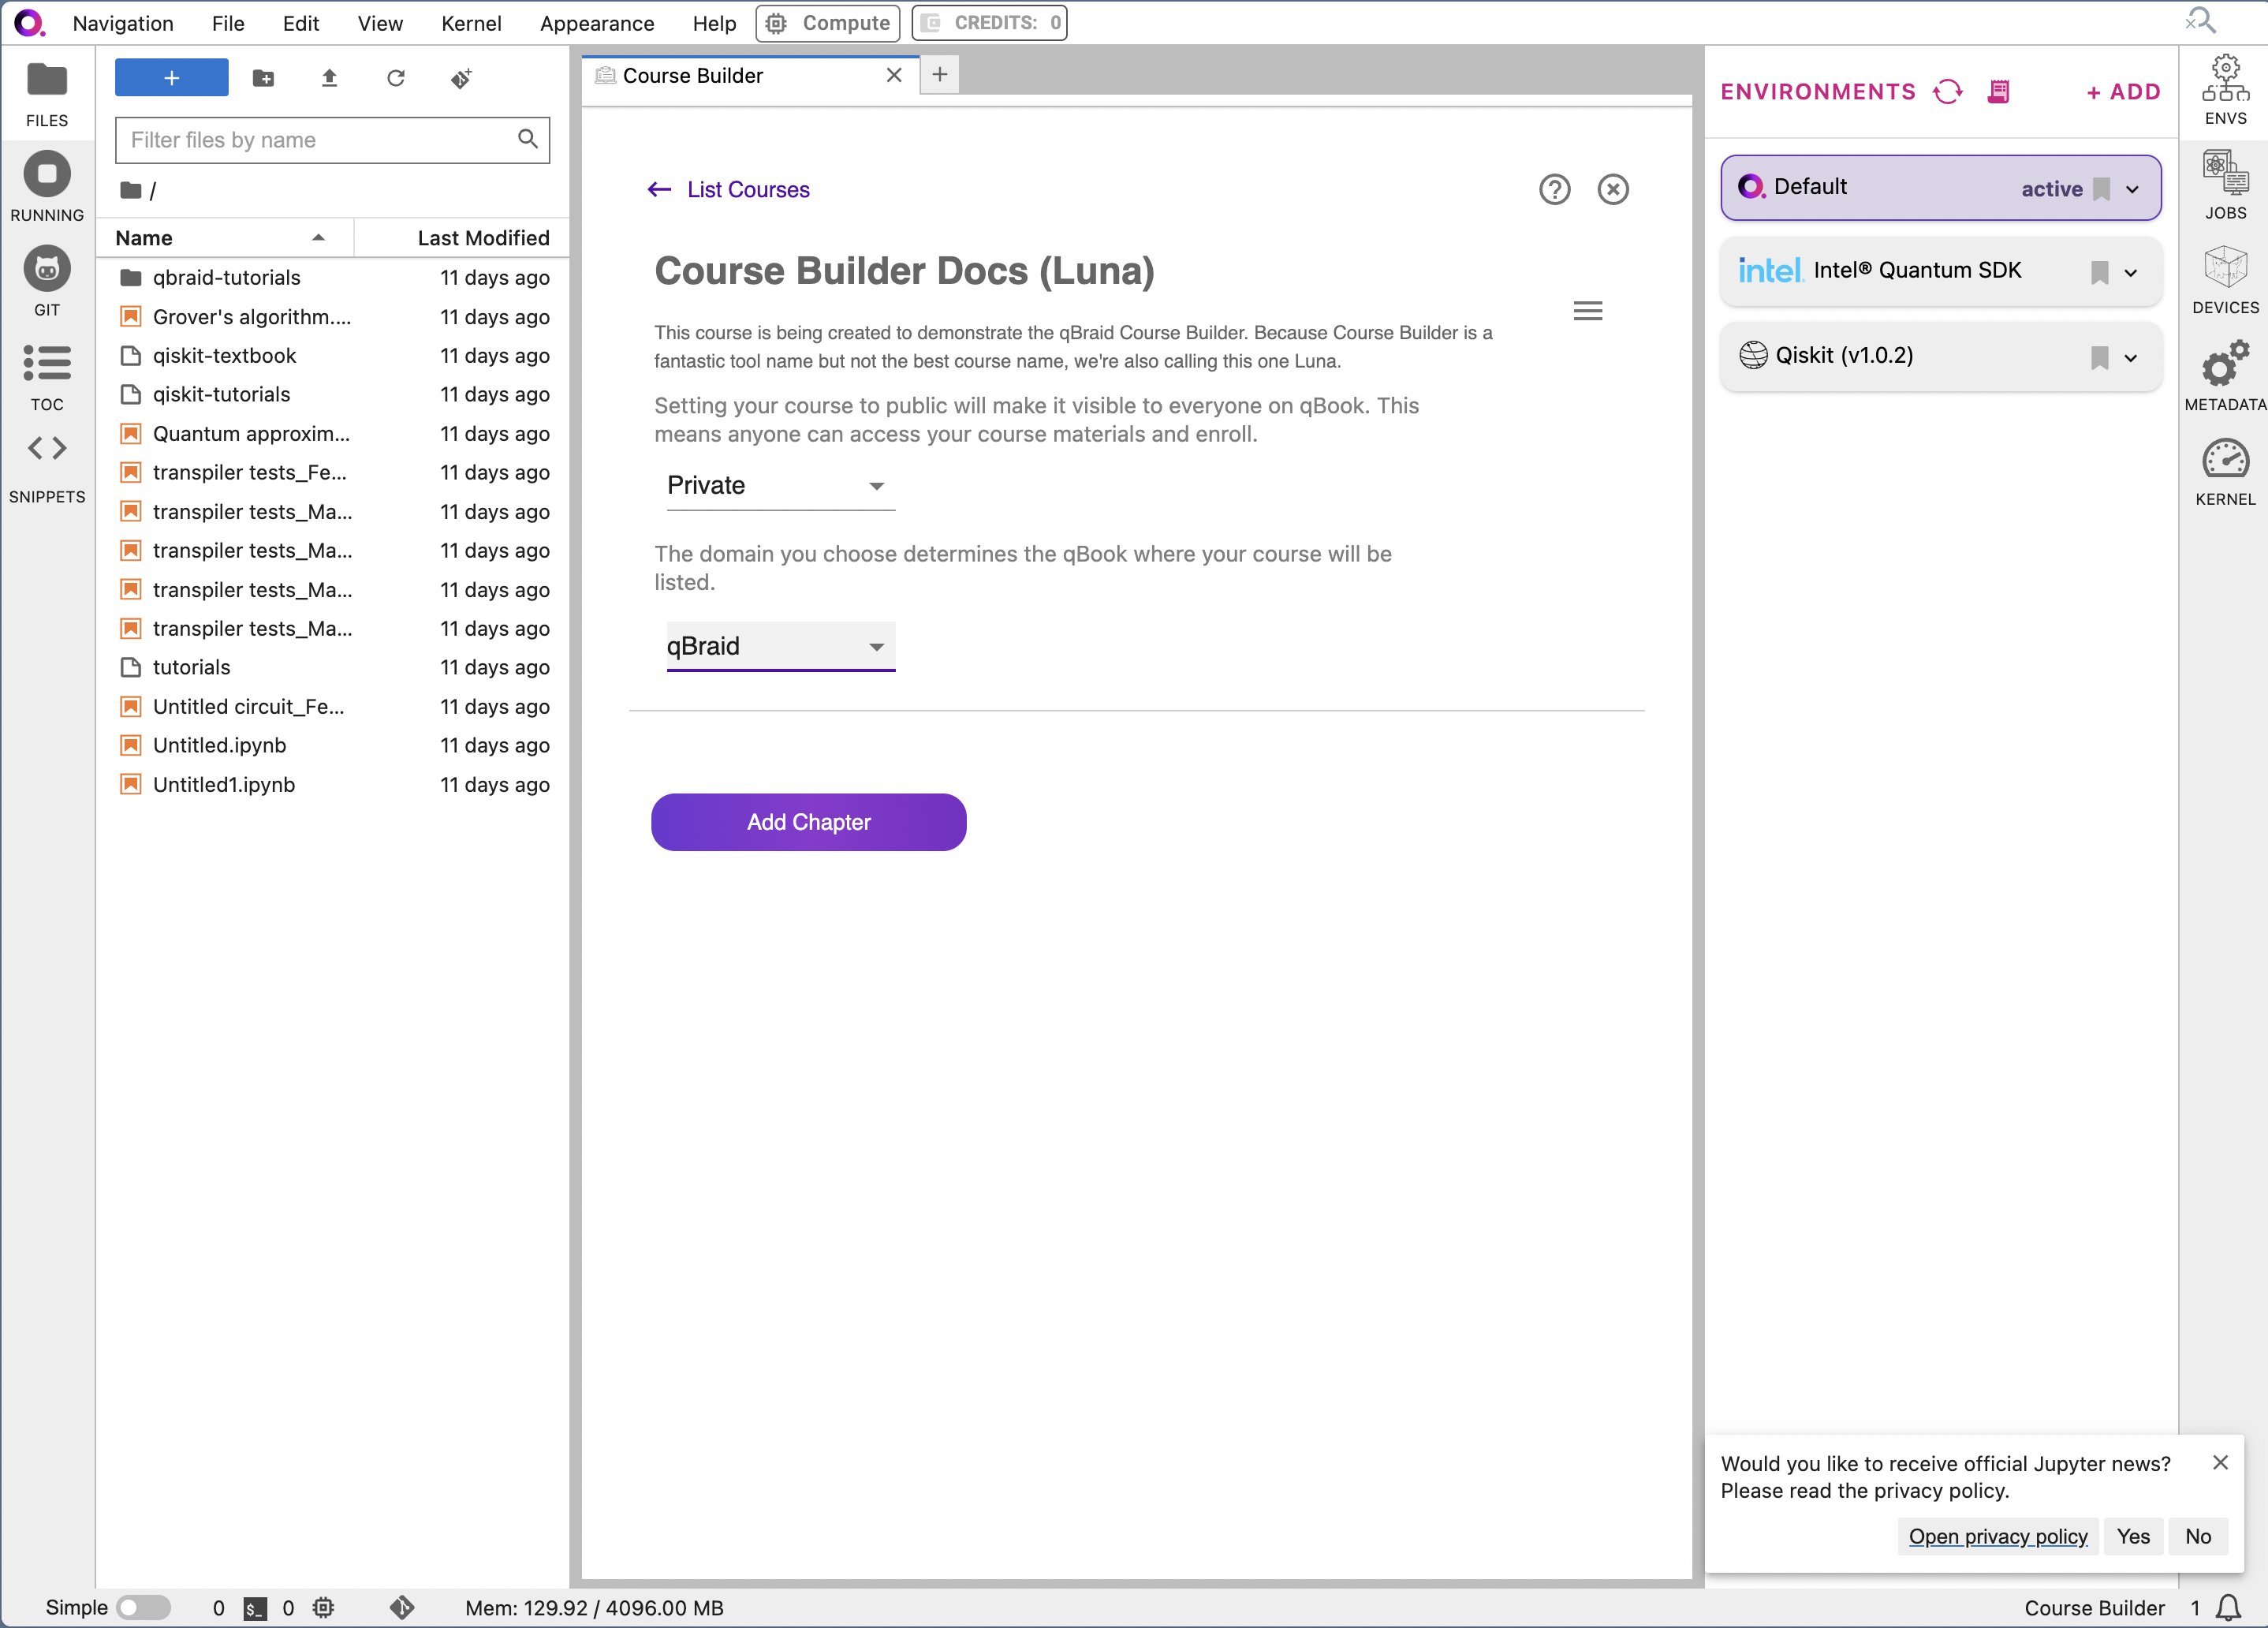
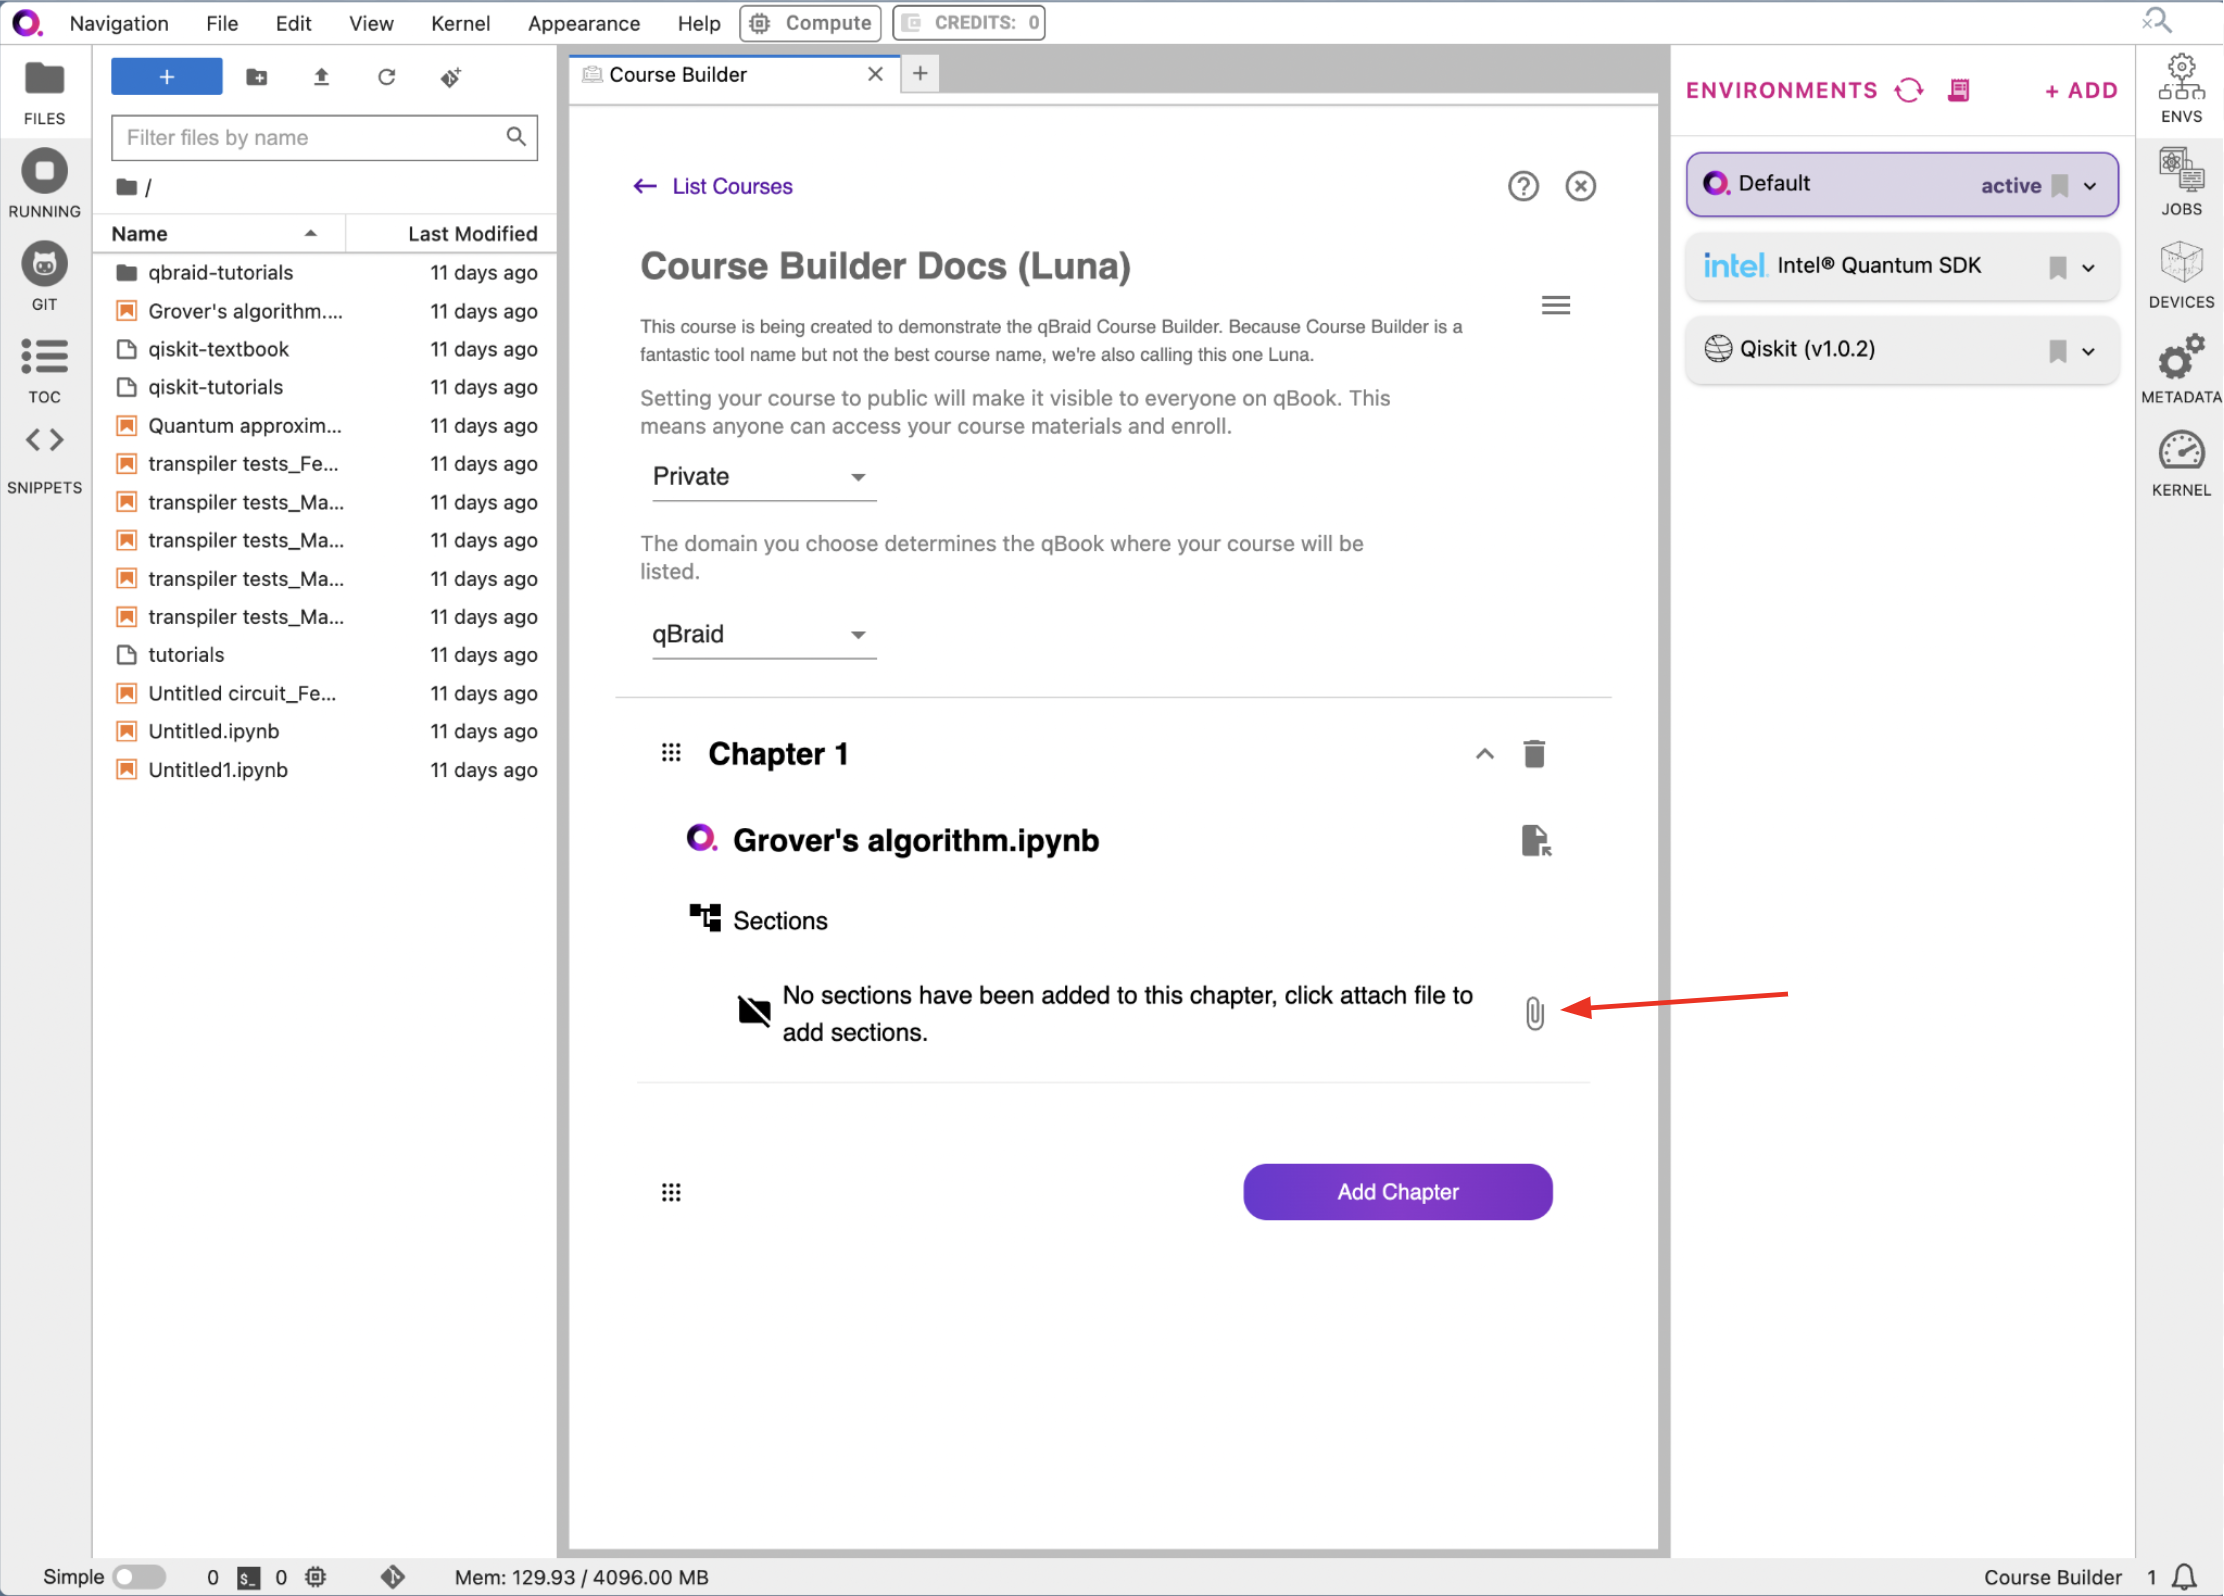
Step 4: Add Course Content
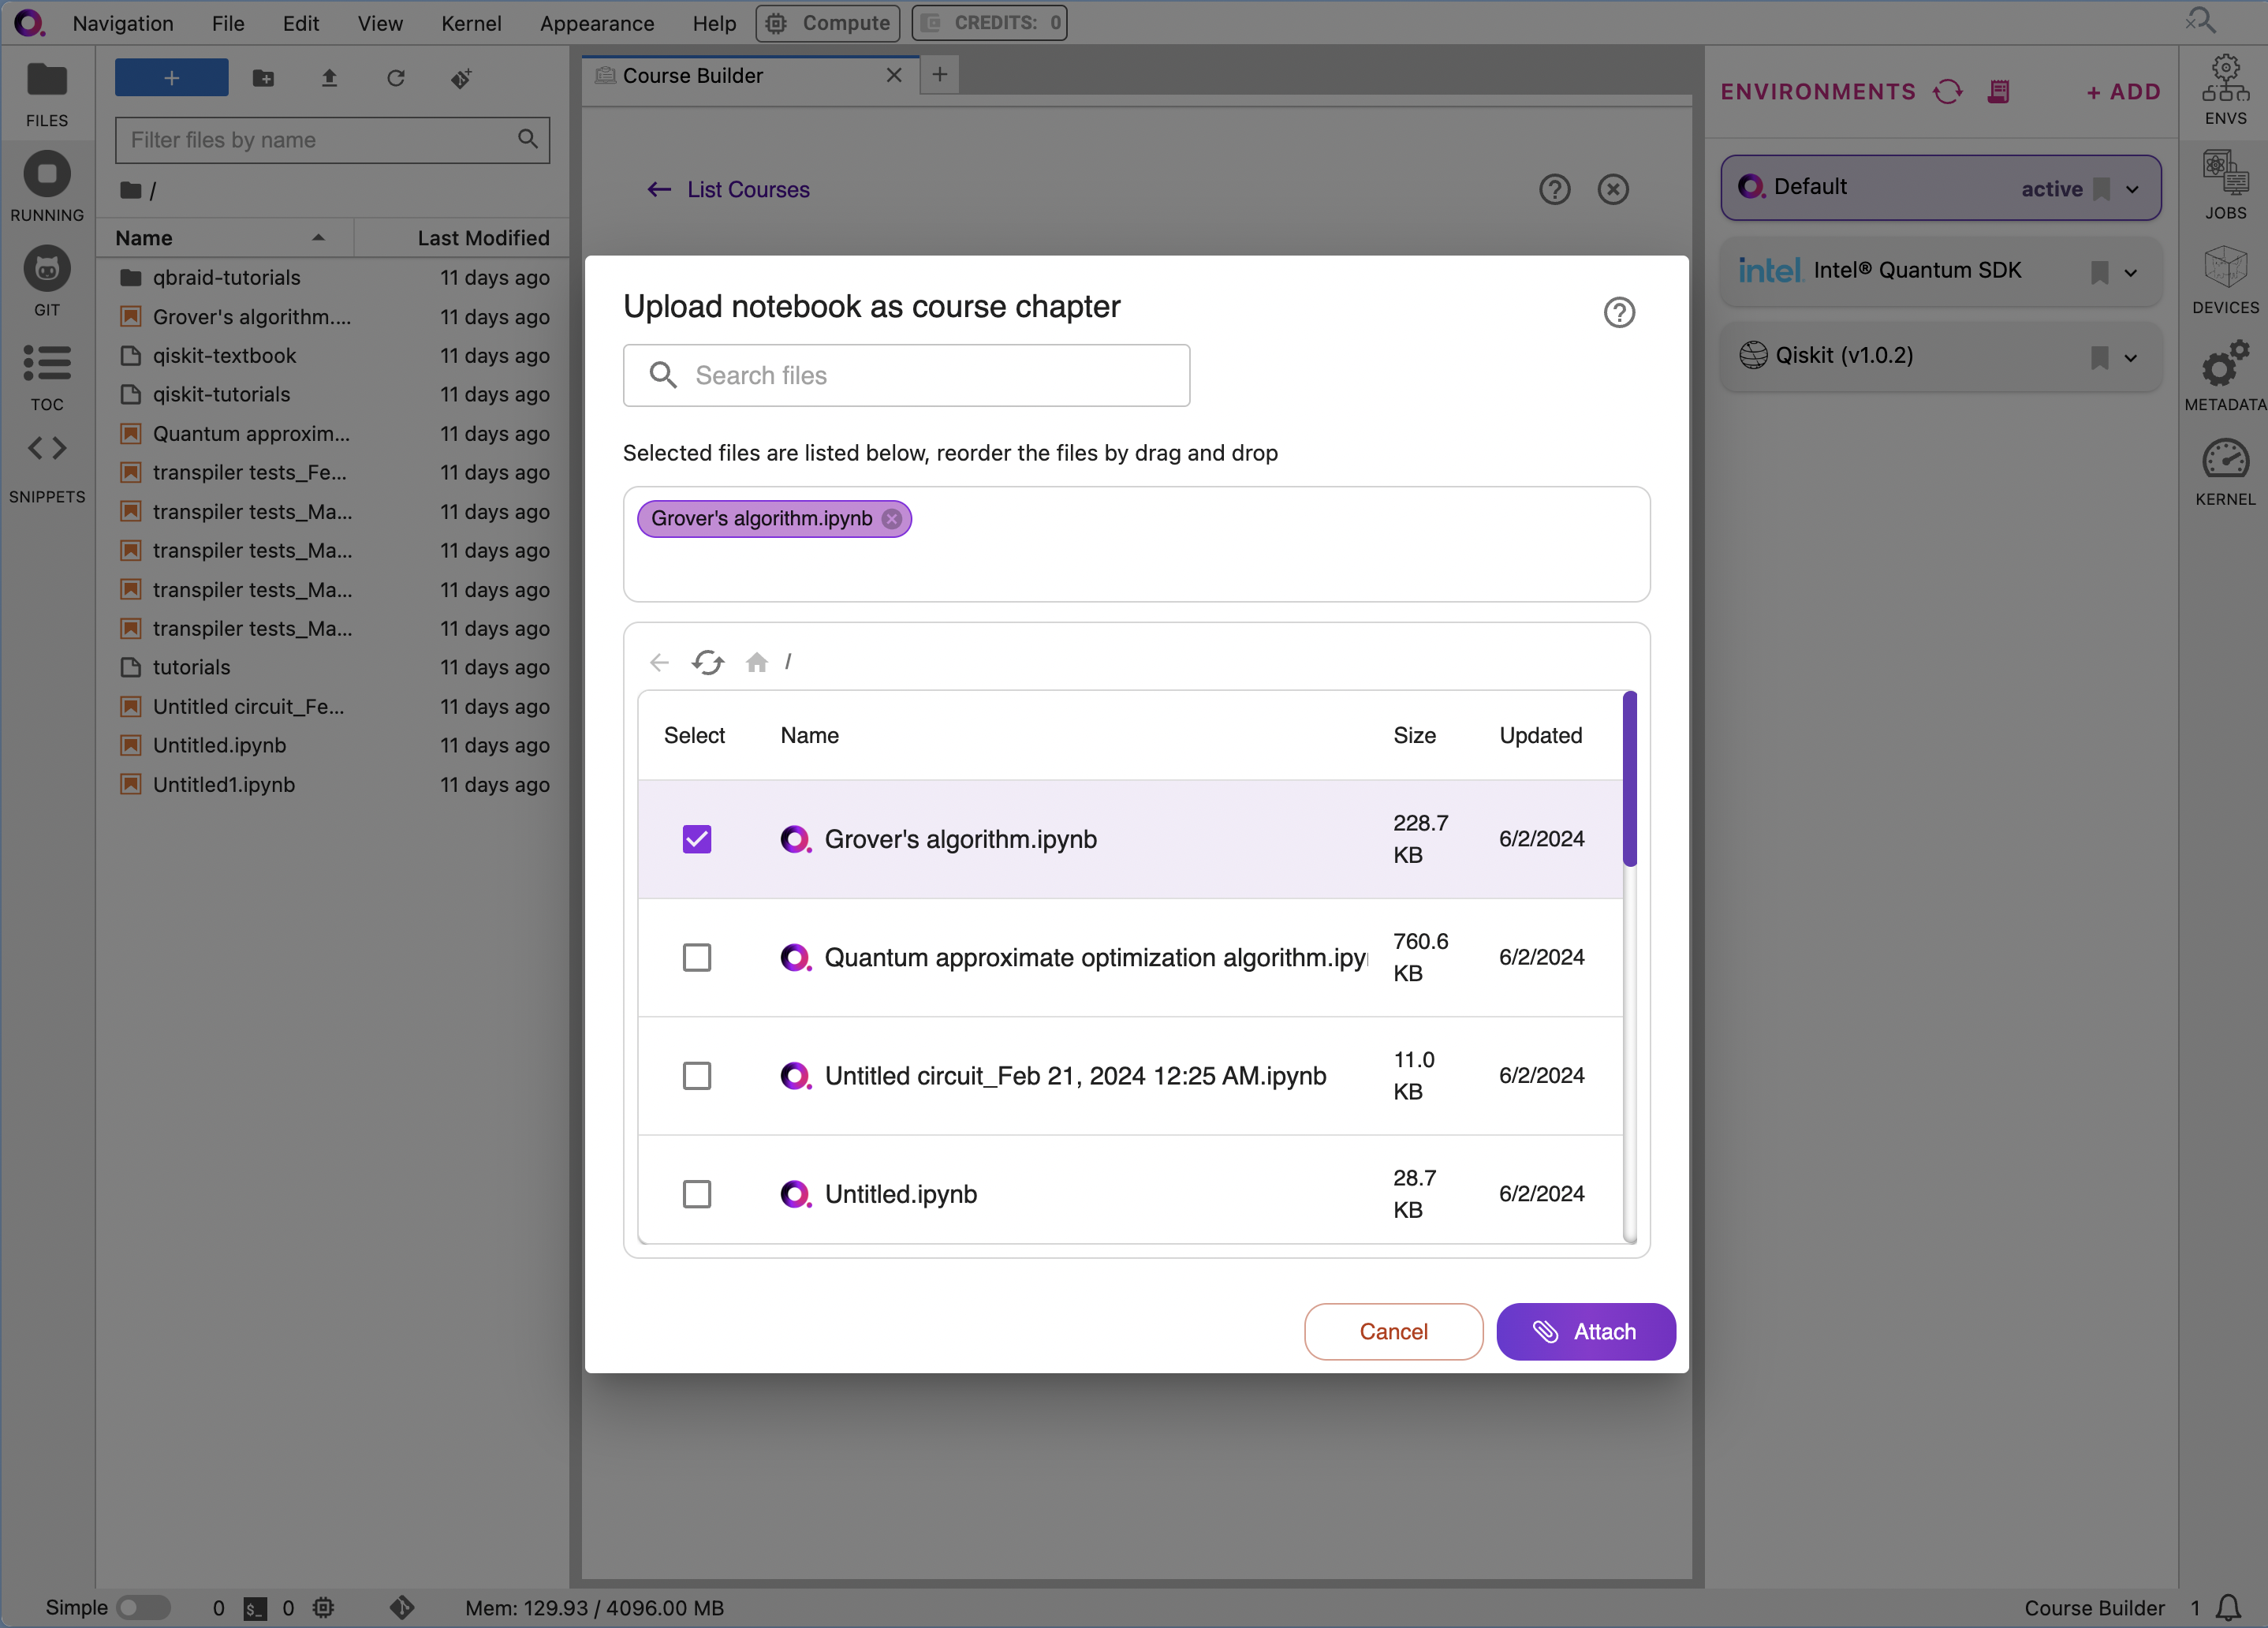
Now that the skeleton of our course has been created, we can start adding the relevant content. To add content to your course, follow these steps:4a. Add a new Chapter
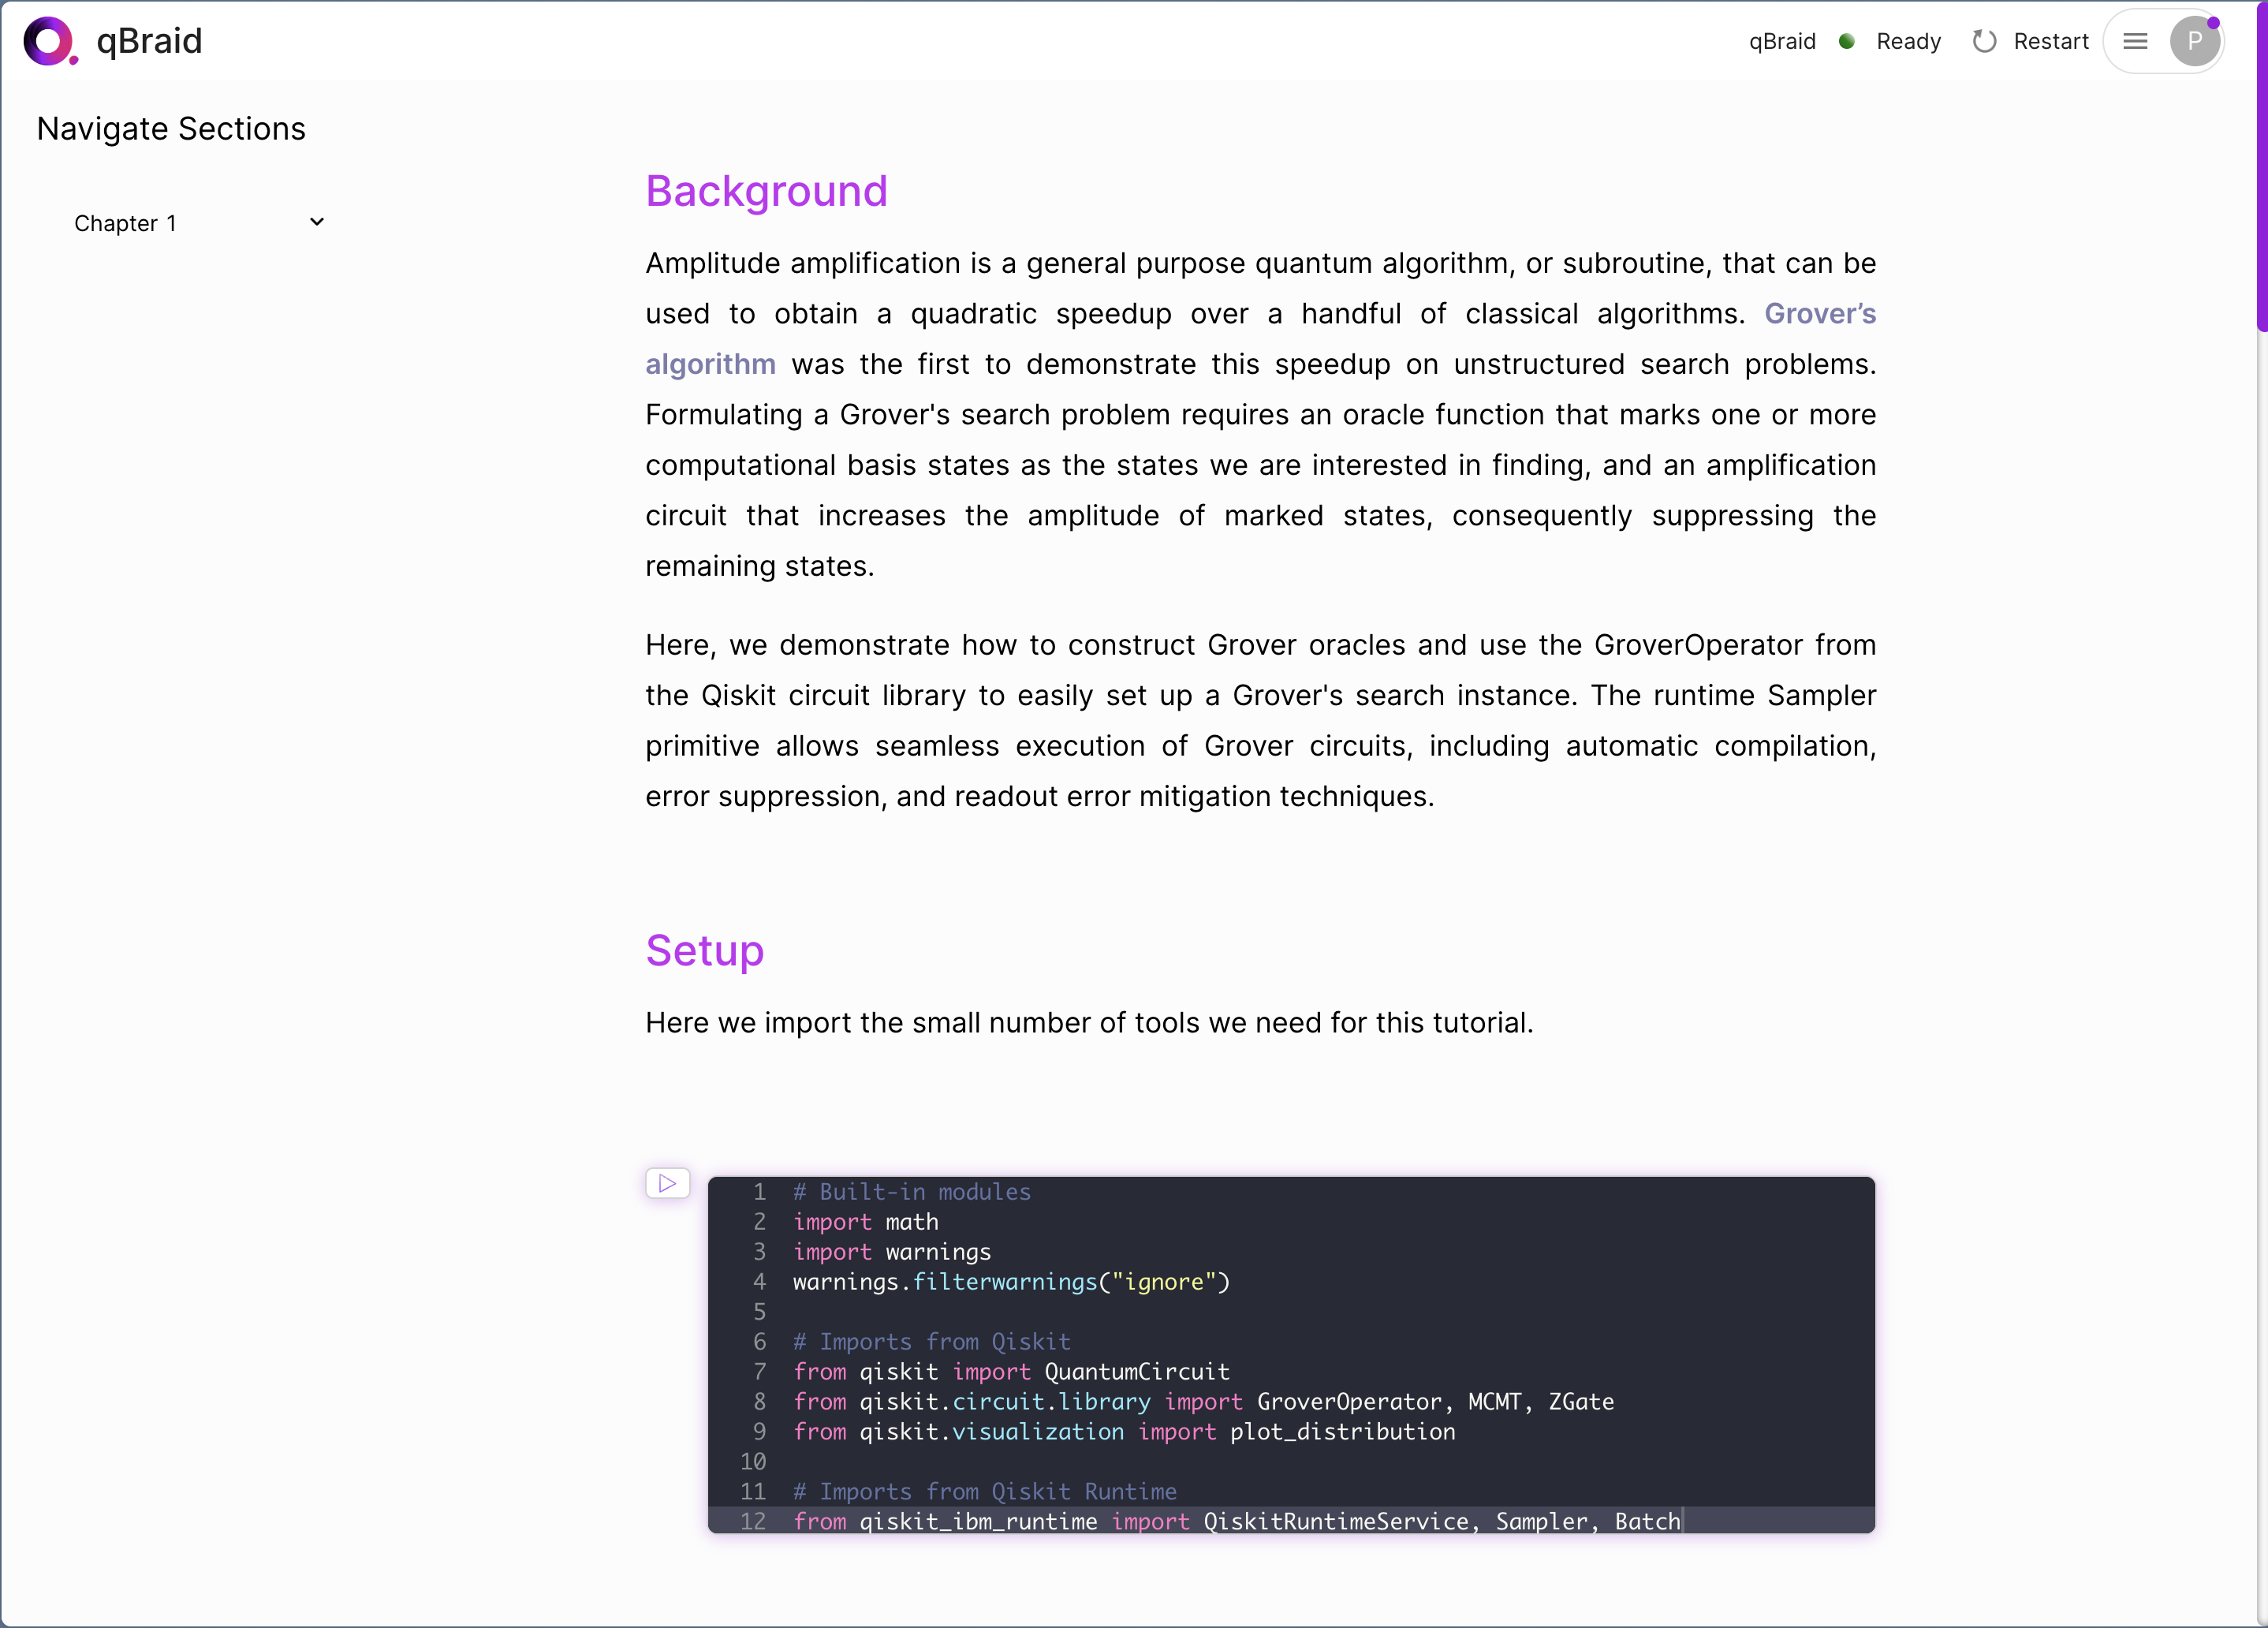
qBraid courses are organized into chapters. Each chapter is a Jupyter notebook with a blend of markdown information and code cells for demonstration. You can add whichever notebook you want in order to create your first chapter. Start by clicking the “Add Chapter” button. Select the notebook you desire. In this example, we use the “Grover’s Algorithm” notebook from IBM Quantum.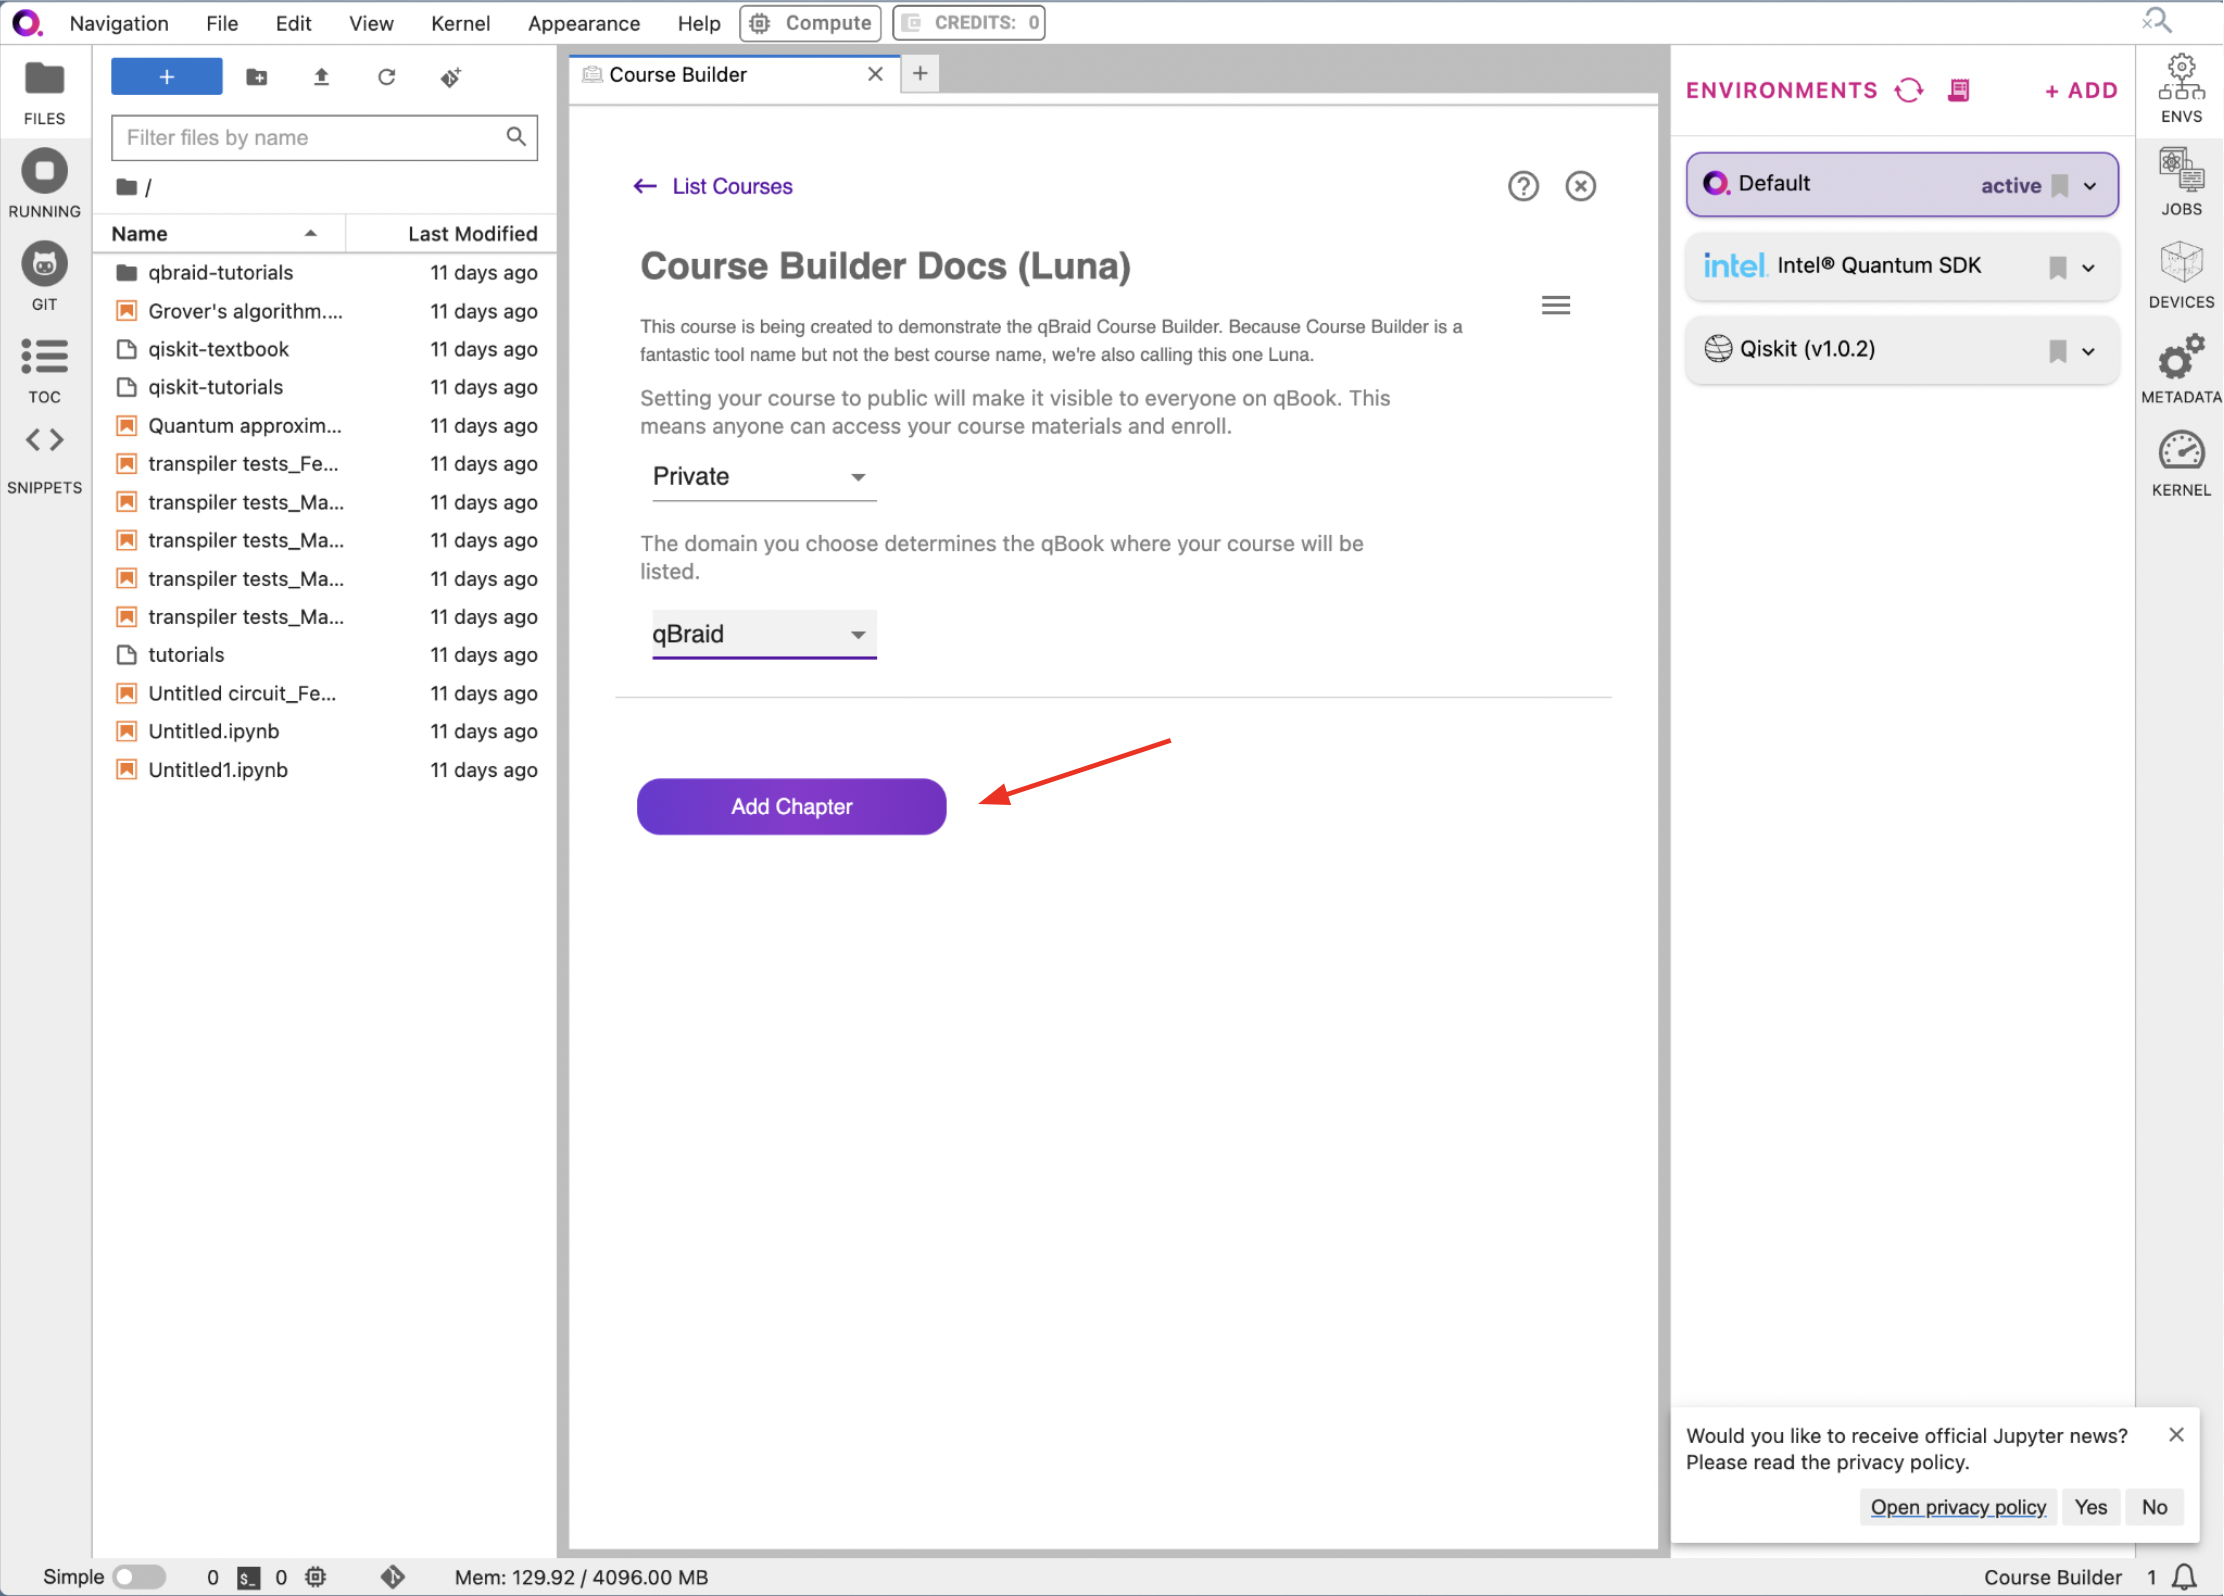
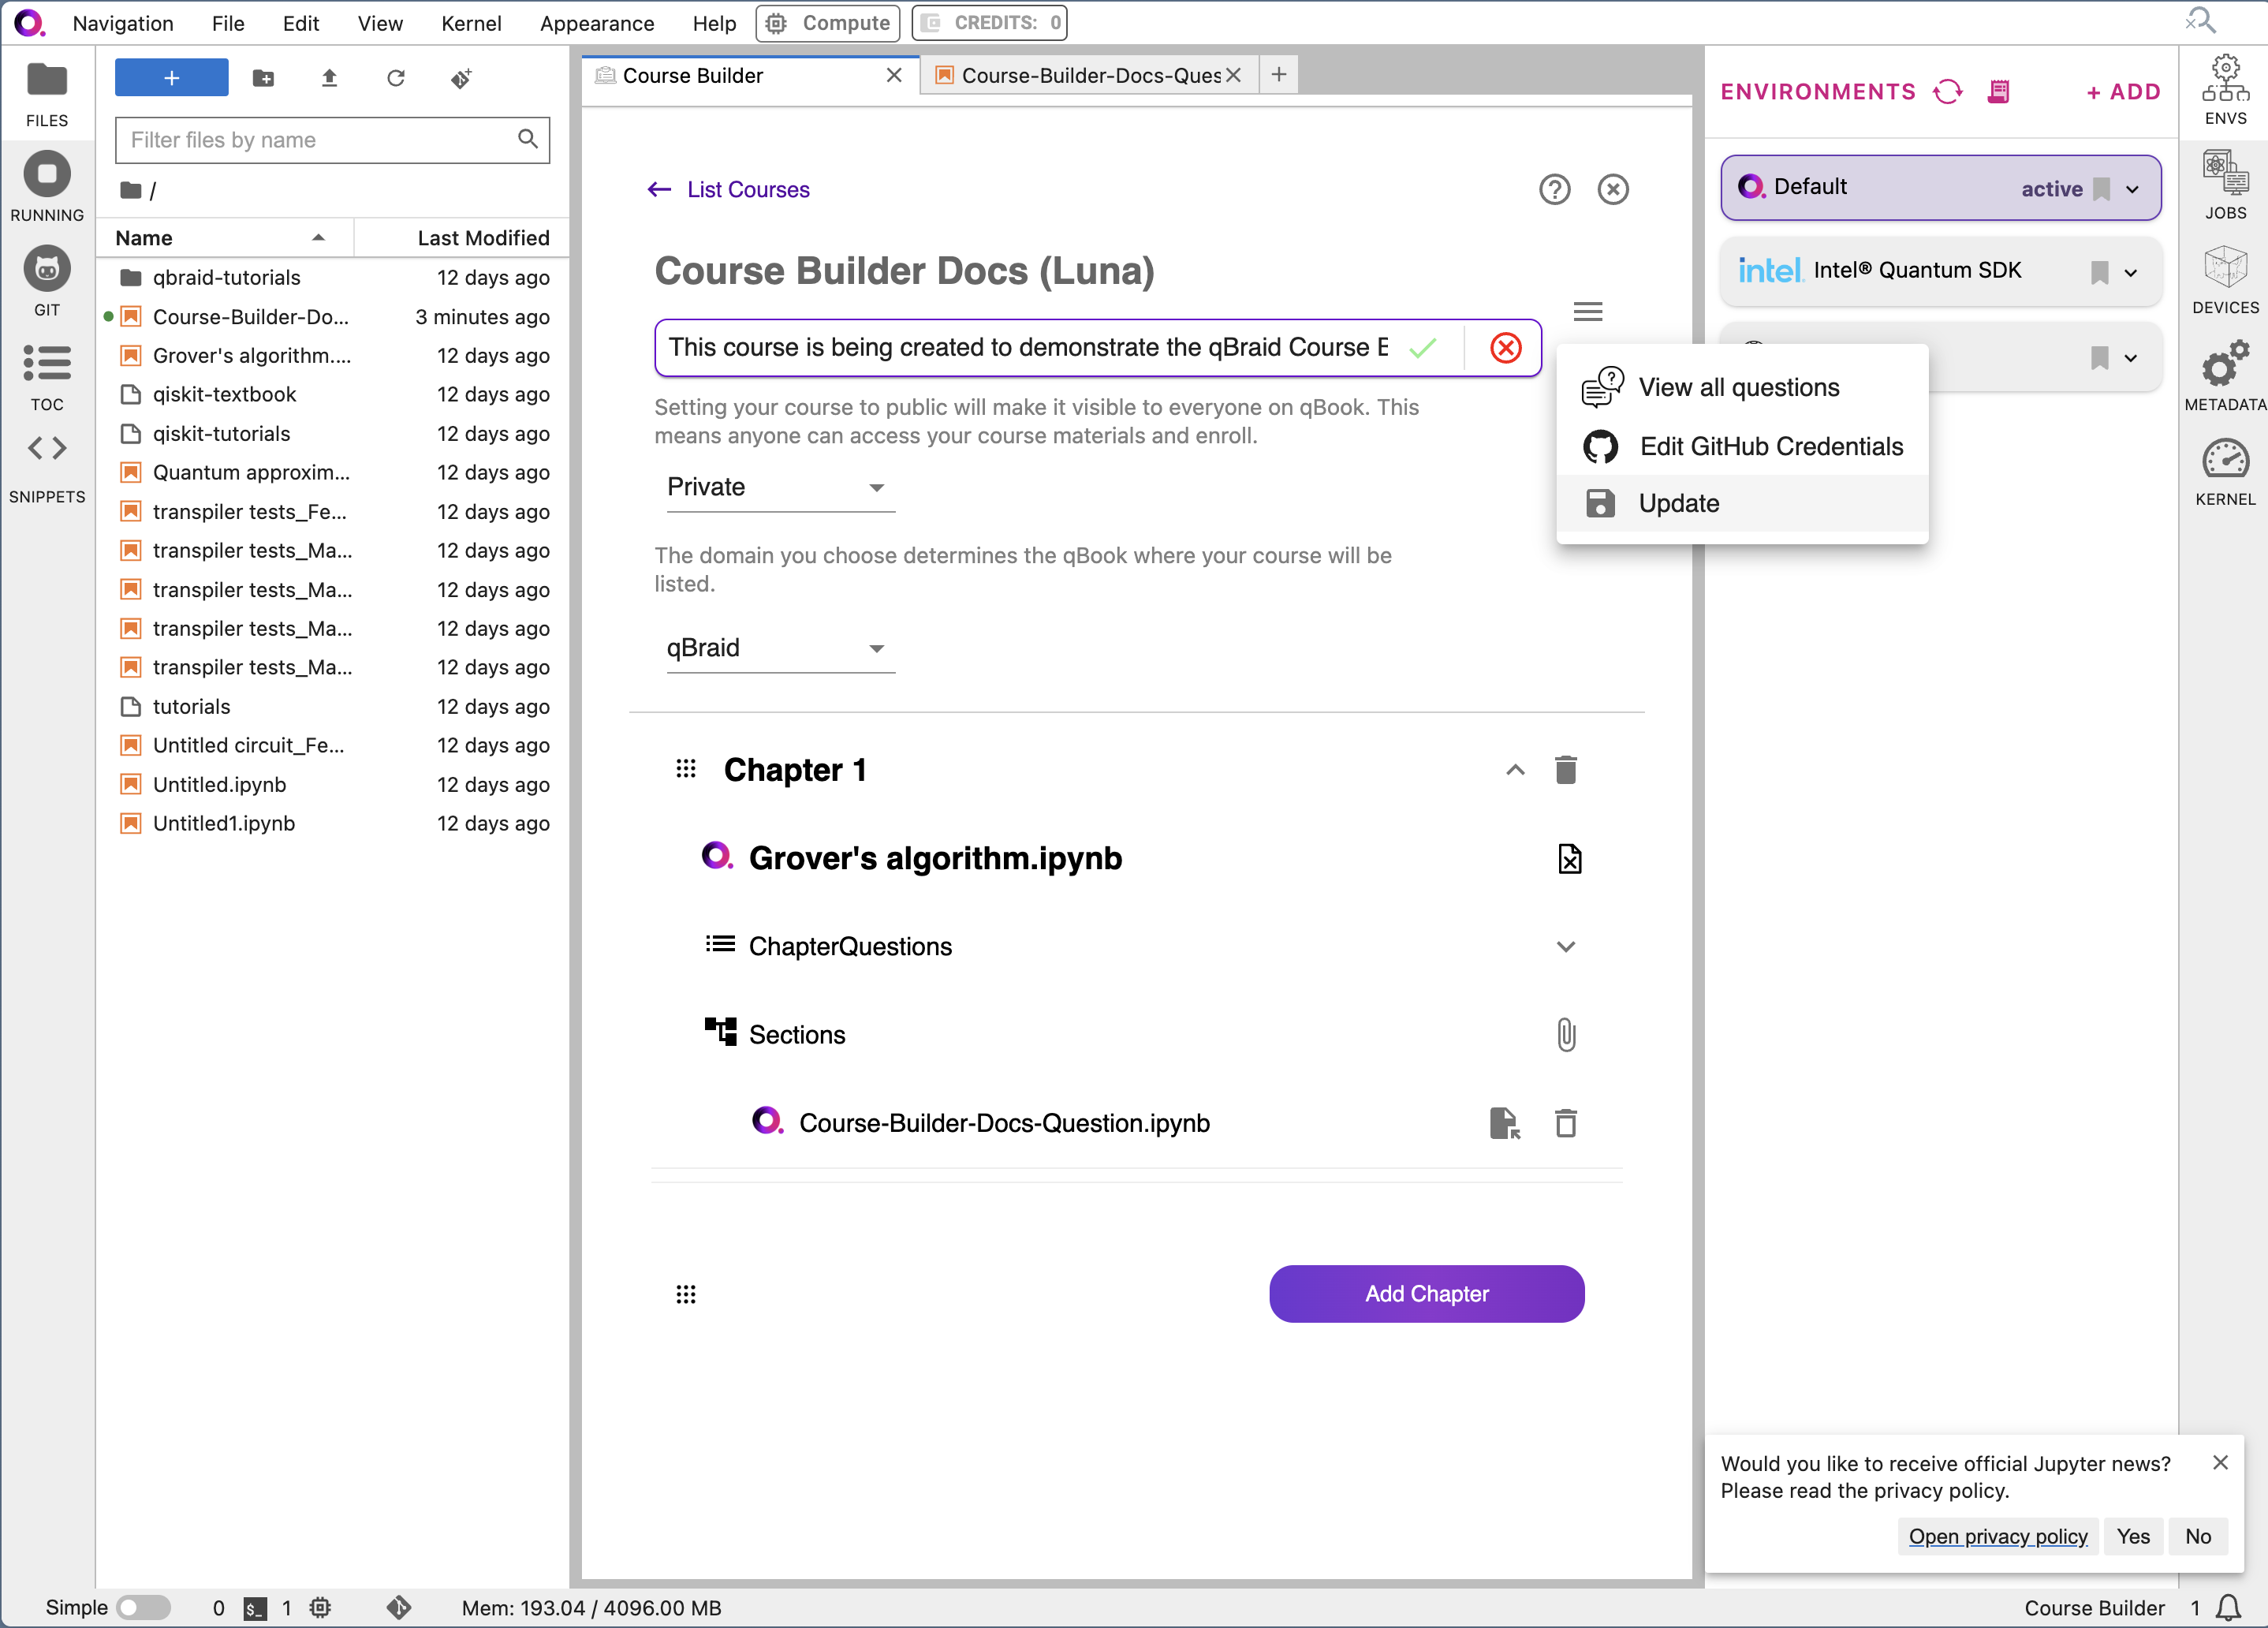
4b. Publish your course
When your desired chapters have been added, it’s time to publish! Click on the hamburger in the top-right corner of the course builder.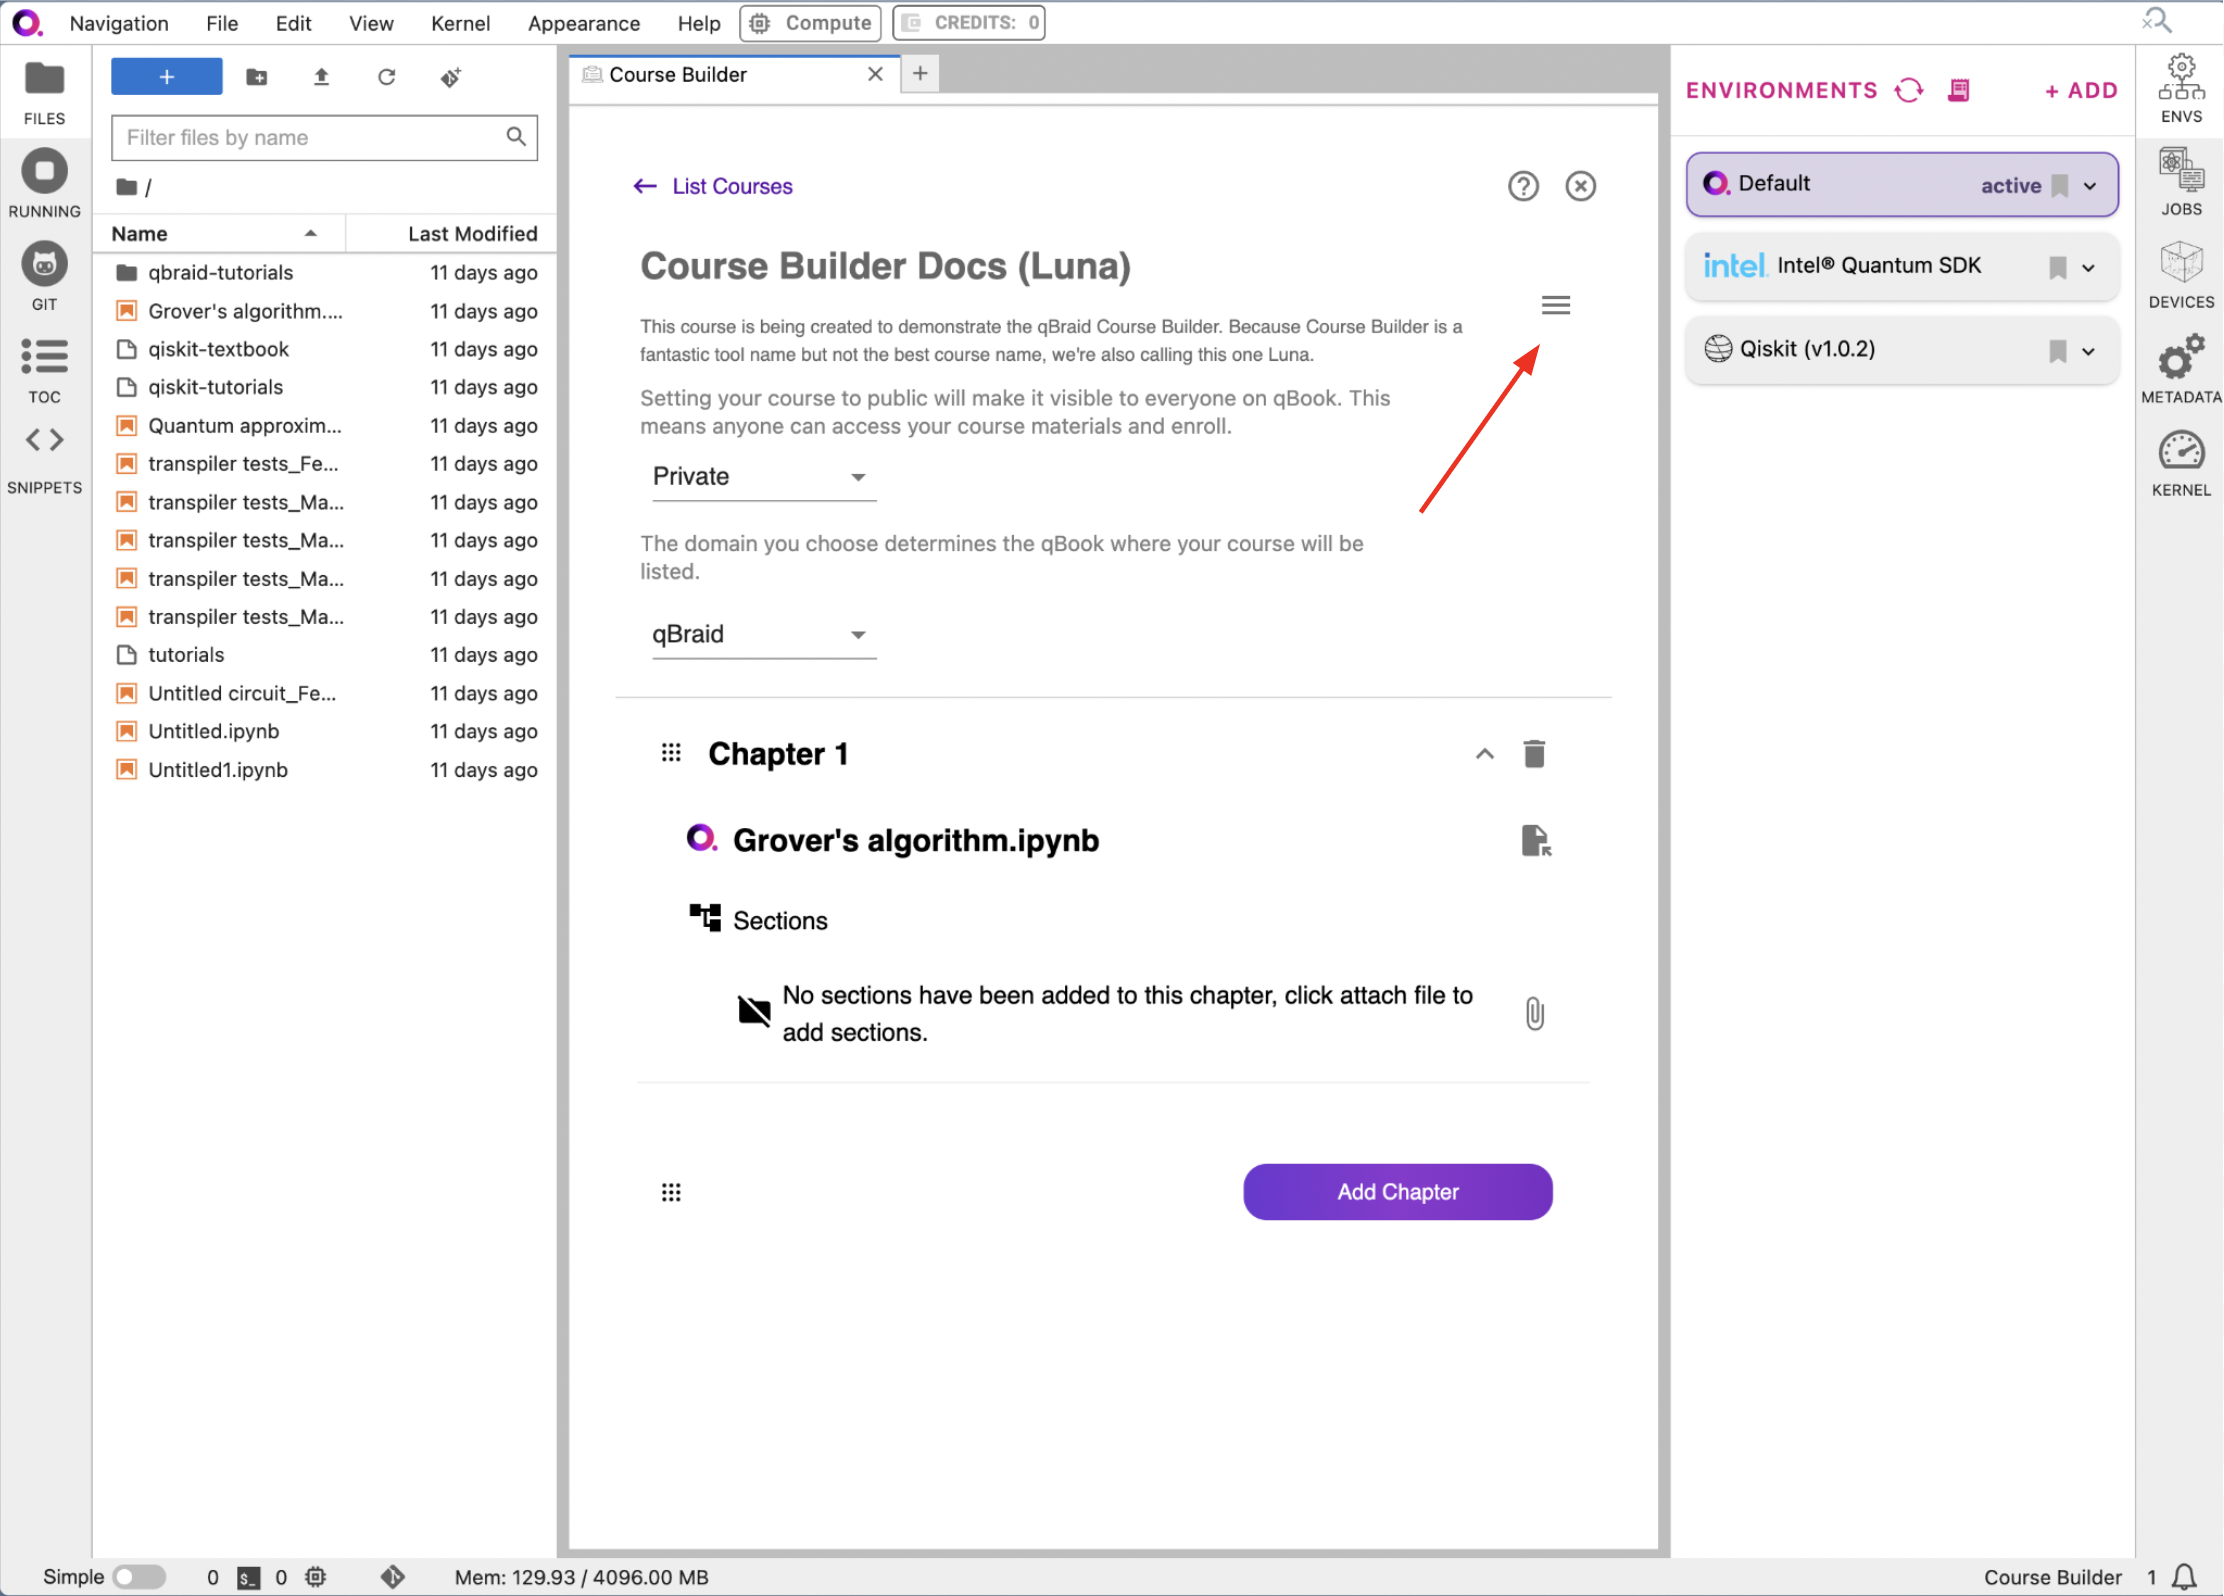
4c. Check out your new course!
From the landing page, click “Qbook qBraid” to see your course in action.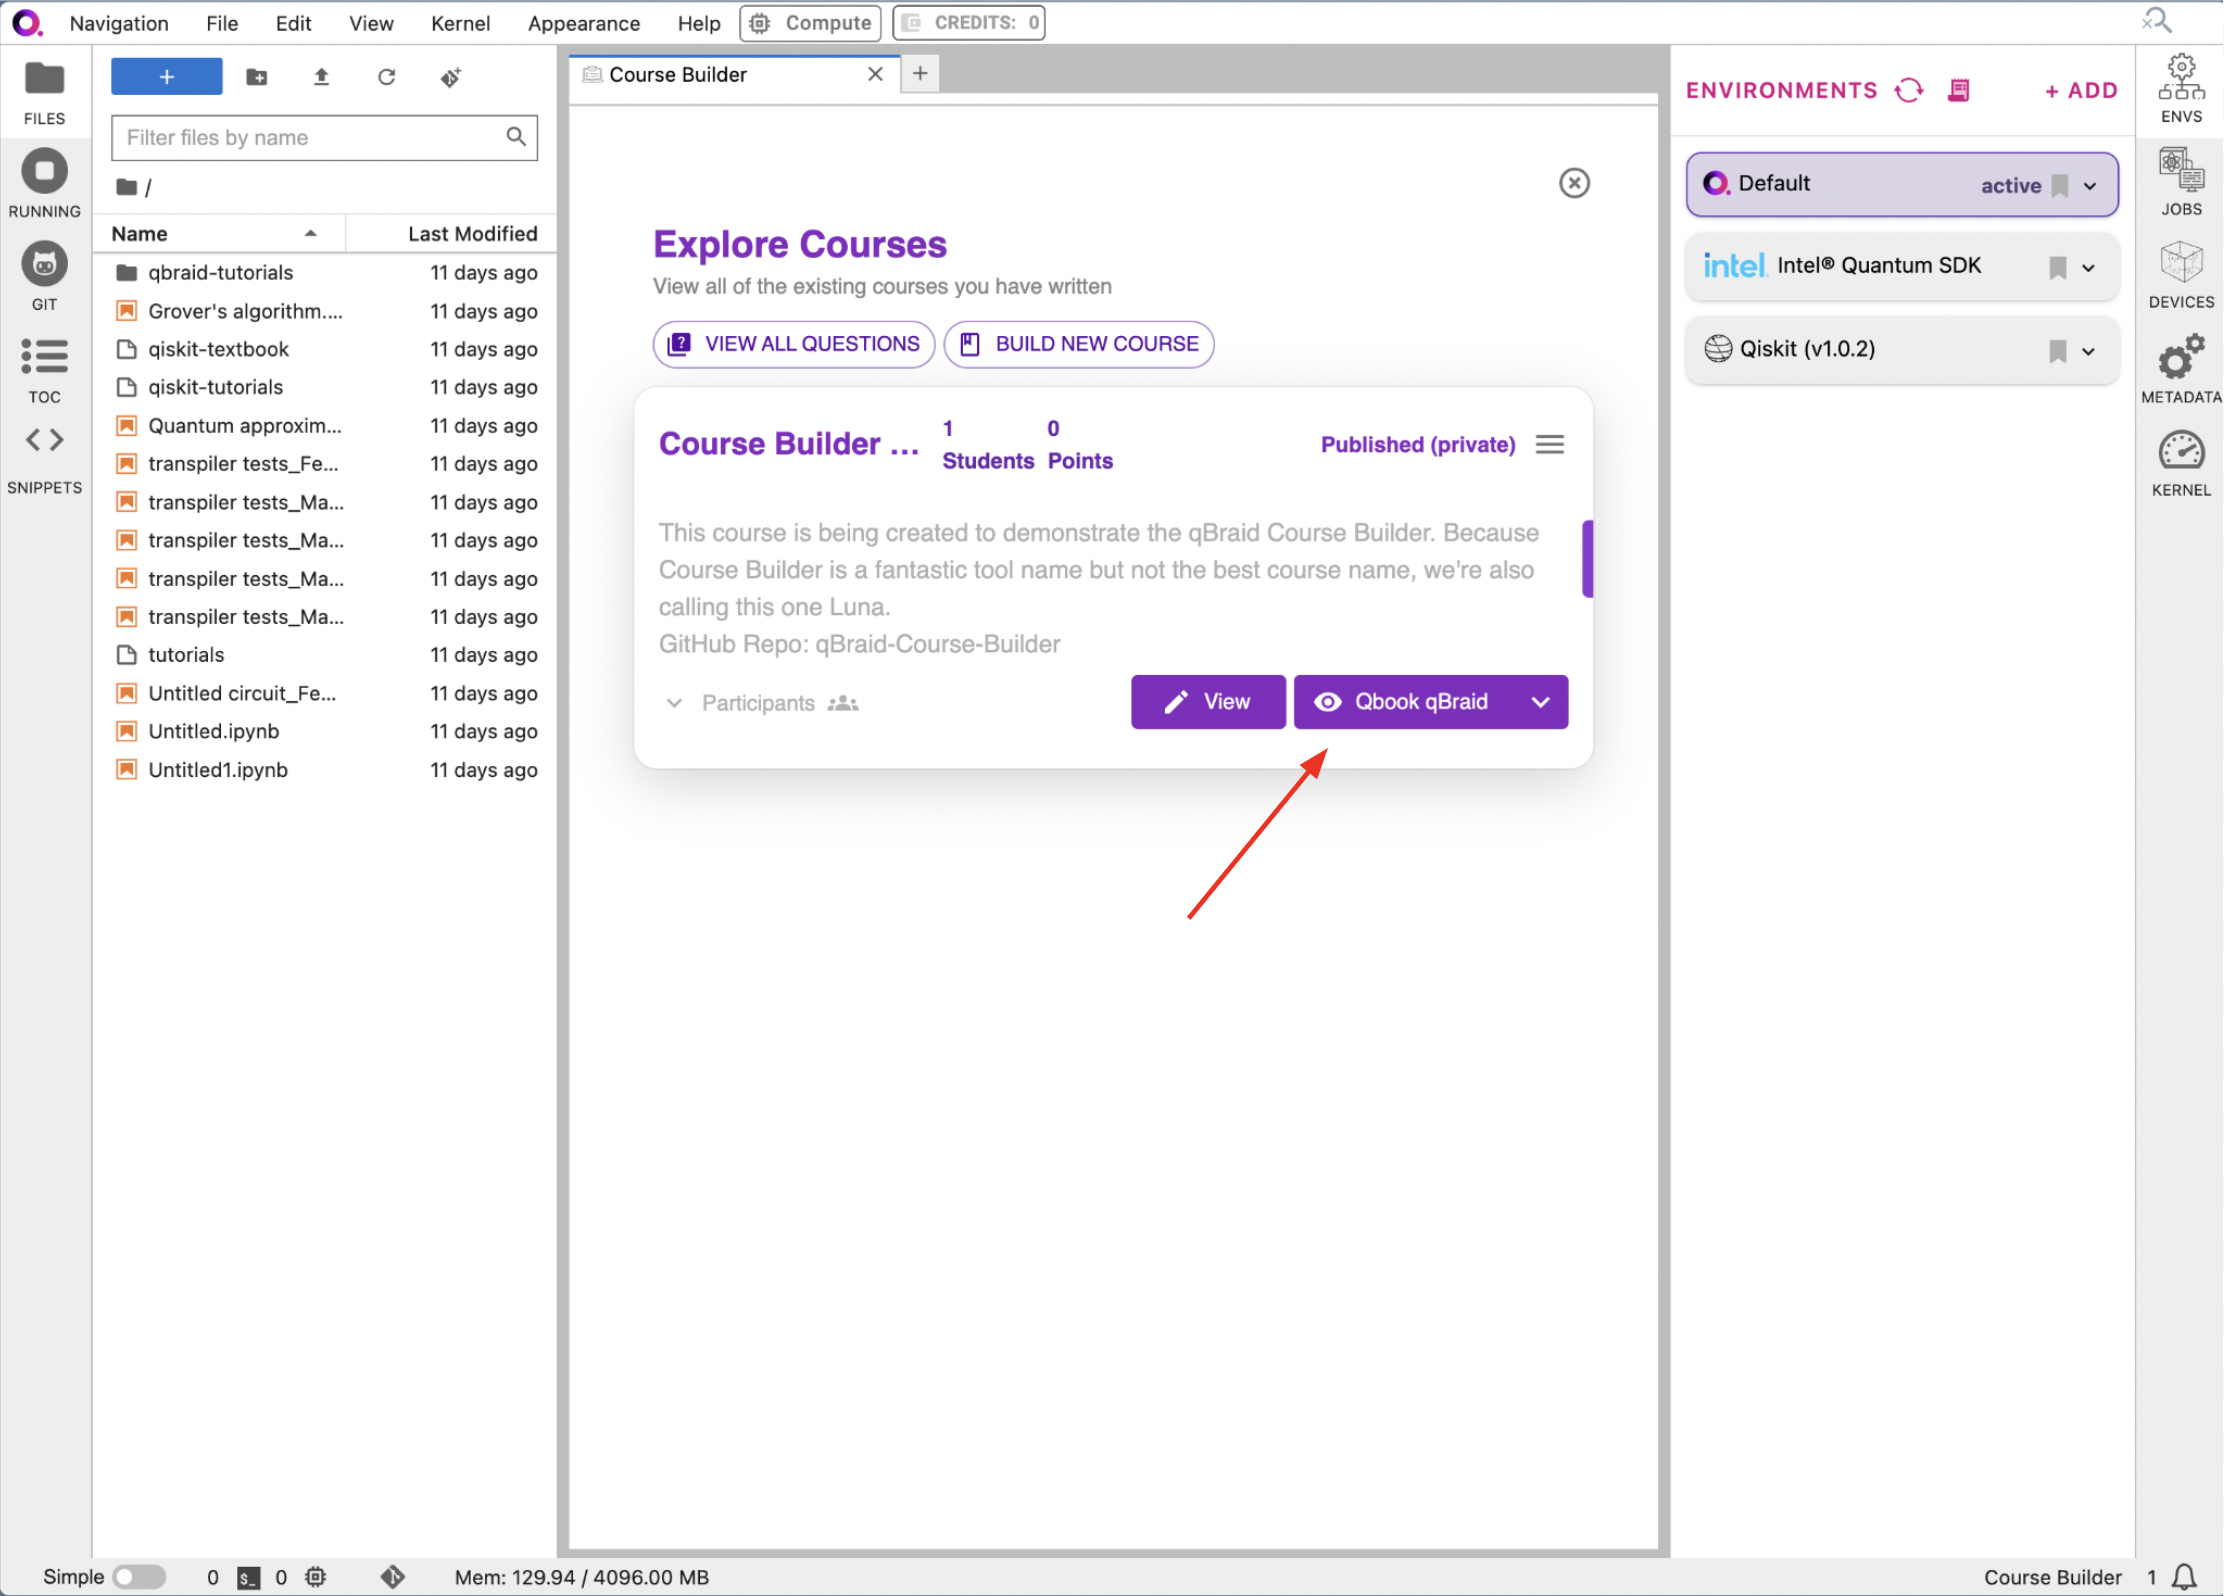
Step 5: Bonus Features
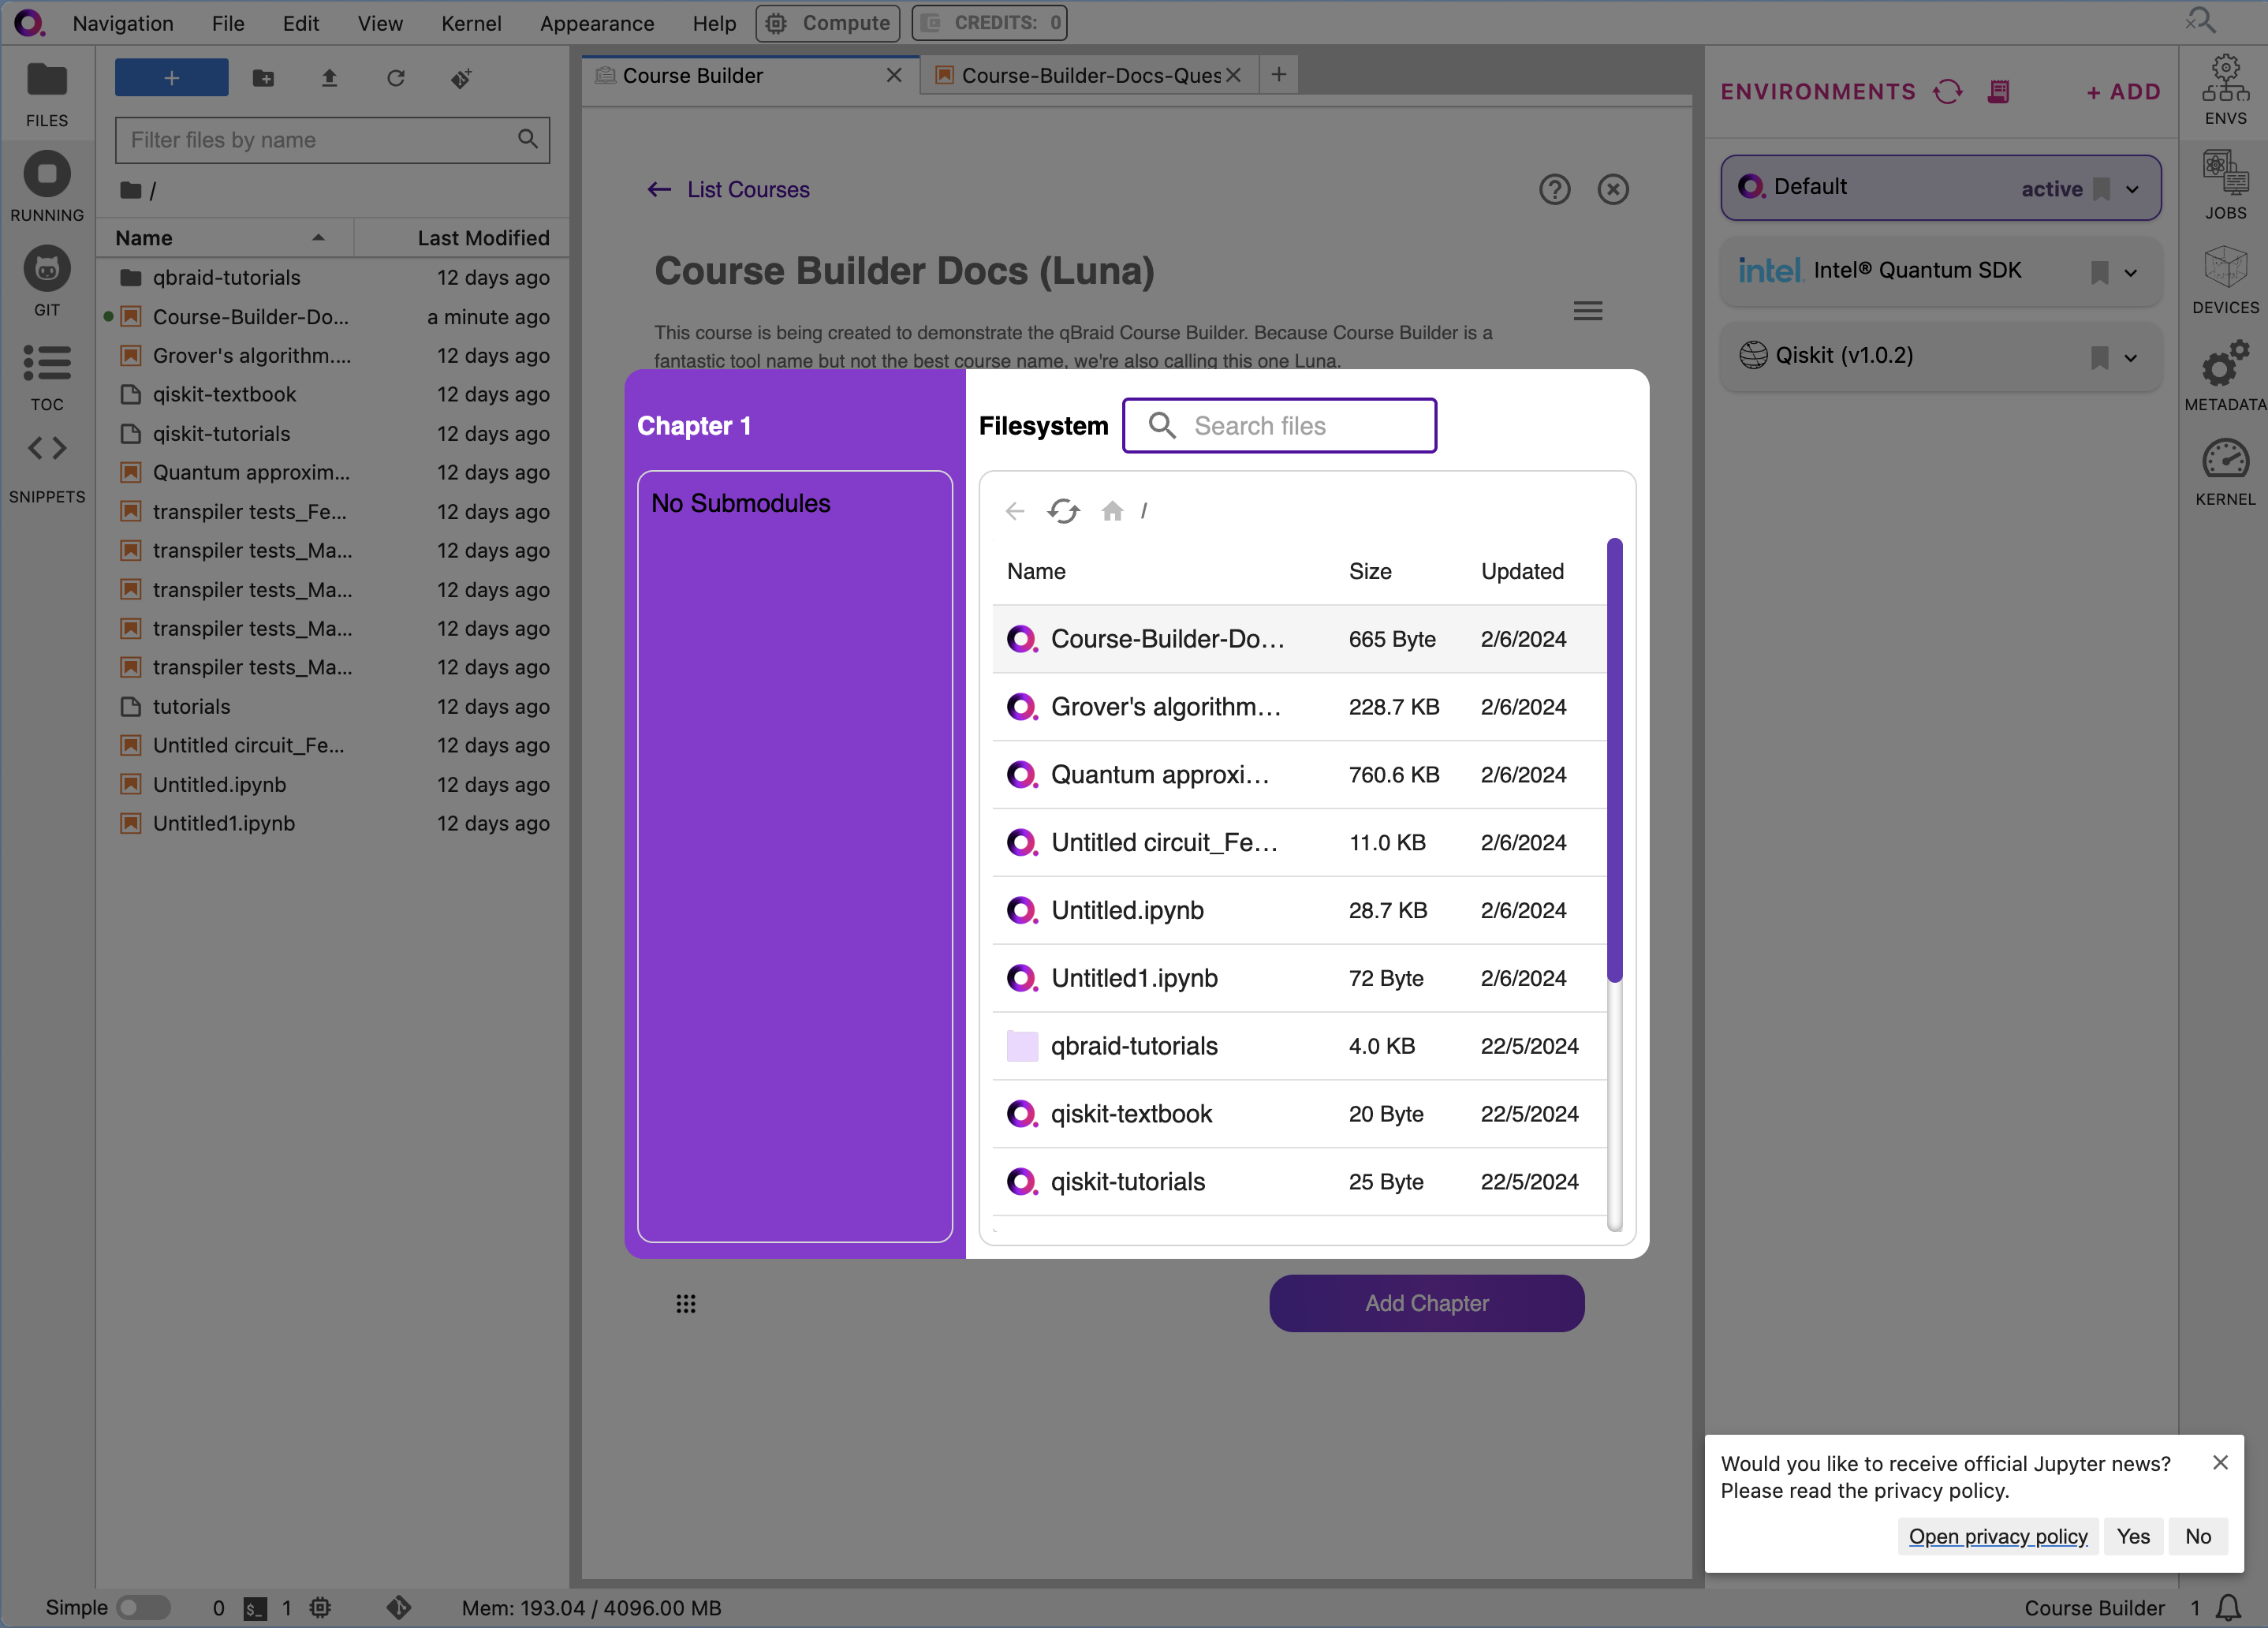
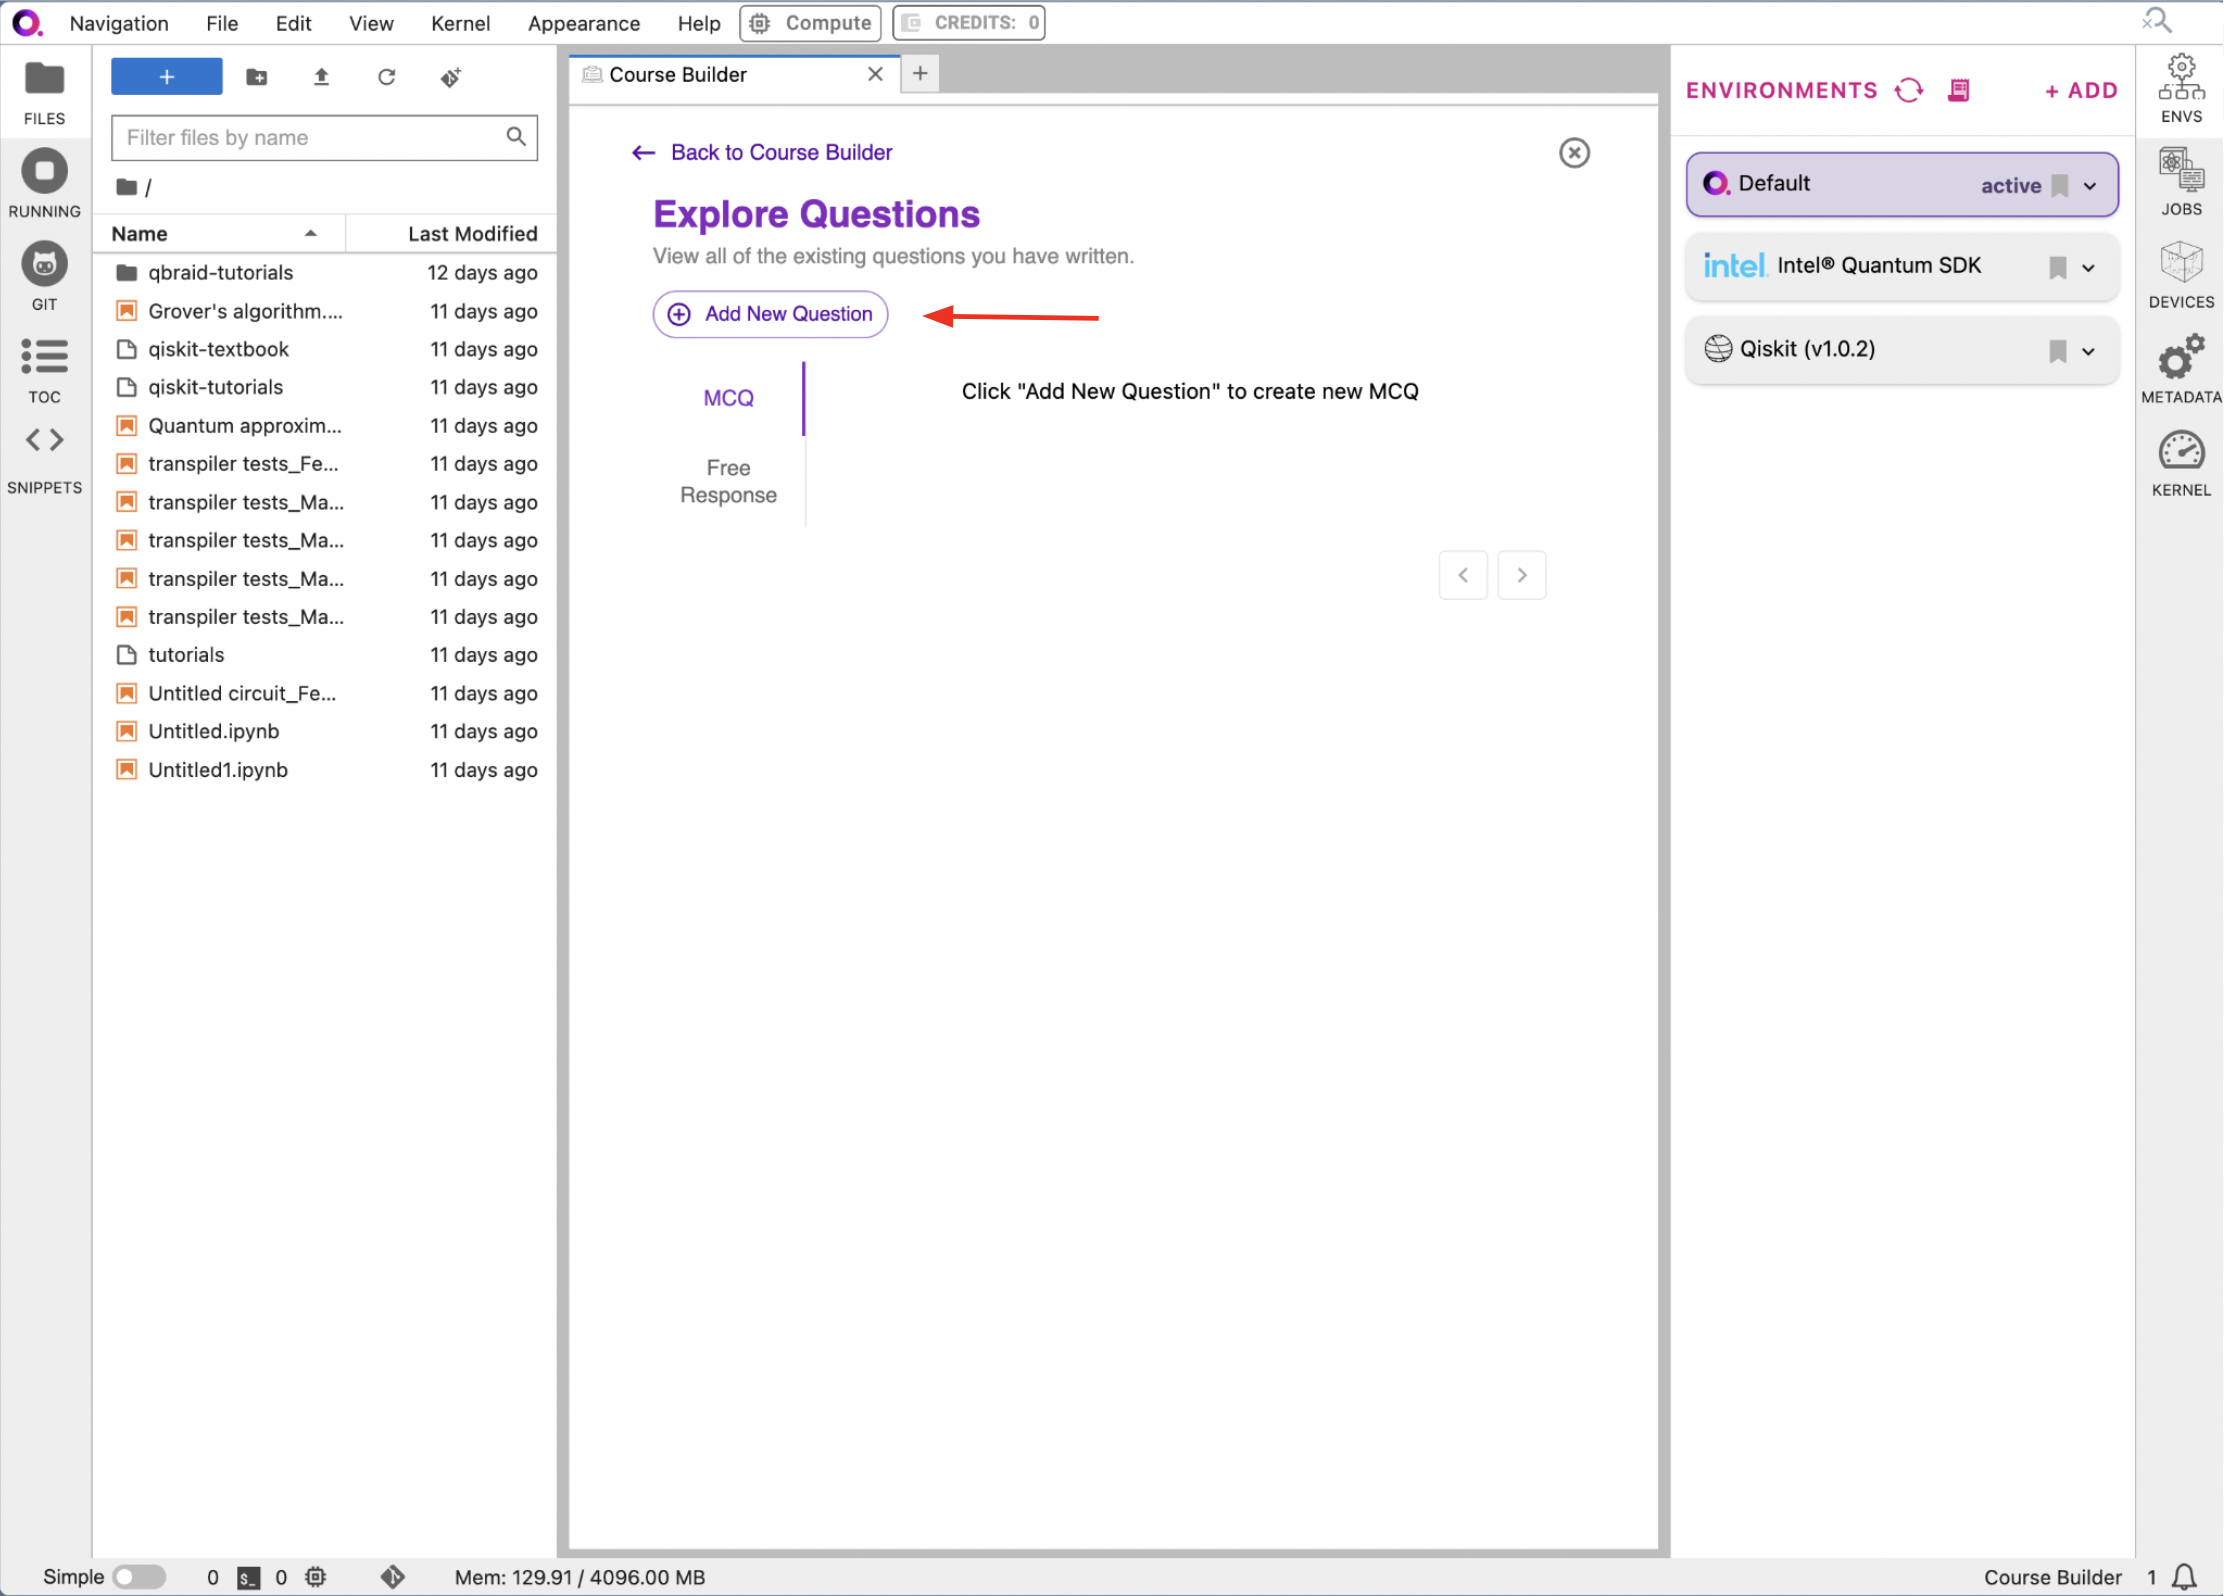
qBraid offers a variety of features to enhance your course. You can add MCQ and FRQ to your course to test your students’ knowledge. Let’s go through these features!5a. Add MCQ and FRQ
Navigate back to the qBook Builder. Click on the “VIEW ALL QUESTIONS” button in the top-left corner.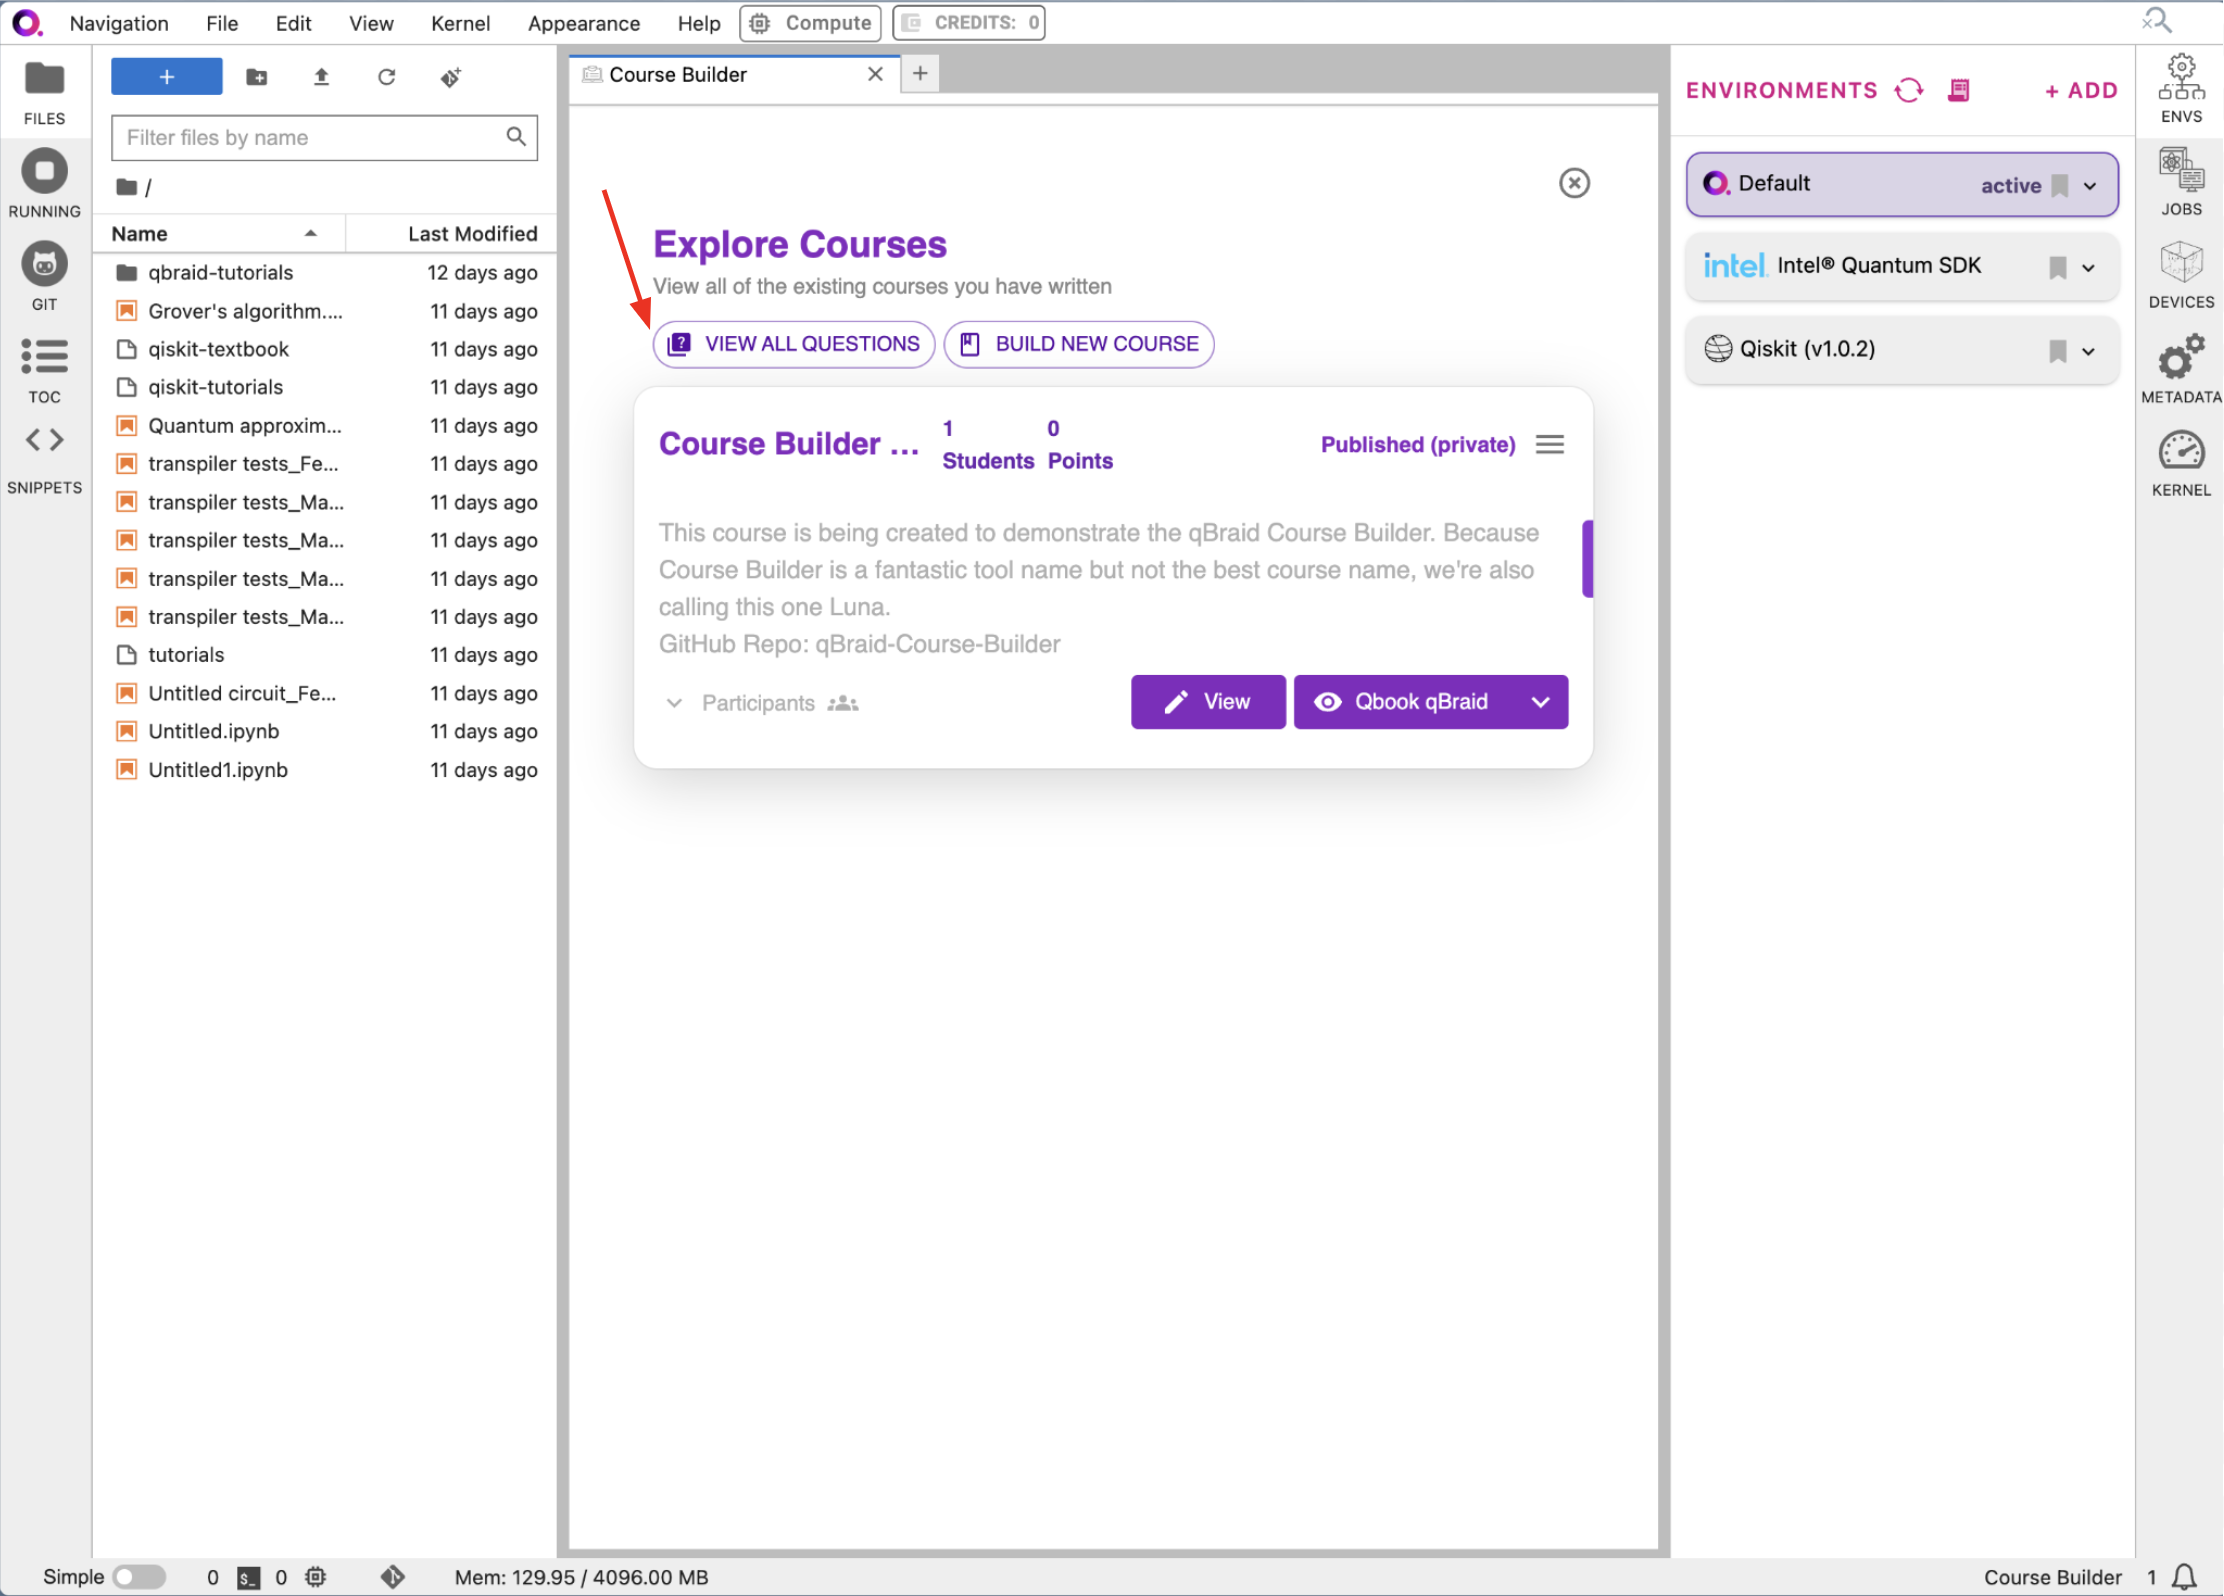
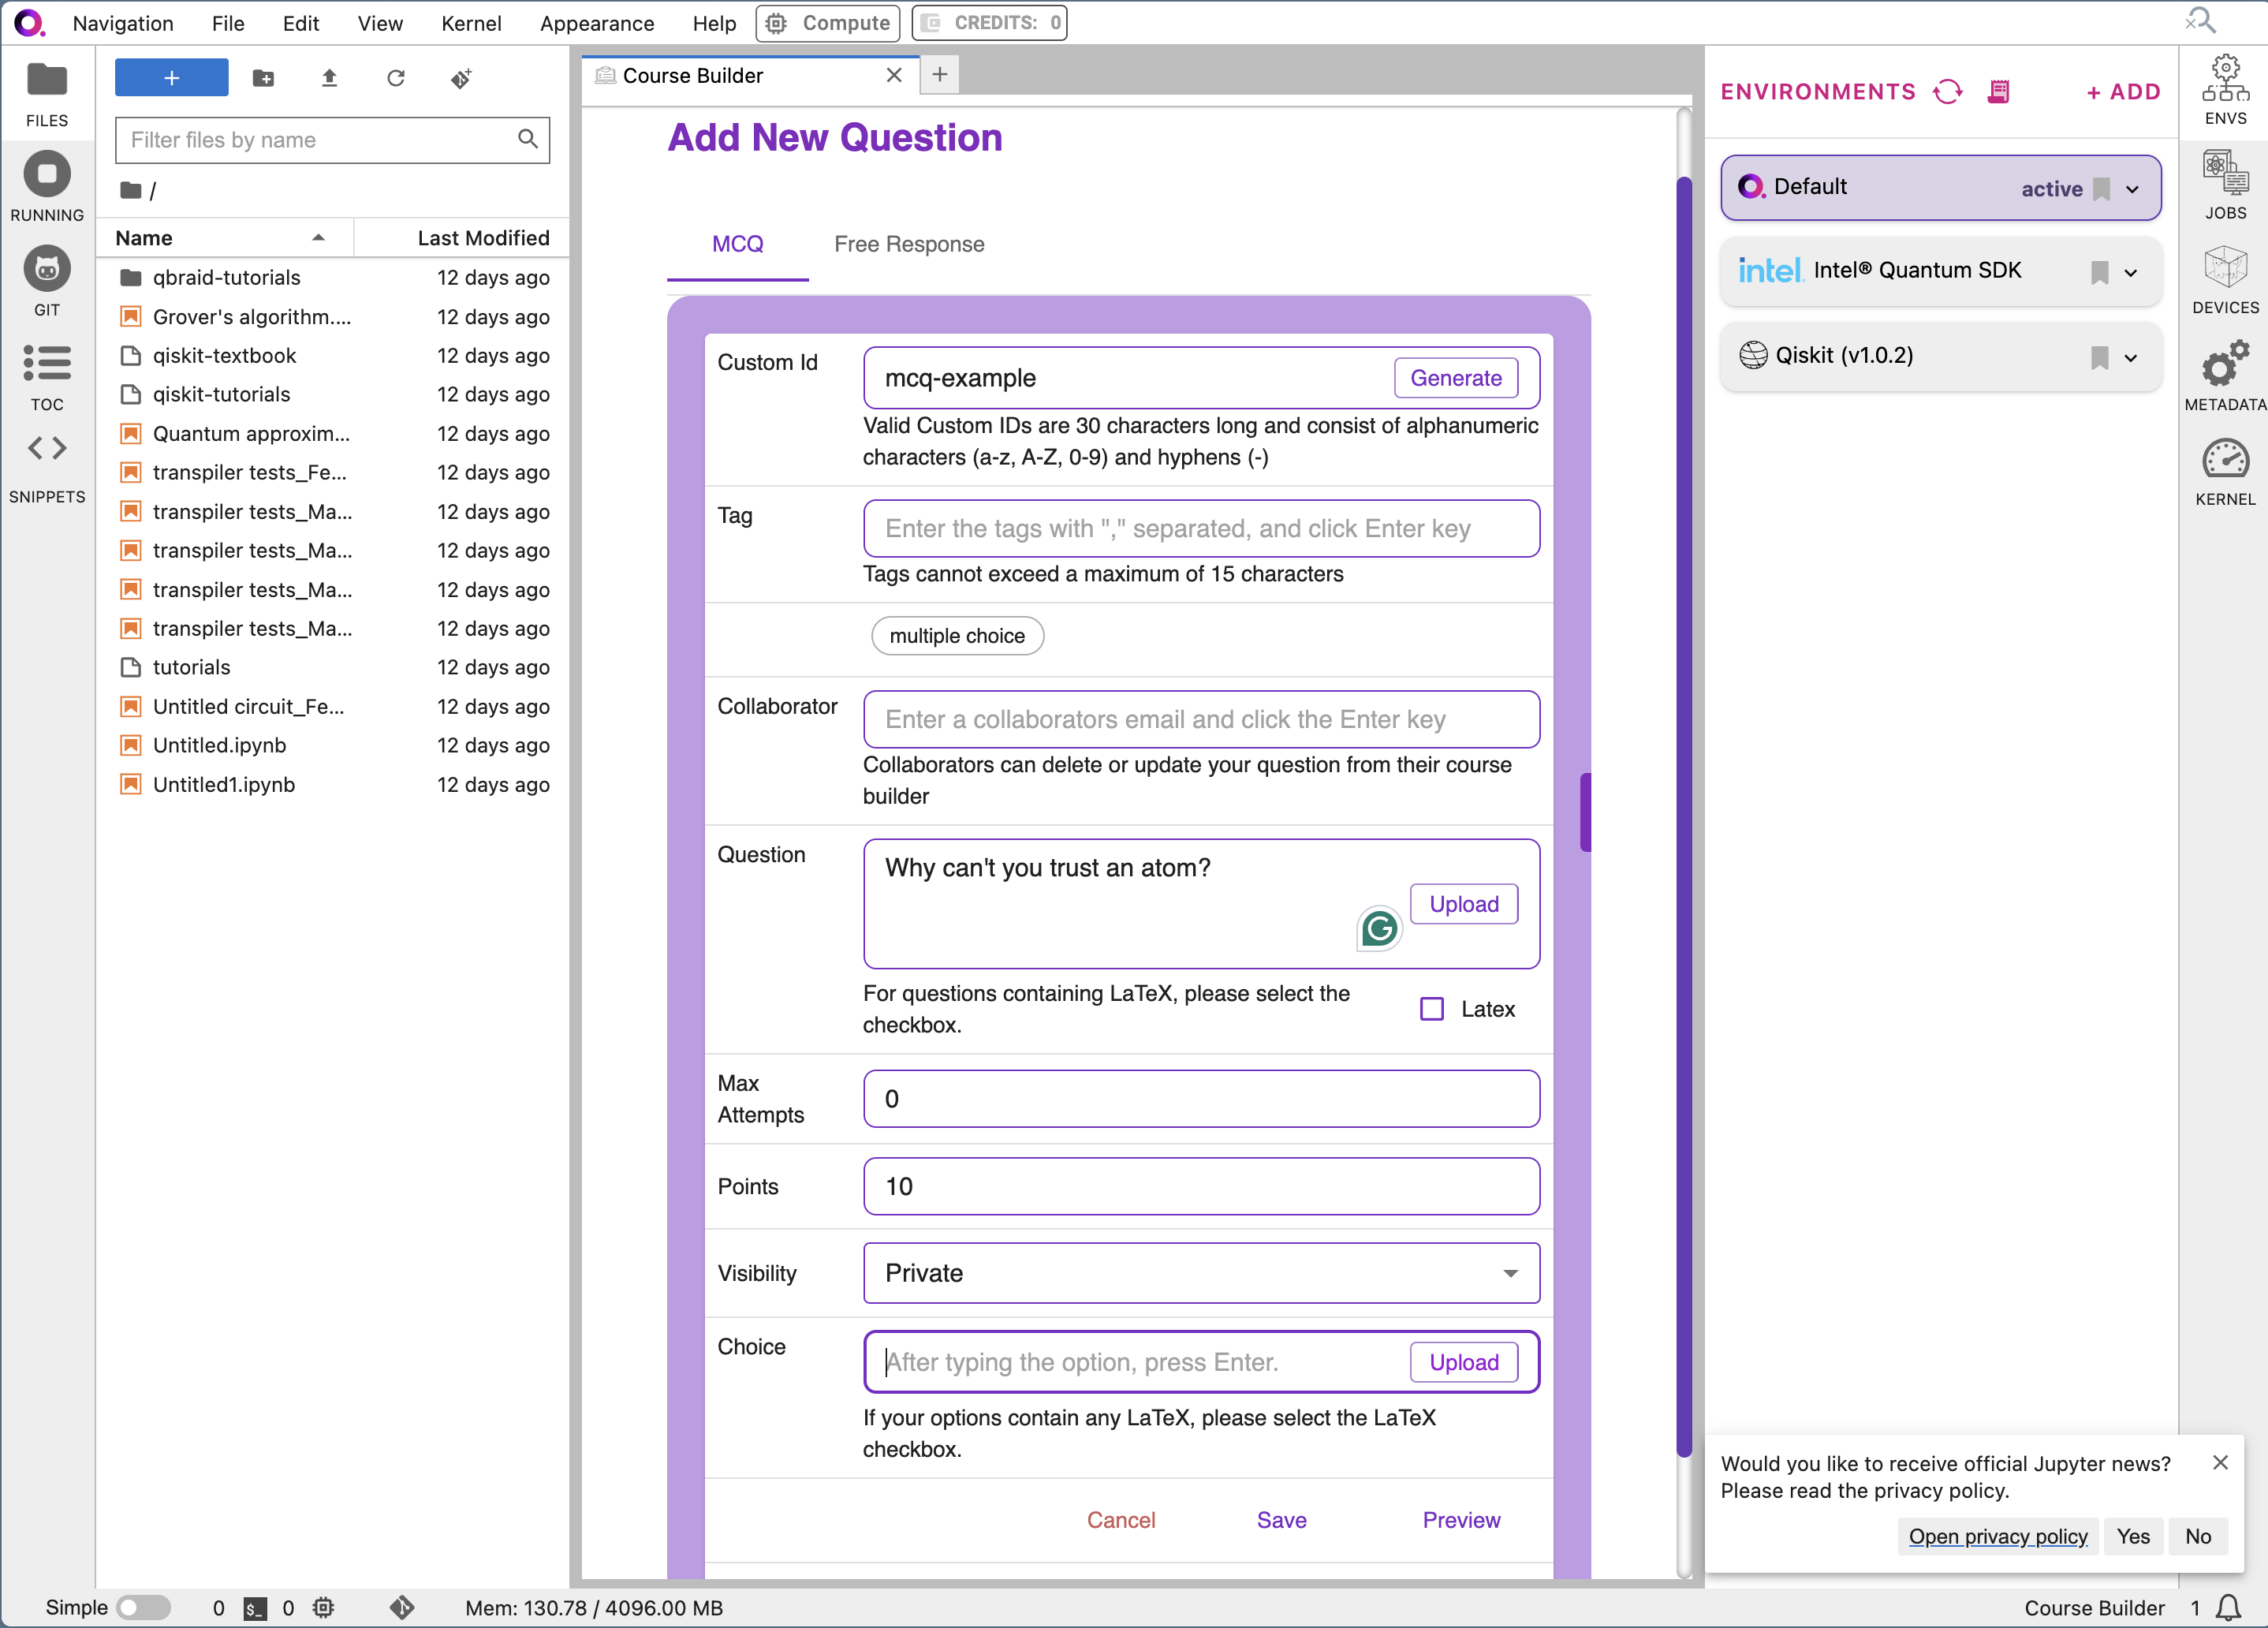
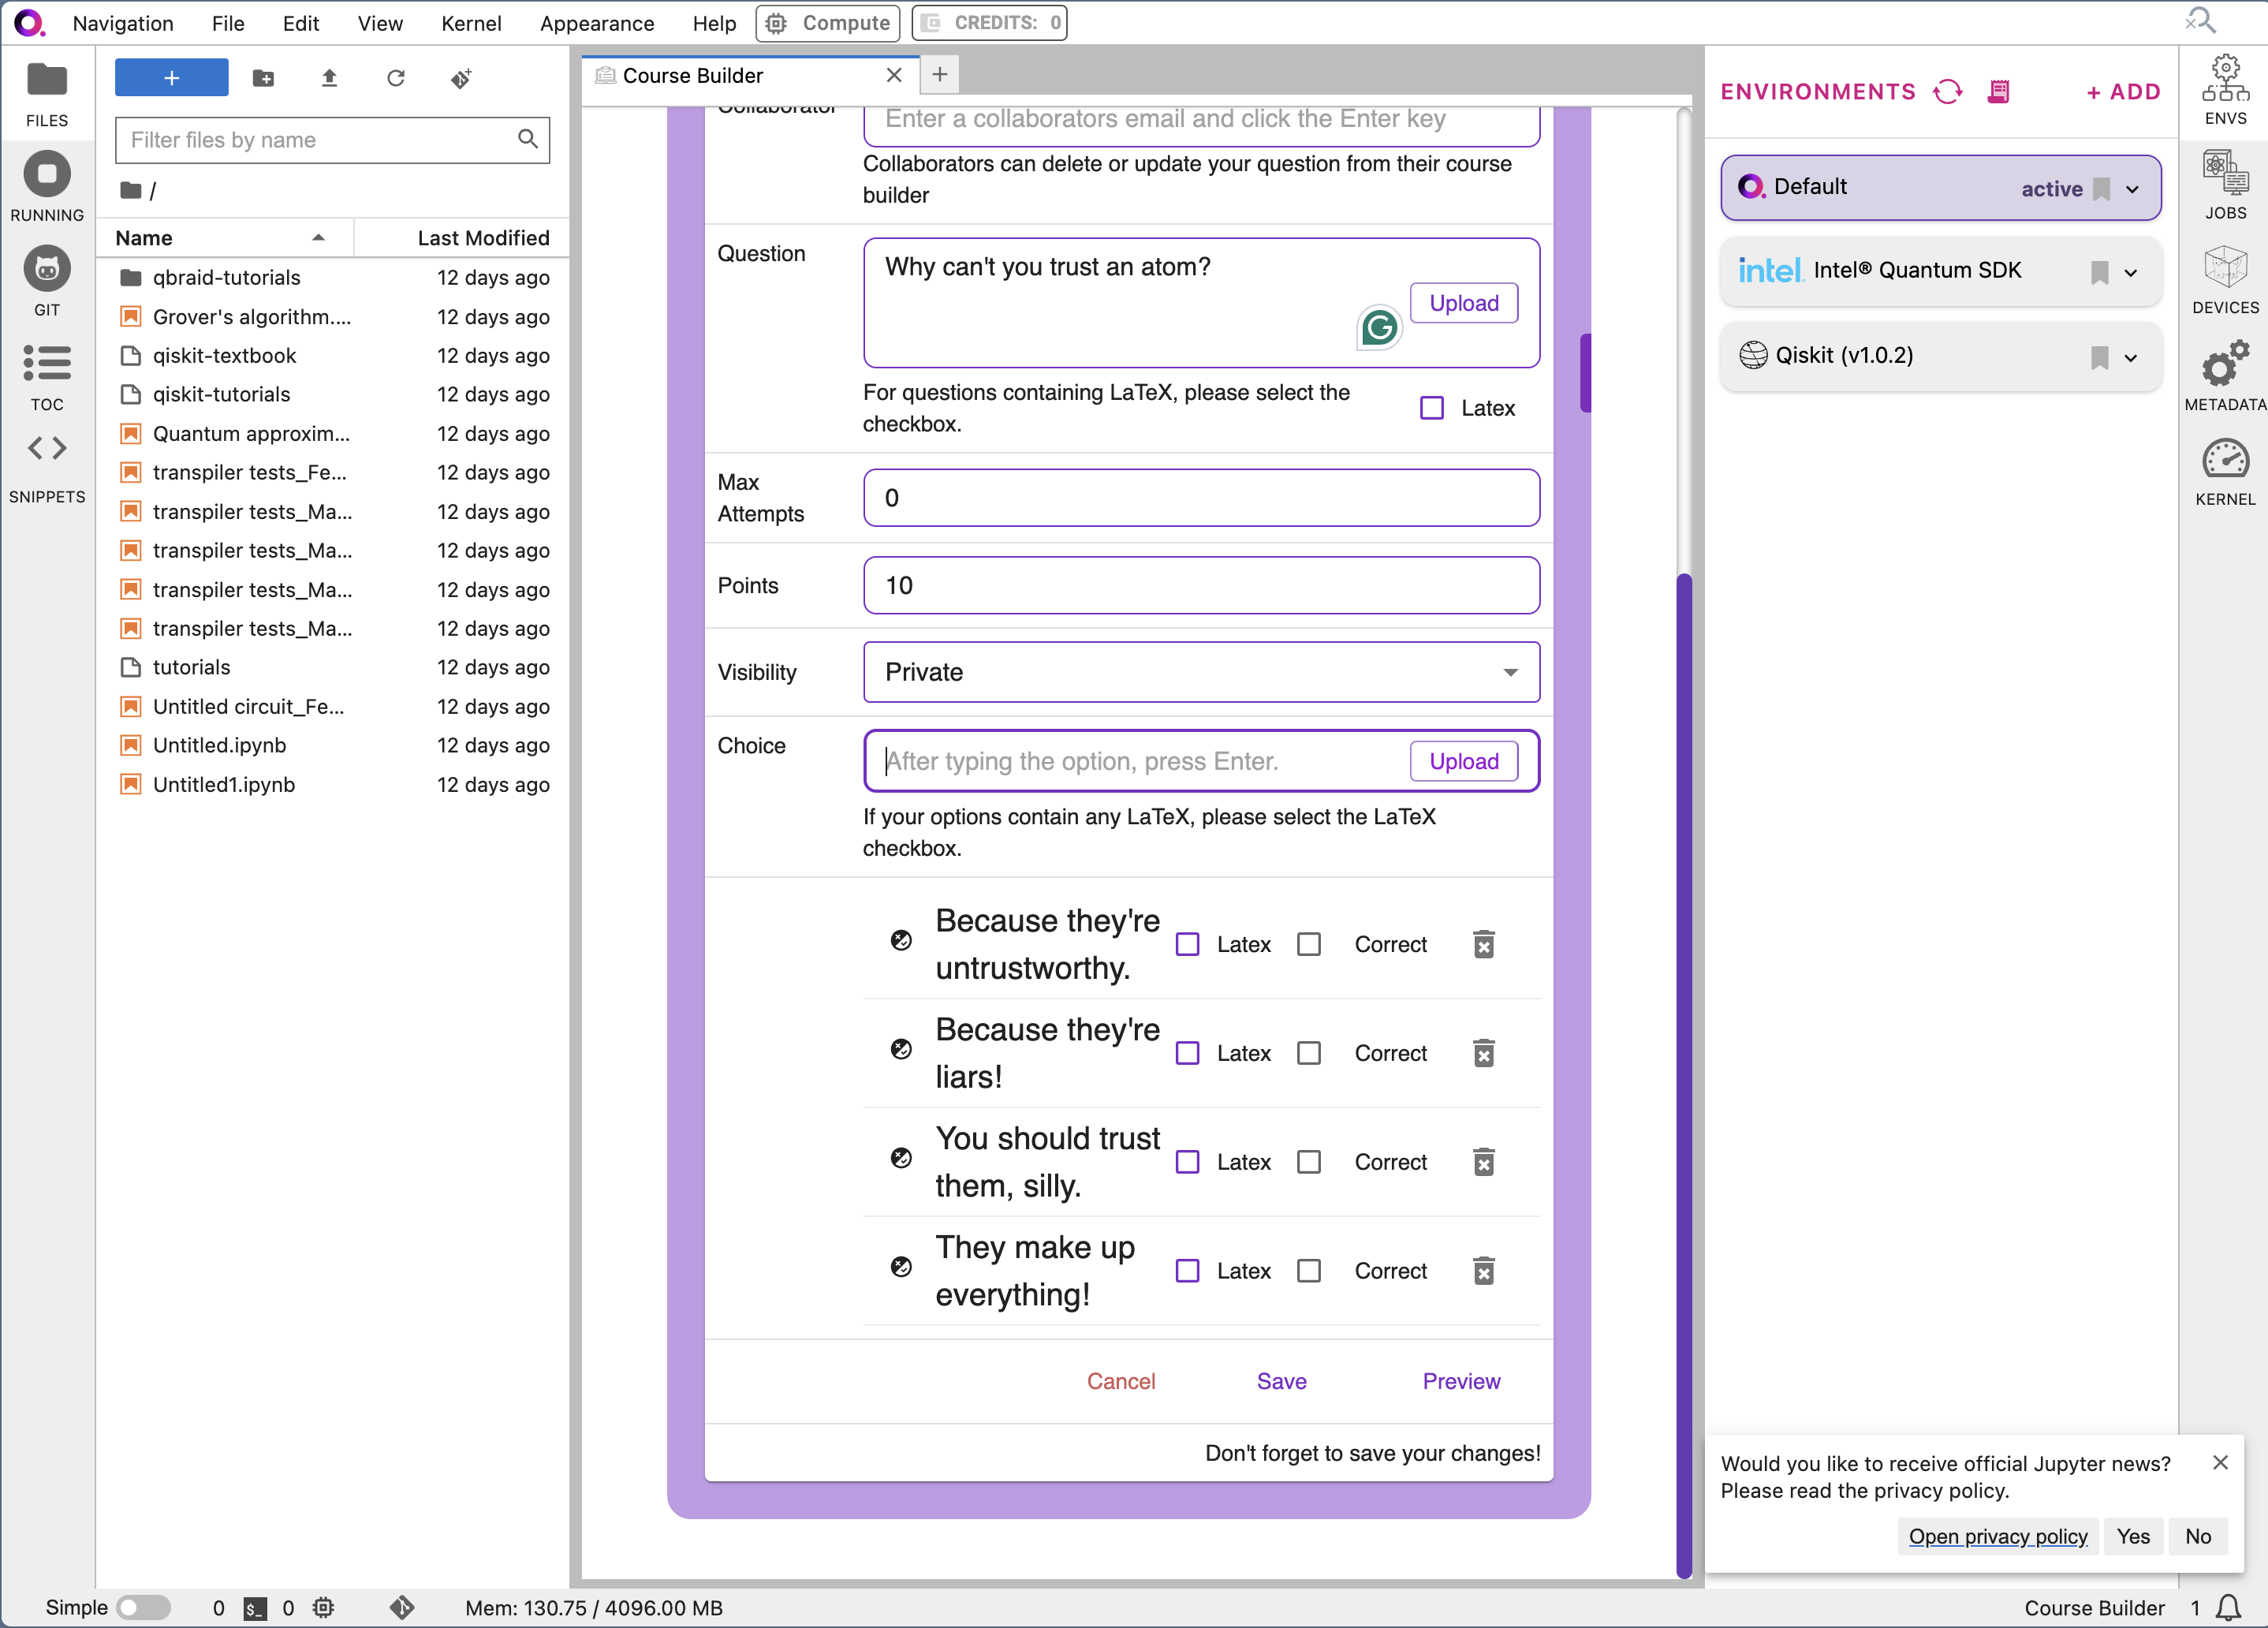
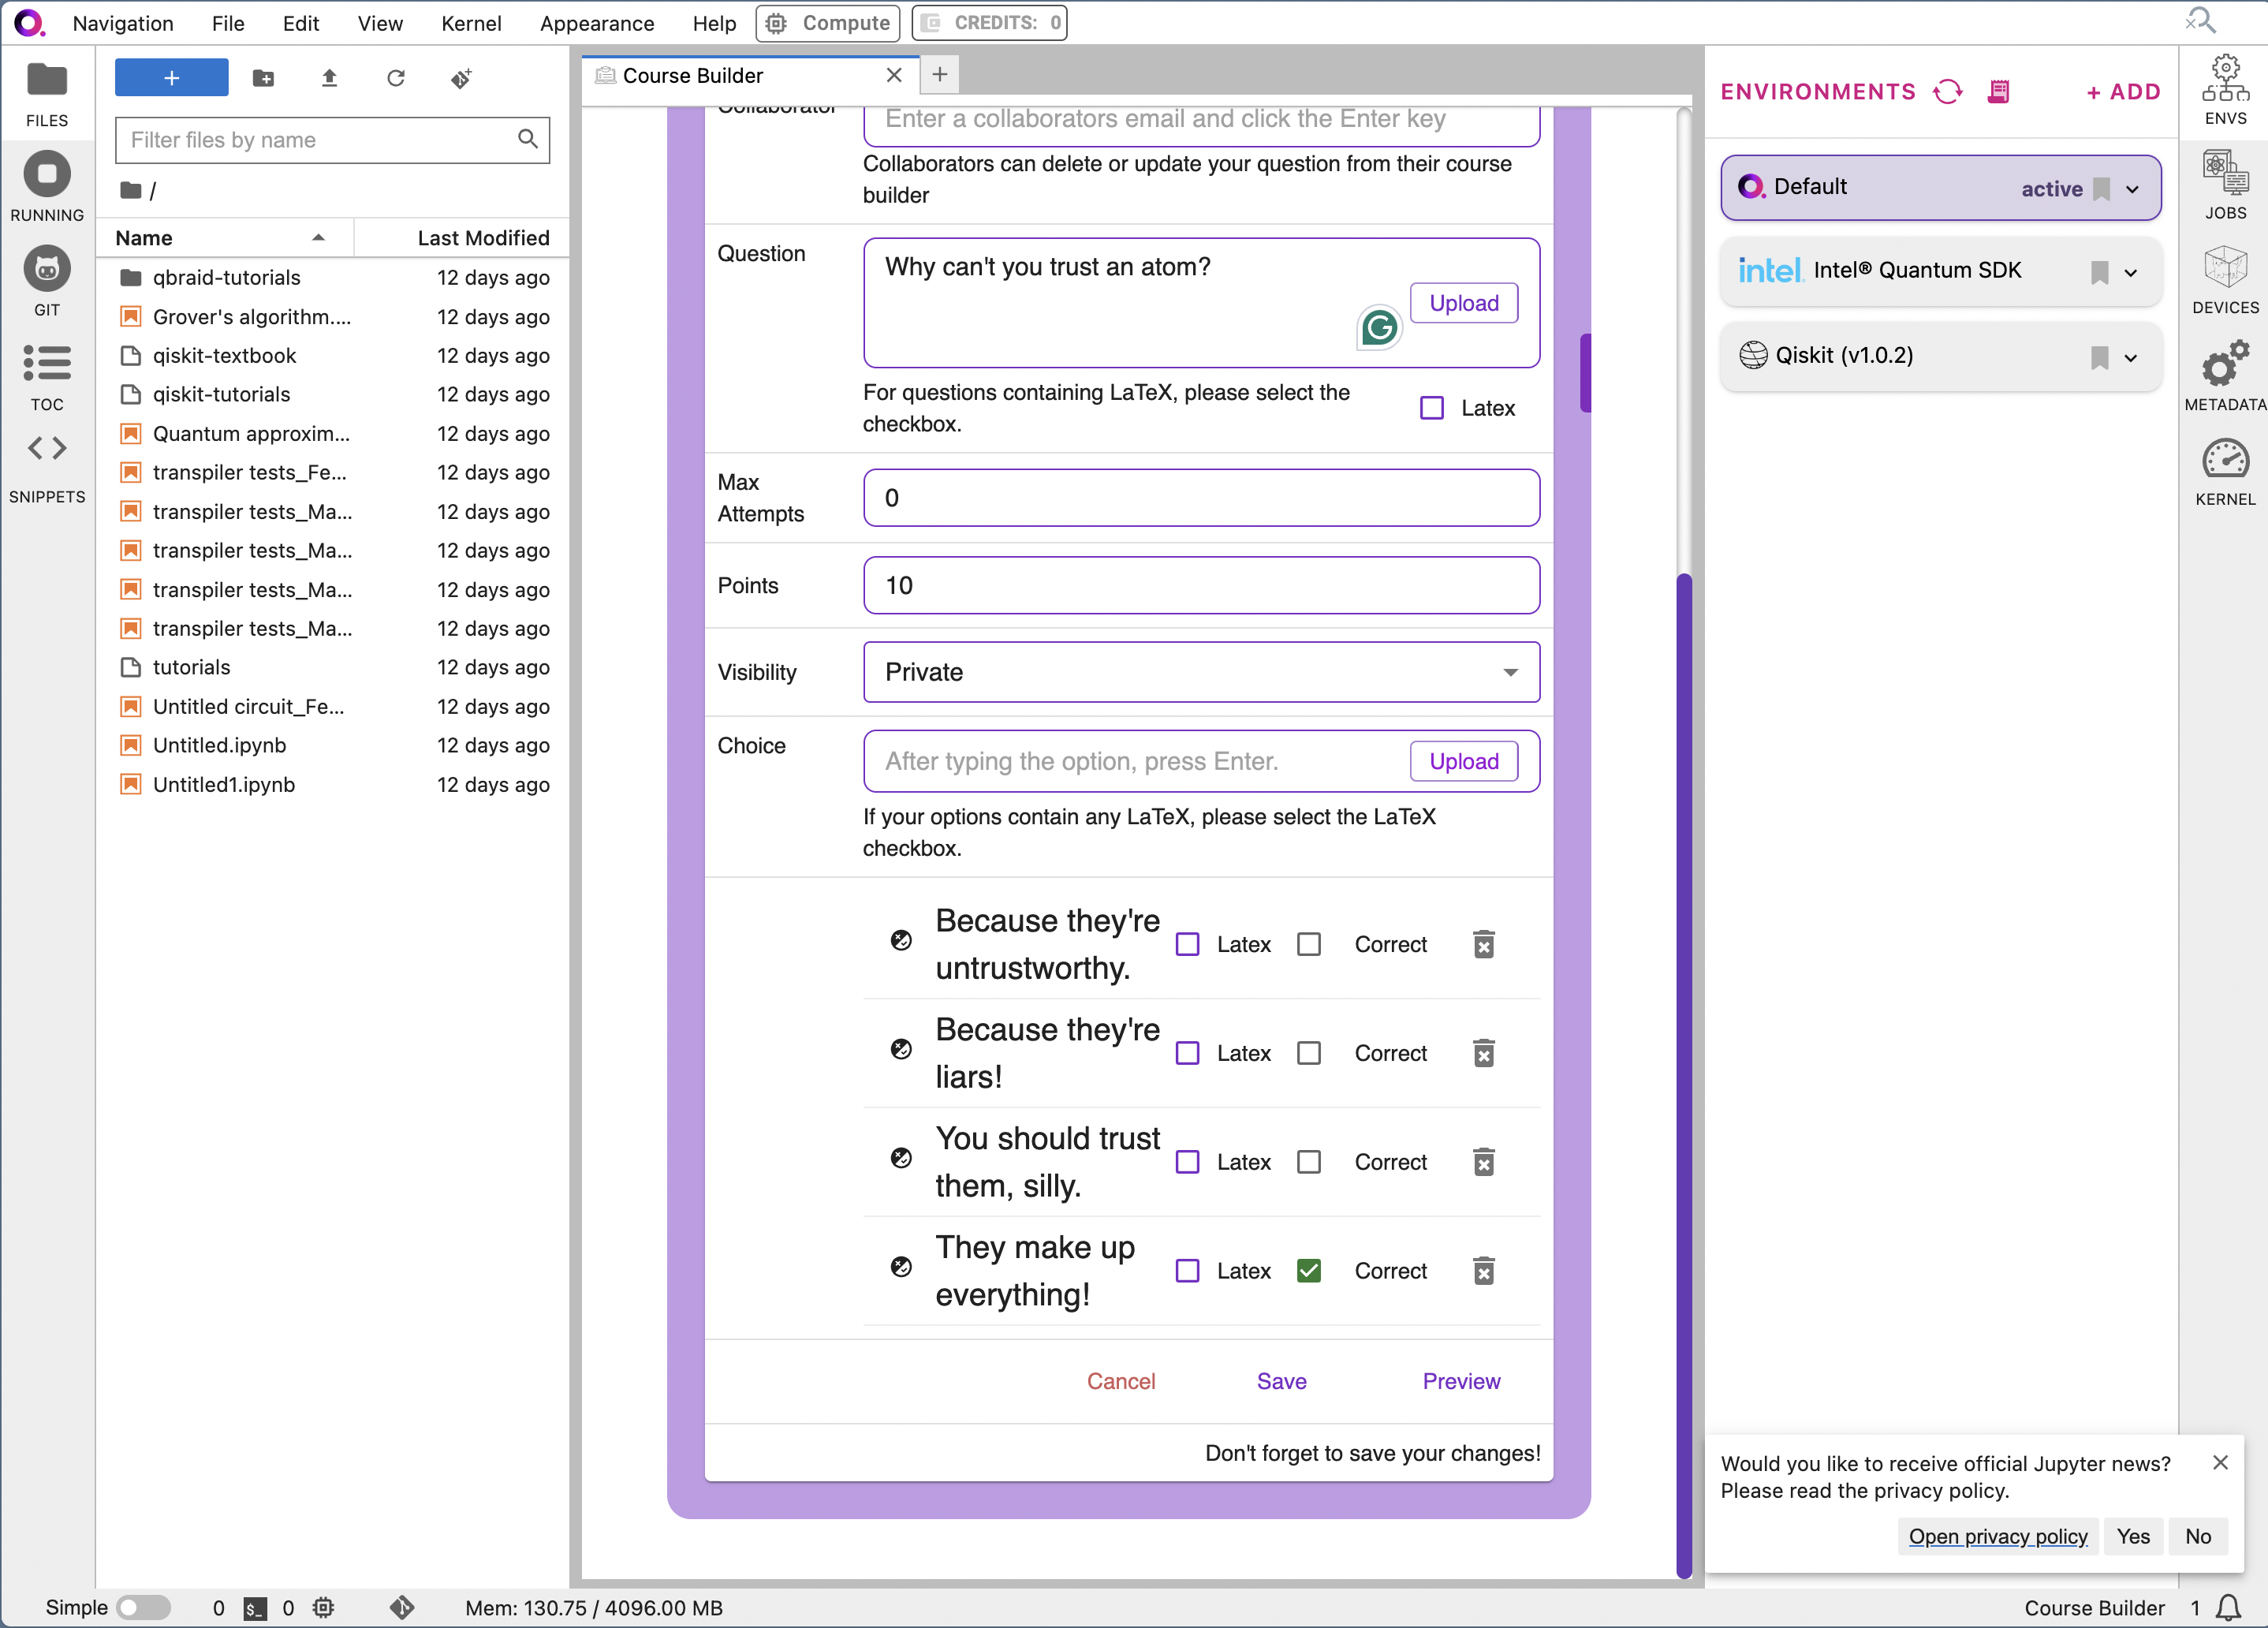
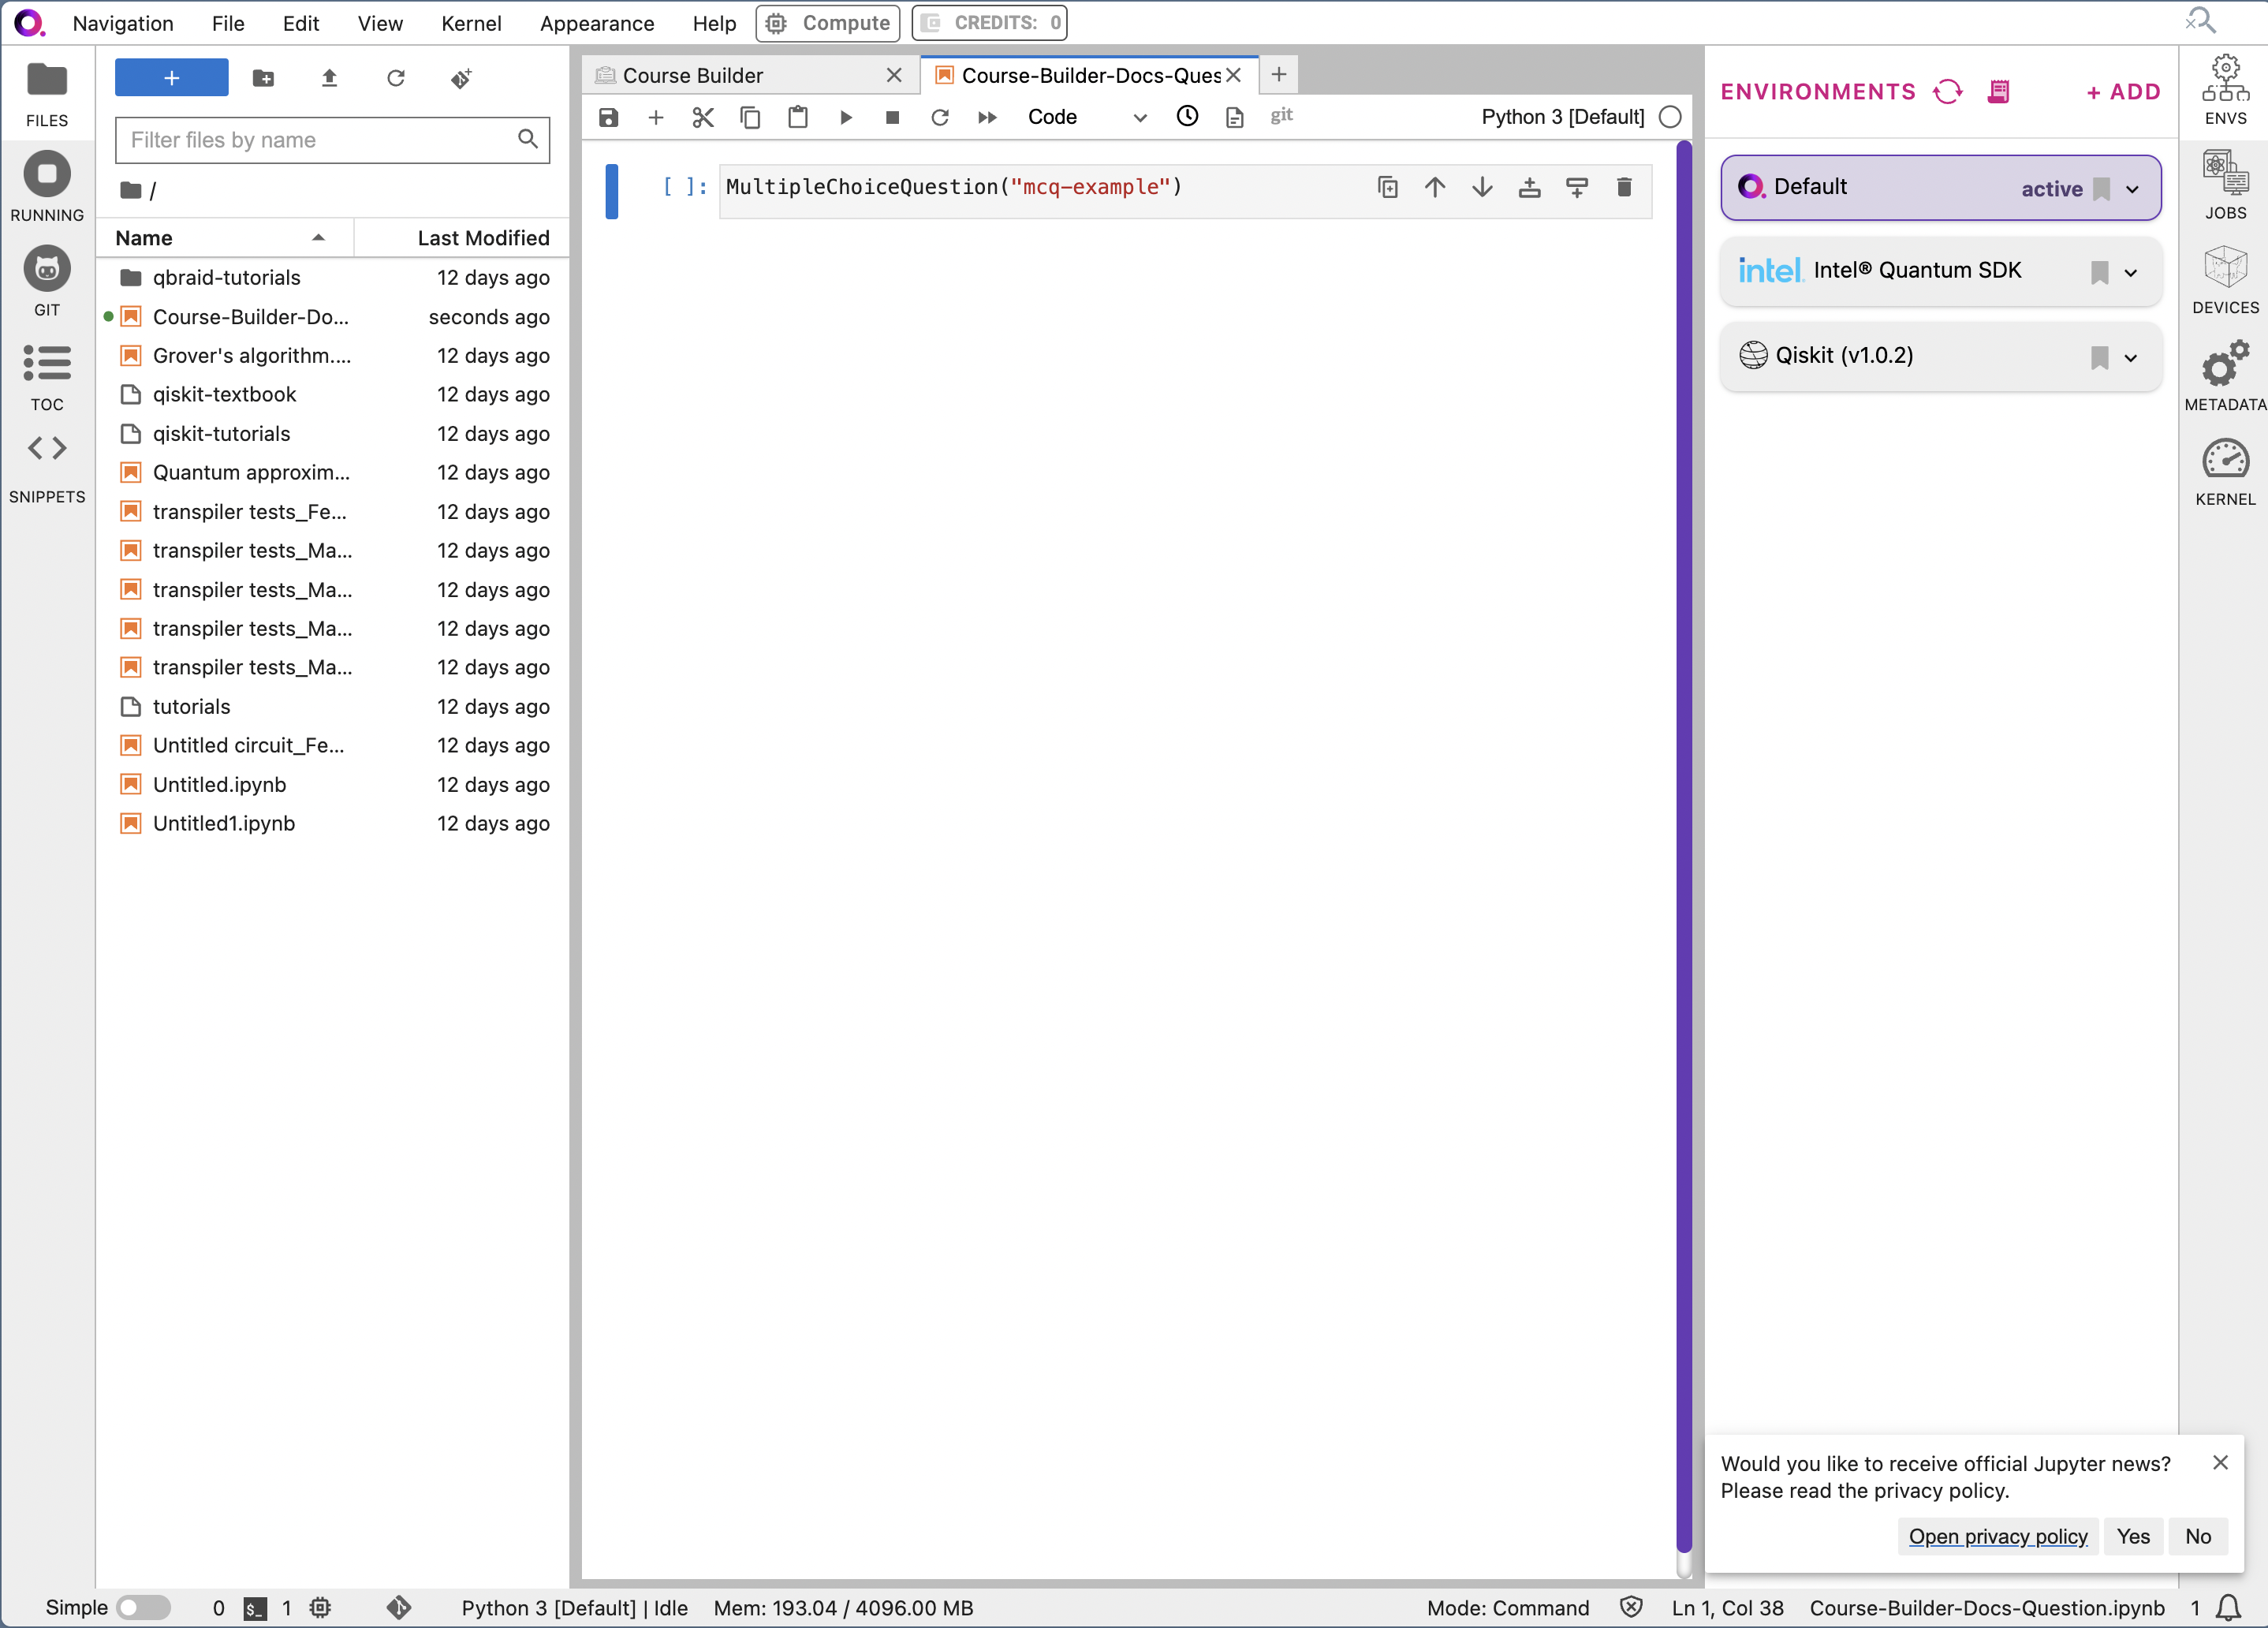
5b. Embed your questions into your course
Open a new file, and create a Jupyter notebook. In a cell, add the following code:MultipleChoiceQuestion("your-custom-id"). Replace “your-custom-id” with the custom ID you created for your MCQ.